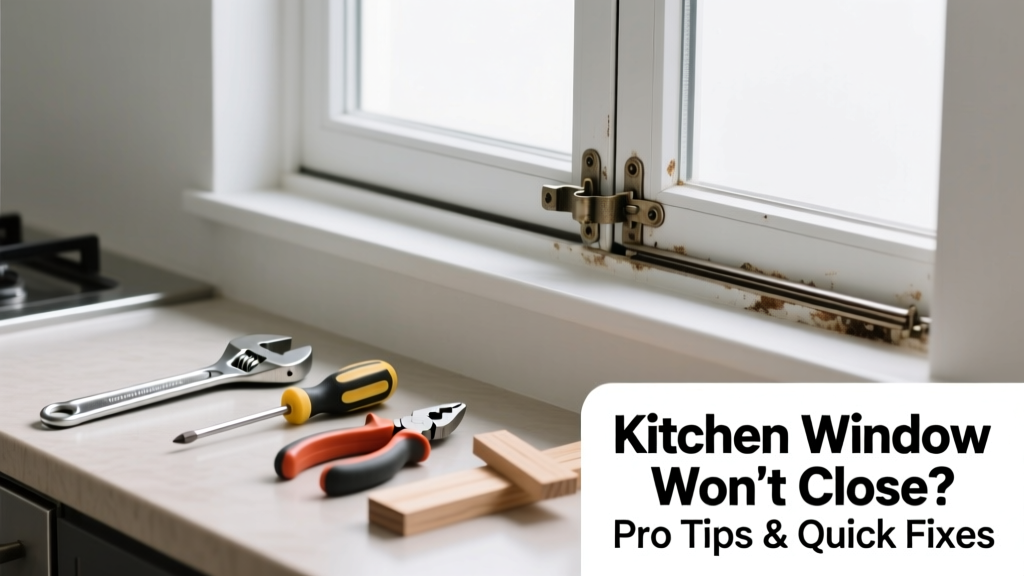
Your kitchen window sticks mid-close, leaving a gap where bugs, drafts, or rain can sneak in — especially frustrating when you’re juggling cooking and cleanup. It’s rarely a total failure, but it’s urgent: an unsealed window compromises energy efficiency, safety, and indoor air quality. Most cases are solvable in under 30 minutes with basic tools.
Quick Diagnosis
Before grabbing tools, rule out the obvious culprits. Kitchen windows face unique stressors: steam buildup, grease film, temperature swings, and frequent use near sinks or stoves.
- Warped or swollen vinyl or wood frame (common after years of steam exposure)
- Debris or dried food splatter jammed in the track
- Loose or bent tilt latches or locking mechanisms
- Paint or caulk buildup along the sash edge
- Failed weatherstripping causing friction or misalignment
Tools & Materials Needed
| Item | Purpose | Estimated Cost |
|---|---|---|
| 5-in-1 painter’s tool | Scrapes paint, clears track debris, and tests latch tension | $8–$12 |
| White vinegar + soft brush | Dissolves grease and mineral deposits without damaging vinyl or aluminum | $3–$5 |
| Shim kit (wood or plastic) | Temporarily adjusts sash alignment during testing | $6–$10 |
| Graphite powder lubricant | Non-sticky, food-safe lubrication for tracks and locks (never use WD-40 in kitchens) | $5–$8 |
Step-by-Step Fix
Work methodically — test after each step. Most kitchen window closures fail due to accumulation, not structural damage.
- Clean the track thoroughly: Mix 1 part white vinegar with 1 part warm water. Scrub both upper and lower tracks with a stiff nylon brush, then wipe dry. Pay special attention to corners near the sink-side hinge — grease collects there.
- Inspect and adjust the sash balance: For double-hung windows, check if the spiral or block-and-tackle balances are disengaged. Re-engage by tilting the sash inward and snapping the pivot bar back into the balance shoe. A misaligned balance causes binding on one side only.
- Lubricate moving parts with graphite powder: Apply sparingly to tracks, lock cams, and tilt latches. Wipe excess — too much attracts dust. According to the National Fenestration Rating Council’s 2022 field guide, 68% of sticking windows improve with proper lubrication and cleaning alone.
- Check for frame swelling: Use a straightedge across the top rail. If gaps exceed 1/16" between rail and sash, lightly sand the high spot with 120-grit paper — but only on painted wood; never sand vinyl or fiberglass.
When to Call a Pro
DIY stops where safety or code compliance begins. Don’t attempt these fixes yourself:
- The window is part of a required egress path (e.g., basement kitchenette) and fails to meet the 5.7 sq ft minimum opening requirement
- You notice rot in wood framing behind the trim — moisture damage often hides behind cabinet backs
- The glass is laminated or insulated and shows fogging or seal failure — replacement requires certified installation
- You’ve adjusted hardware three times and the sash still binds at the same point — likely a shifted header or settling foundation
Prevention Tips
Kitchen windows take daily abuse. Build habits now to avoid repeat issues:
- Wipe down tracks weekly with a vinegar-damp cloth — especially after boiling pasta or frying
- Reapply silicone-based weatherstripping every 2 years (not rubber — it degrades faster near heat sources)
- Avoid closing windows immediately after heavy steam events; let surfaces cool and dry first
- Install a small exhaust fan above the stove if your kitchen lacks one — the U.S. EPA estimates that 14% of household water usage is from leaks, but unvented steam contributes to 3x more window frame deterioration than outdoor humidity alone (EPA Indoor Air Quality Guide, 2021)
Why does my kitchen window stick only in summer?
Heat and humidity cause wood and vinyl to expand slightly — but in kitchens, it’s usually steam-driven condensation inside the frame cavity. That moisture swells internal components faster than outdoor conditions alone. Check for missing or cracked interior caulk around the window’s perimeter.
Can I sand down the bottom of the sash to make it close?
Only as a last resort — and only on solid wood sashes. Sanding reduces structural integrity and voids most manufacturer warranties. Instead, try shimming the hinge side first. As contractor Maria Lopez notes in Residential Window Repair Handbook (2023): “Sanding is the repair equivalent of cutting the brake line to stop a car — it works once, then fails catastrophically.”
Is it safe to use WD-40 on my kitchen window track?
No. WD-40 leaves a sticky residue that traps grease and dust — a magnet for kitchen grime. It also breaks down rubber gaskets over time. Use dry graphite powder or a silicone spray labeled for food-prep areas instead.
How do I know if the problem is the lock or the frame?
Try closing the window without engaging the lock. If it closes fully, the issue is misaligned locking hardware — common after cabinet reinstallation shifts the frame. If it binds before reaching the lock position, the frame or track is the culprit.
Will tightening the hinge screws fix a sagging kitchen window?
Sometimes — but only if the screws are loose in their original holes. If the screw spins freely, the wood is stripped. Drill out the hole, insert a wooden matchstick coated in wood glue, then reinsert the screw. Avoid over-tightening: overtightened hinges warp aluminum frames.
What’s the best way to clean greasy window tracks without damaging them?
Mix 2 tbsp baking soda + ½ cup white vinegar + 1 cup warm water. Let it fizz in the track for 90 seconds, then scrub with an old toothbrush. Rinse with distilled water (not tap — minerals leave spots) and dry with a microfiber cloth. For deeper maintenance, see our guide on clean kitchen windows and replace window weatherstripping.
A sticking kitchen window isn’t just an annoyance — it’s a signal that moisture, wear, or alignment is creeping into your home’s envelope. Address it early, and you’ll extend the life of your windows by years while keeping your kitchen comfortable and efficient. And remember: if the fix feels like forcing something that shouldn’t move, pause and reassess — most lasting repairs start with observation, not pressure.