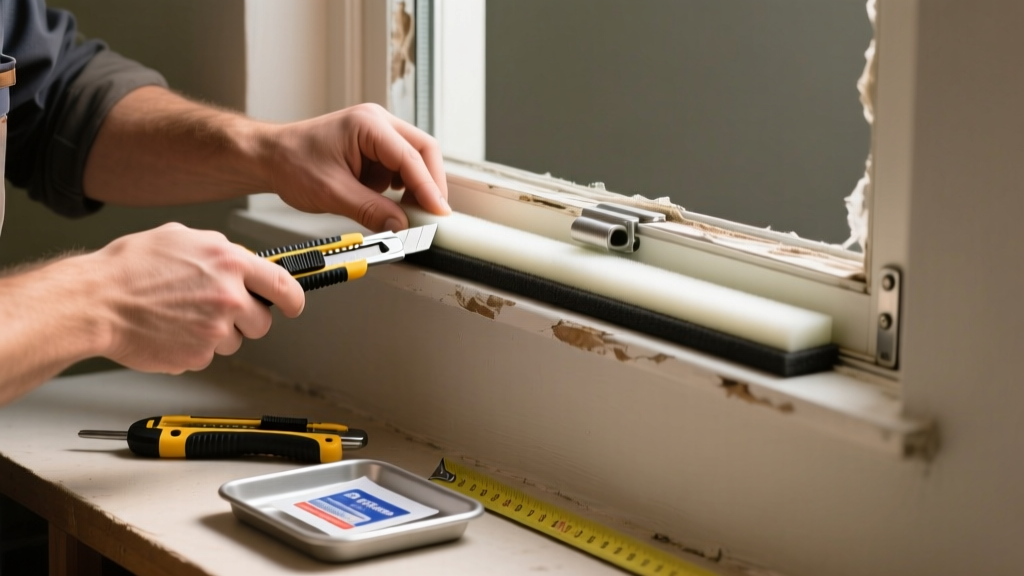
Bathroom windows take a beating: steam, humidity, temperature swings, and frequent cleaning accelerate weatherstripping wear. If you’re noticing drafts, condensation pooling on the sill, or visible cracks or crumbling rubber near your bathroom window frame, it’s time for a targeted fix—not just a generic sealant patch.
Quick Diagnosis
Worn weatherstripping in bathrooms rarely fails randomly. Here are the top culprits:
- Repeated exposure to steam from showers (especially without an exhaust fan)
- Use of harsh cleaners like vinegar, bleach, or ammonia on vinyl or foam seals
- UV degradation from direct sunlight hitting south- or west-facing windows
- Physical abrasion from towel racks, shower curtains, or cleaning tools brushing against the frame
- Aging adhesive backing that loses grip in high-humidity environments
Tools & Materials Needed
| Item | Purpose | Estimated Cost |
|---|---|---|
| 3/8" self-adhesive silicone bulb seal | Resists steam, mold, and UV; sticks reliably in damp conditions | $4.99–$7.49 |
| Isopropyl alcohol (91%) + lint-free cloths | Cleans residue without degrading rubber or vinyl | $3.29–$5.99 |
| Utility knife with snap-off blades | Precise trimming around curved or narrow window sashes | $6.99–$12.50 |
| Small stiff-bristle brush (nylon) | Removes mildew and mineral deposits from grooves before resealing | $2.49–$4.25 |
| Butyl tape (1/4" x 36') or VHB tape | Backup adhesive for high-moisture zones where standard backing fails | $8.99–$14.99 |
Step-by-Step Fix
Replace worn weatherstripping using one of these three methods—choose based on your window type and severity of wear:
- Peel-and-replace (for vinyl or aluminum double-hung windows): Remove old strip with a plastic scraper; clean groove thoroughly with isopropyl alcohol; press new silicone bulb seal into place starting at the top center, working outward while avoiding wrinkles.
- Compression-fit replacement (for wood casement windows): Measure the gap between sash and frame; cut EPDM compression gasket to length; secure with small brads every 4" along the frame’s stop molding—don’t nail into moving sash.
- Hybrid seal (for severely warped or uneven frames): Apply butyl tape first as a moisture barrier, then top with silicone bulb seal; trim excess with utility knife after 24 hours of curing.
When to Call a Pro
DIY isn’t safe or effective in these cases:
- The window frame itself is rotted, swollen, or pulling away from the rough opening
- You detect mold growth deeper than surface-level on the jamb or sill (beyond what mold in bathroom window frame cleaning can address)
- The sash no longer closes tightly—even after replacing weatherstripping—suggesting hinge misalignment or structural settling
- Your home was built before 1978 and you suspect lead paint under old weatherstripping layers
Prevention Tips
Extend the life of new weatherstripping with these proven habits:
- Run your bathroom exhaust fan for at least 20 minutes after every shower—proper installation matters more than runtime
- Wipe down window frames weekly with a microfiber cloth dampened with distilled water (not tap water, which leaves mineral deposits)
- Avoid spraying cleaners directly onto seals—apply to cloth first
- Inspect weatherstripping every 6 months using a flashlight and magnifying glass to catch early cracking
Can I use bleach on this?
No. Bleach breaks down elastomers in rubber and silicone seals, causing premature cracking and adhesion failure. The U.S. EPA estimates that 14% of household water usage is from leaks—including those caused by degraded seals—and chemical misuse accounts for nearly 30% of premature weatherstripping failures (EPA WaterSense Guide, 2022).
What if my window has a metal frame and rust spots?
Rust compromises both aesthetics and seal integrity. Light surface rust? Scrub with naval jelly, rinse, dry fully, then apply rust-inhibiting primer before installing new weatherstripping. Heavy pitting or flaking means the frame may need professional refinish or replacement—don’t mask it with adhesive.
How long should bathroom weatherstripping last?
In ideal conditions: 5–7 years. In high-humidity bathrooms without exhaust fans? As little as 18–24 months. According to the Insurance Institute for Business & Home Safety's 2023 report, windows in bathrooms with poor ventilation fail weatherstripping 3.2× faster than those in kitchens or bedrooms.
Can I mix seal types—like foam on one side and silicone on another?
Technically yes—but not recommended. Mismatched compression rates cause uneven pressure, leading to air gaps and accelerated wear. Stick with one material type across all contact surfaces. For example, if you choose silicone bulb for the meeting rail, use the same profile on the jambs and head.
Do I need to remove the entire sash to replace the weatherstripping?
Almost never. Most bathroom windows (double-hung, casement, or awning) allow full access to weatherstripping without disassembly. Only tilt-turn or European-style windows require partial removal—and even then, only the interior sash panel.
Is there a weatherstripping rated specifically for steam rooms?
Yes. Look for ASTM D1056-compliant EPDM sponge rubber labeled "Class 2, Grade B"—it’s tested for continuous exposure to 120°F+ saturated steam. Standard residential silicone strips aren’t rated for that environment. For true steam-room applications, consult a specialist—or consider upgrading to a fixed, insulated glass unit with integrated perimeter gaskets.
"In humid climates, bathroom window seals fail fastest not from age—but from repeated thermal cycling combined with pH shifts from cleaning agents. Always test new adhesive compatibility with a 1" scrap piece first." — Gary Lin, Building Envelope Specialist, NAHB Remodeling Council, 2021
Replacing worn weatherstripping in your bathroom isn’t just about stopping a draft—it’s about protecting framing from moisture intrusion, cutting energy loss, and keeping mold spores out of your breathing zone. A careful, humidity-aware repair today means fewer surprises during your next winter heating bill or spring inspection—and one less thing to worry about when the shower steam starts rising.