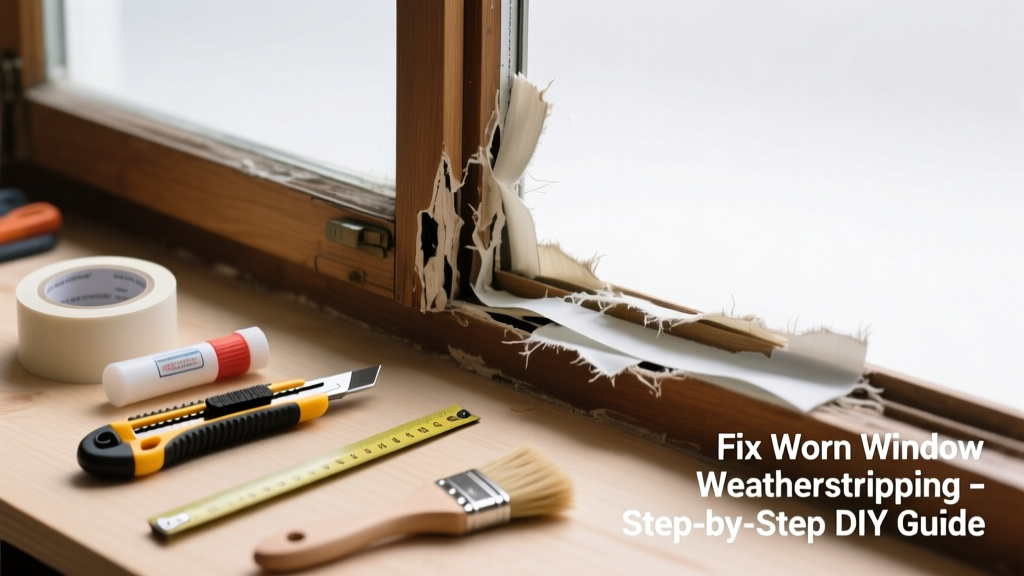
That draft you feel near your window isn’t just annoying—it’s costing you money. Up to 25% of a home’s heating and cooling loss happens through poorly sealed windows, according to the U.S. Department of Energy’s 2022 Residential Energy Consumption Survey. Worn weatherstripping is often the silent culprit.
Quick Diagnosis
Before grabbing tools, confirm the issue isn’t something else. Check for these common causes:
- Cracked, brittle, or compressed foam or vinyl strips
- Gaps larger than 1/8 inch between sash and frame
- Visible light leaking around closed window edges
- Stiff or warped sash that prevents full contact with existing strip
- Old adhesive residue preventing new strip from bonding
Tools & Materials Needed
| Item | Purpose | Estimated Cost |
|---|---|---|
| Utility knife with fresh blades | Cuts old strip cleanly; avoids gouging wood or vinyl | $3–$8 |
| Isopropyl alcohol (90%+) and lint-free cloths | Removes grease, grime, and old adhesive without damaging surfaces | $5–$12 |
| Vinyl or silicone bulb weatherstrip (3/8" or 1/2") | Most durable replacement for double-hung and casement windows | $8–$15 per 10 ft |
| 3M Super 77 spray adhesive or 3M VHB tape (1/4") | Bonding strength matters—VHB lasts 10+ years on clean, dry surfaces | $10–$18 |
| Rubber mallet or plastic putty knife | Seats bulb strip into kerf without crushing it | $6–$14 |
Step-by-Step Fix
Choose the method that matches your window type and wear severity:
- Remove old strip: Peel away loose material. Use utility knife to slice adhesive-backed remnants flush with frame—don’t gouge. For kerf-mounted strips, gently pry out with flathead screwdriver.
- Clean thoroughly: Wipe entire channel or mounting surface with isopropyl alcohol. Let dry 5 minutes—moisture ruins adhesion.
- Cut and install new strip: Measure length, add 1/4" extra. Cut ends at 45° for seamless corners. Press firmly into kerf or onto adhesive surface. For adhesive-backed types, apply pressure along full length with rubber mallet.
- Test seal: Close window slowly. You should feel slight resistance and hear a soft 'hiss' as air compresses—sign of proper compression. Check for light gaps with flashlight at night.
When to Call a Pro
DIY fails fast if the problem runs deeper than surface wear:
- Window sash is warped or binding—adjusting alignment requires specialized tools and torque specs
- Rot or insect damage in wooden frames compromises structural integrity behind the weatherstrip
- Double-pane glass is fogged or cracked—seal failure means unit replacement, not just strip repair
- You’re dealing with historic windows (pre-1940) with custom profiles—off-the-shelf strips won’t fit without modification
Prevention Tips
Extend weatherstrip life by treating it like part of your HVAC system—not an afterthought:
- Inspect all window seals twice yearly: spring and fall
- Wipe strips with diluted vinegar (1:3) every 6 months to remove dust buildup and restore flexibility
- Avoid slamming windows—repeated impact degrades bulb compression over time
- Replace foam tape every 3–5 years, even if it looks okay; UV exposure weakens its memory
How long does new weatherstripping last?
High-quality vinyl or silicone bulb strips last 7–10 years under normal conditions. Adhesive-backed foam tape rarely exceeds 4 years—even in shaded rooms—due to natural polymer breakdown. According to the National Fenestration Rating Council’s 2021 Product Lifespan Review, silicone-based extrusions outperform foam by 2.3x in longevity under thermal cycling.
Can I use duct tape as a temporary fix?
No. Duct tape leaves aggressive residue, degrades in UV light within weeks, and offers zero compression seal. It may also trap moisture against wood frames, accelerating rot. A better short-term option is painter’s tape—but only for under 72 hours while waiting for proper materials.
What’s the best weatherstripping for aluminum windows?
Use non-adhesive kerf-mount bulb strips (like Vinyl Window Weatherstripping) sized for your track depth. Aluminum expands and contracts more than wood—adhesives fatigue faster. Kerf systems rely on mechanical retention, not glue. Look for strips with EPDM rubber cores for UV resistance.
Do I need to remove the sash to replace weatherstripping?
Only for certain vintage windows or if replacing jamb liner strips on double-hungs. Most modern replacements—bulb, V-strip, or fin-seal—install without disassembly. If your window has internal balance systems, avoid full removal unless you’ve watched a how-to replace double-hung window sash tutorial first.
Why does my new weatherstripping make the window hard to close?
Too-thick bulb profile or over-compression during installation. Trim 1/32" off the bulb’s outer edge with utility knife, or switch to a lower-profile size (e.g., 3/8" instead of 1/2"). Never force it—the frame or sash could warp.
Can I paint over weatherstripping?
Never. Paint clogs the compression channels and makes rubber brittle. If painting the frame, mask the strip completely with painter’s tape and remove immediately after paint dries to the touch.
"Weatherstripping isn’t about stopping air—it’s about managing pressure differentials. A properly installed bulb strip should compress 25–35% when the sash closes. Less = leak. More = binding." — Gary Lin, Window Sealing Specialist, AAMA Certified Trainer (2023)
Fixing worn weatherstripping is one of the highest-ROI repairs you’ll ever do—often paying for itself in one heating season. But don’t rush the prep: skipping cleaning or mis-sizing the strip guarantees failure. Take your time, test the seal before reassembling, and keep spare strips labeled by window type in your garage. That whisper of cold air? You’ve got this.