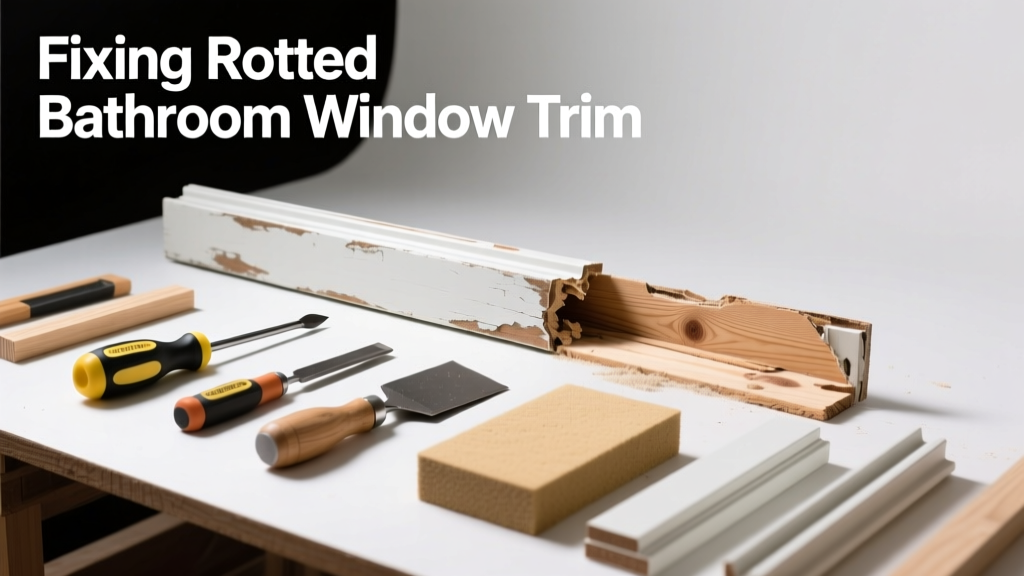
Bathroom window trim rotting isn’t just unsightly—it’s a red flag for hidden moisture damage that can compromise framing and invite mold. Unlike kitchen or bedroom trim, bathroom trim faces relentless steam, condensation, and splash exposure, accelerating decay in as little as 18–24 months if unprotected. Ignoring it risks structural weakening and costly drywall or stud replacement down the line.
Quick Diagnosis
Rotten trim rarely appears out of nowhere. Here are the most common root causes you’ll encounter:
- Missing or cracked caulk between trim and window frame or wall surface
- No vapor barrier behind drywall or improper drywall installation (e.g., paper-faced drywall used instead of mold-resistant)
- Exhaust fan undersized or vented into attic instead of outdoors—leaving humidity trapped
- Trim installed directly over green or untreated lumber without priming or sealing all six sides
- Shower or tub positioned too close to window, creating constant wet-splash zones
Tools & Materials Needed
| Item | Purpose | Estimated Cost |
|---|---|---|
| Carbide-tipped oscillating tool blade | Cuts through rotted wood without splintering adjacent drywall or tile | $12–$18 |
| 3M Premium Polyurethane Caulk (low-VOC) | Flexible, waterproof sealant that bonds to ceramic tile, PVC, and painted wood | $5–$9 |
| Minwax High-Performance Wood Hardener | Penetrates and stabilizes soft, water-damaged wood fibers before patching | $14–$17 |
| 100% silicone caulk (for exterior-facing seams) | Resists UV, temperature swings, and long-term water immersion at outer window perimeter | $4–$7 |
| Moisture meter with pinless + pin mode | Confirms whether underlying framing is wet (readings >18% indicate active moisture) | $65–$120 |
Step-by-Step Fix
Choose the method based on severity. Always wear an N95 mask and goggles—mold spores and wood dust are hazardous in confined bathrooms.
- Assess extent: Use a screwdriver to probe trim edges and corners. If it sinks in more than 1/8" or crumbles, replace. If firm but discolored, harden and refinish.
- Remove rotted sections: Cut away only damaged portions with oscillating tool. Leave at least 1" of sound wood at each end for anchoring new pieces.
- Stabilize remaining wood: Apply Minwax Wood Hardener twice, letting first coat soak in 15 minutes before second. Wait 2 hours before sanding smooth.
- Replace missing segments: Cut pressure-treated pine or PVC trim to match profile. Pre-prime all sides—even cut ends—with Zinsser Bulls Eye 1-2-3 primer.
- Seal like a pro: Back-caulk the top and side edges where trim meets wall *before* nailing. Then use color-matched acrylic-latex caulk for visible seams—not silicone, which won’t paint well indoors.
When to Call a Pro
DIY works for surface-level rot—but stop and call a licensed contractor if any of these apply:
- You find black, fuzzy mold growing behind trim or inside the wall cavity
- Moisture meter readings exceed 22% in wall studs or header lumber
- The window sill itself is spongy or detached from the rough opening
- Your bathroom lacks an exhaust fan—or the existing one moves less than 50 CFM (confirmed with an anemometer)
- Rot extends into the jamb or head casing beyond the visible trim face
Prevention Tips
Preventing recurrence means attacking moisture at its source—not just sealing surfaces. Start here:
- Install a timer switch on your exhaust fan so it runs for 20 minutes post-shower, even if you forget
- Use a hygrometer to keep relative humidity between 30–50%; above 60% invites condensation and fungal growth
- Recaulk trim annually—especially where it meets tile—and inspect caulk integrity every 3 months
- Switch to PVC or composite trim for future replacements; it’s impervious to rot and holds paint longer in high-humidity zones
- Ensure shower curtain or door fully contains water spray—no direct hits on window trim during use
Can I use bleach on this?
No. Bleach kills surface mold but doesn’t penetrate porous wood—and it degrades wood fibers over time. The U.S. EPA explicitly advises against using chlorine bleach for mold remediation on wood surfaces (EPA Mold Remediation in Schools and Commercial Buildings, 2022). Instead, use a 50/50 mix of white vinegar and water for light surface mold, followed by thorough drying.
Is pine trim okay for bathrooms?
Only if it’s kiln-dried, pressure-treated, and sealed on all six sides—including cut ends—with oil-based primer and two coats of 100% acrylic enamel. Even then, expect 5–7 years lifespan versus 15+ for PVC or cellular PVC trim. According to the National Association of Home Builders’ 2023 Remodeling Impact Report, 68% of bathroom trim failures occurred in homes using untreated softwood near showers.
Do I need to remove drywall to fix this?
Not always—but if probing reveals softness behind the trim or you see water stains spreading up the wall, yes. Cut a 12" x 12" inspection opening just above the trim using a utility knife and drywall saw. Check for wet insulation, darkened studs, or musty odor. Replace damaged drywall with 1/2" mold-resistant board (e.g., USG Mold Tough), taped and finished with setting-type joint compound.
What’s the best caulk for bathroom window trim?
For interior seams (trim-to-wall or trim-to-tile), use a high-quality acrylic-latex caulk labeled “kitchen & bath” and “paintable”—like GE Silicone II Kitchen & Bath. For the exterior seam where the window meets siding or brick, use 100% silicone. Never use standard latex caulk outside: it fails in UV exposure and freezes/thaw cycles.
How long does the repair last?
A properly executed repair with moisture control lasts 8–12 years. But without addressing root causes—like inadequate ventilation or chronic splash—the same spot can fail again in under 2 years. According to the Insurance Institute for Business & Home Safety’s 2023 report on residential moisture damage, 73% of repeat trim failures stemmed from uncorrected ventilation deficiencies—not poor materials or workmanship.
"In bathrooms, it’s not about how well you seal—it’s about how well you vent. A $200 exhaust fan upgrade prevents $3,000 in hidden rot repairs." — Sarah Lin, Certified Moisture Inspector, IBHS Accredited Firm (2023)
Can I paint over rotted trim?
Only after full stabilization and repair. Painting over active rot traps moisture and accelerates decay. If the wood compresses under light finger pressure, it must be cut out and replaced—or hardened with a penetrating epoxy consolidant like Abatron LiquidWood. Skipping this step guarantees failure within 6–12 months.
Fixing rotted bathroom window trim isn’t glamorous—but it’s one of the highest-impact, lowest-cost maintenance tasks you can do to protect your home’s envelope. Get the moisture under control first, then rebuild with materials built for humidity. That approach keeps your trim looking sharp and your walls dry for years—no shortcuts, no surprises. For related help, see our guide on bathroom exhaust fan installation and mold in bathroom grout removal.