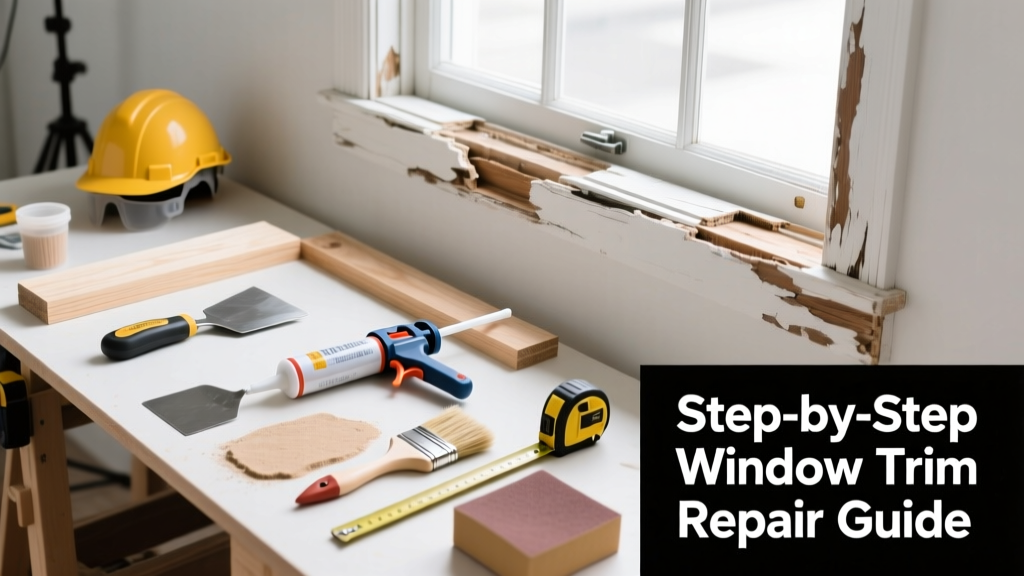
Rotting window trim isn’t just an eyesore—it’s a warning sign that moisture is breaching your home’s envelope. Left unaddressed, it can lead to structural decay, mold growth, and energy loss. The good news? Most cases are fixable in a weekend with basic tools and careful prep.
Quick Diagnosis
Rotten trim usually stems from one or more of these root causes:
- Poorly sealed or missing caulk around the trim-to-wall or trim-to-window joints
- Lack of roof overhang or inadequate flashing above the window
- Trim installed directly against stucco, brick, or masonry without a drainage gap
- Paint failure—especially on south- or west-facing windows where UV exposure accelerates chalking and cracking
- Use of non-pressure-treated wood (like pine or fir) in high-moisture zones
Tools & Materials Needed
| Item | Purpose | Estimated Cost |
|---|---|---|
| 10-in. pry bar | Removes damaged trim without gouging siding or framing | $12–$22 |
| 3M Bondo Rotted Wood Restorer | Stabilizes soft, wet wood fibers before patching | $14–$18 |
| Exterior-grade PVC or cedar replacement trim | Durable, rot-resistant alternative to untreated pine | $2.50–$6.00/linear ft |
| 100% silicone or polyurethane caulk (e.g., GE Advanced Silicone) | Flexible, waterproof sealant that won’t crack or shrink | $5–$9/tube |
| 120- and 220-grit sandpaper (or orbital sander) | Smooths repaired surfaces and prepares for paint adhesion | $4–$15 |
Step-by-Step Fix
Choose the method that matches your rot’s severity and location:
- Surface Rot (less than ¼" deep): Chip out loose material with a chisel, apply wood hardener, fill with exterior-grade epoxy filler, sand smooth, prime, and paint.
- Localized Rot (1–3 inches long, not near corners): Cut out the compromised section using a flush-cut saw, glue in a matching cedar or PVC plug with construction adhesive, caulk seams, and finish.
- Full Trim Replacement: Remove all fasteners, gently pry off the entire piece, inspect underlying sheathing and framing for hidden rot, replace any compromised substrate, install new trim with 1¼" stainless steel nails spaced every 12", back-caulk all joints, and finish with two coats of 100% acrylic primer and paint.
When to Call a Pro
Don’t risk DIY if you encounter any of these:
- Rotted framing members (stud, sill plate, or header) visible behind the trim
- Mold colonies larger than 10 square inches or musty odor behind the trim
- Trim attached to aluminum-clad or historic wood windows where disassembly risks breakage or warranty void
- More than three adjacent windows showing advanced rot—suggests systemic drainage or flashing failure
According to the Insurance Institute for Business & Home Safety's 2023 report, 68% of window-related water intrusion claims involved undetected trim or flashing failures that worsened over two or more seasons before repair.
Prevention Tips
Stop recurrence before it starts:
- Re-caulk all window trim joints every 3–5 years—don’t wait for cracks to appear
- Install drip caps above all windows, even on second-story units (they’re required by IRC Section R703.7.1)
- Keep shrubs and vines at least 12 inches from windows to improve airflow and reduce moisture trapping
- Use only primed, kiln-dried cedar or PVC trim—never raw pine on exterior walls
- Slope window sills slightly outward (⅛" per foot) during installation to shed water away from the frame
Can I use bleach on this?
No—bleach kills surface mold but doesn’t penetrate or stabilize rotted wood. It also degrades wood lignin over time, accelerating future decay. Use a borate-based wood preservative like Bora-Care instead, which diffuses into damp wood and inhibits fungal growth for up to 10 years.
How long does epoxy filler last outdoors?
Properly applied and painted epoxy filler (e.g., Abatron WoodEpox) lasts 10–15 years in shaded, protected areas—but only 3–5 years on sun-exposed south-facing trim. Always top-coat with UV-resistant 100% acrylic paint, not oil-based enamel.
Do I need to remove all the old paint before repairing?
Yes—if the paint is blistering, peeling, or chalky within 6 inches of the rot. Loose paint prevents proper adhesion of wood hardener and filler. Strip down to sound wood using a heat gun or chemical stripper—never sandblast near windows or siding.
Is PVC trim better than wood for longevity?
In most climates, yes. PVC trim resists rot, insects, and swelling—and requires no painting if you choose pre-finished stock. However, it expands/contracts more than wood, so leave 1/16" gaps at joints and use manufacturer-recommended fasteners. For historic homes, match species and grain with sustainably harvested cedar.
What’s the best caulk for window trim?
GE Advanced Silicone or OSI Quad Max—both meet ASTM C920 Type S, Class 25, and retain flexibility after curing. Avoid acrylic latex caulk here; it dries rigid and cracks within 18 months on sun-baked trim. Always back-caulk the top edge of horizontal trim pieces to create a drainage path behind the bead.
Can I paint over wood hardener without sanding?
You can, but don’t skip it. Sanding after the hardener cures (usually 2–4 hours) removes the glossy film and creates tooth for primer. Skipping this step leads to poor primer adhesion and eventual flaking—especially on vertical surfaces exposed to rain splash.
A well-executed trim repair buys you 10+ years of dry, energy-efficient performance—if you pair it with proactive maintenance. Check your windows twice yearly: once after winter storms and again before summer humidity peaks. Catching early rot means less work, lower cost, and no risk of hidden damage spreading into wall cavities. For deeper issues like flashing failure or sill plate decay, act fast—those repairs protect your home’s structural integrity, not just its curb appeal.