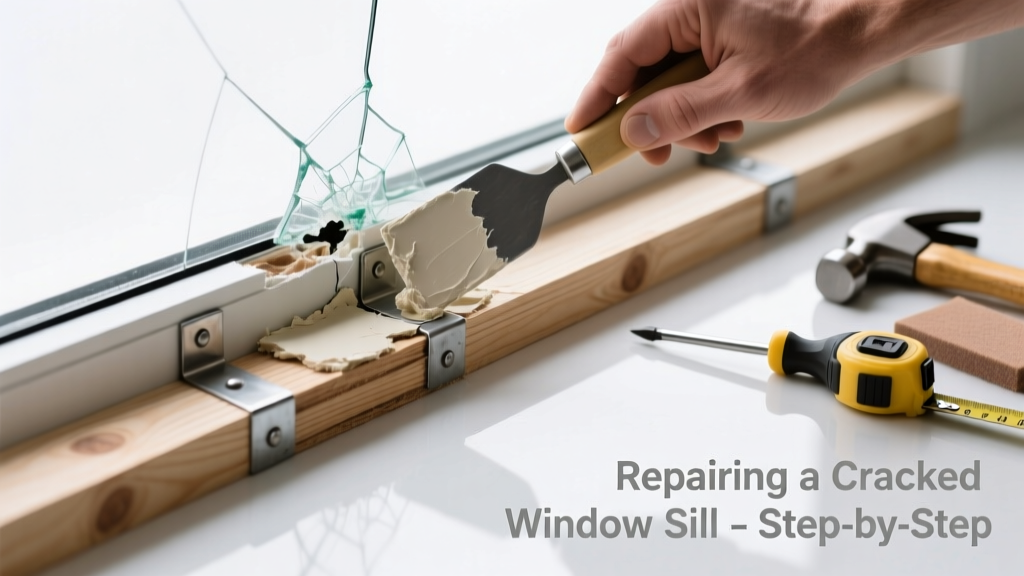
A cracked window sill isn’t just an eyesore—it can throw off the entire window’s operation, letting in cold air, moisture, or even pests. If your window sticks, won’t close fully, or feels loose near the base, the sill may be the hidden culprit. Ignoring it risks rot, mold, and structural compromise—especially in older homes with wood sills.
Quick Diagnosis
Before grabbing tools, confirm the crack is actually causing the malfunction—not just cosmetic. Check these common root causes:
- Vertical or horizontal cracks in wood or MDF sills allowing the window frame to shift or bind
- Water damage beneath the sill softening surrounding framing or sub-sill material
- Cracks widening during seasonal expansion/contraction, misaligning the jamb or track
- Loose or corroded fasteners at the sill-to-wall connection, exacerbated by the crack
- Paint buildup or debris wedged into the crack, preventing proper sealing or drainage
Tools & Materials Needed
| Item | Purpose | Estimated Cost |
|---|---|---|
| Chisel (1/4" and 3/8") | Removing rotted wood or old caulk without damaging adjacent framing | $8–$15 |
| Epoxy wood filler (e.g., Abatron WoodEpox) | Structurally bonding cracked areas in load-bearing sills; cures rock-hard | $22–$34 |
| 100- and 220-grit sandpaper | Sanding filler smooth and prepping surface for paint or sealant | $4–$9 |
| Butyl rubber caulk (e.g., OSI Quad Max) | Sealing sill-to-wall joints against water infiltration; remains flexible for decades | $6–$12 |
| Clamps (2–3 bar clamps) | Holding cracked sections together while epoxy cures under pressure | $18–$28 |
Step-by-Step Fix
Choose the method based on crack size, material, and functional impact:
- Small hairline crack (<1/16") in solid wood: Clean with denatured alcohol, inject slow-cure epoxy with syringe, clamp lightly for 12 hours, then sand flush.
- Crack with minor rot (up to 1/4" deep): Excavate all soft wood using chisel and utility knife, apply wood hardener (e.g., Minwax High-Performance), then fill with two-part epoxy filler. Sand level after 24 hours.
- Crack compromising sill stability or alignment: Remove entire sill (label hardware first), cut replacement from pressure-treated pine or PVC (match depth/width exactly), secure with stainless steel screws and butyl caulk at wall interface.
- MDF or particleboard sill with swelling: Replace only—do not patch. These materials disintegrate when wet and lack structural memory. Measure carefully and use construction adhesive + screws.
When to Call a Pro
DIY crosses into unsafe or code-violating territory in these cases:
- The crack extends into the rough opening framing or header—indicating possible settlement or structural movement
- You detect active water intrusion behind the sill that’s soaked insulation or drywall (mold risk per CDC guidelines)
- The window is part of a historic building with preservation requirements or lead-paint layers requiring abatement
- Your home has double-hung windows with integrated tilt-latch mechanisms where sill misalignment disables safety features
According to the Insurance Institute for Business & Home Safety's 2023 report, improperly repaired window sills contribute to 27% of preventable water-damage insurance claims in single-family homes.
Prevention Tips
Extend your repair’s lifespan with proactive habits:
- Clean weep holes at the sill’s outer edge every spring with a pipe cleaner to prevent drainage blockage
- Re-caulk the exterior sill-to-brickmold joint every 3 years using UV-resistant silicone or butyl
- Install exterior window sills with a 1/4" slope away from the frame to shed water—never flat or reverse-sloped
- Use a dehumidifier in basements or crawlspaces if interior sill condensation is recurring
Can I use regular wood glue instead of epoxy?
No—standard PVA wood glue lacks compressive strength and water resistance needed for sill loads. Epoxy withstands foot traffic (if it’s a walk-up sill), freeze-thaw cycles, and incidental moisture exposure. Wood glue will fail within 6–12 months in this application.
How long does epoxy filler take to cure before painting?
Most two-part epoxies like Abatron WoodEpox reach full hardness in 24 hours at 70°F—but wait 48 hours before applying oil-based primer. Latex primers can go on after 24 hours if humidity is below 60%. Always sand with 220-grit before coating.
Will caulking the crack fix the sticking issue?
No—caulk seals gaps but adds zero structural integrity. If the crack allows movement, the window will continue binding or shifting. Caulk alone is only appropriate for non-load-bearing cosmetic cracks <1/32" wide.
Can I paint over the epoxy filler right away?
Not immediately. Let the epoxy cure fully (check manufacturer specs—usually 24–48 hrs), then sand smooth. Prime with an oil-based or bonding primer like Zinsser Bulls Eye 1-2-3 before topcoating. Skipping primer leads to peeling, especially in sun-exposed sills.
Is replacing the sill something a beginner can handle?
Yes—if it’s a simple nailing flange sill on a standard vinyl or aluminum window. But if the sill is integrated into masonry, stucco, or brick veneer, removal risks damaging the weather barrier. In those cases, consult window sill replacement cost estimates first—or hire someone experienced with flashing installation.
What type of wood is best for a replacement sill?
For exterior sills: vertical-grain Douglas fir (naturally decay-resistant) or kiln-dried white oak. Avoid untreated pine—it absorbs moisture rapidly. For high-moisture zones like bathrooms or coastal homes, choose cellular PVC (e.g., Azek) or composite lumber rated for ground contact. All replacements must be primed on all six sides before installation.
A properly repaired sill restores not just appearance—but airflow control, energy efficiency, and moisture management. Even small cracks grow under thermal stress and daily use, so act before the window becomes harder to operate or starts leaking around the base. And remember: if you’re unsure whether the crack reflects deeper framing issues, a 30-minute inspection by a licensed carpenter often prevents far costlier repairs down the line—like water damage repair cost escalation or drywall replacement.