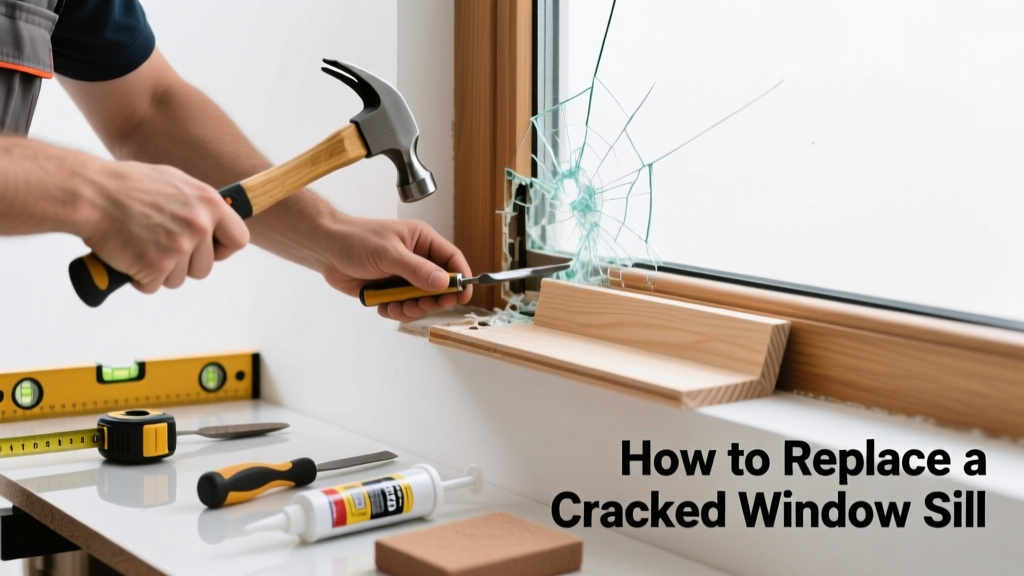
If your window sill has a hairline crack near the front edge—or a chunk missing from water damage—you don’t always need to rip out the entire unit. Many modern sills use modular components, especially in vinyl, fiberglass, or composite windows, where only the damaged sill nose or cap can be swapped. This fix targets that precise replacement, avoiding unnecessary labor and cost.
Quick Diagnosis
Before grabbing tools, confirm whether your sill’s crack is isolated to a replaceable component (like a removable sill cap or nose extension) versus structural wood rot beneath. Here are the most common causes:
- Impact damage from dropped tools, furniture, or ladders
- Repeated thermal expansion/contraction in vinyl or aluminum sills without proper expansion gaps
- Water infiltration behind caulk leading to freeze-thaw spalling in concrete or stone sills
- UV degradation of polymer-based sill caps (especially on south-facing windows)
- Improper fastening during prior installation causing stress fractures
Tools & Materials Needed
| Item | Purpose | Estimated Cost |
|---|---|---|
| Utility knife with fresh blades | Cuts through old caulk and sealant without gouging substrate | $5–$12 |
| 3M Scotch-Weld DP8010 adhesive | Structural bonding for exterior-grade sill caps; cures in wet conditions | $24–$32 |
| Replacement sill nose kit (brand-specific) | Exact-fit OEM part—e.g., Andersen 400 Series Sill Cap Kit or Pella 250/350 Nose Extension | $18–$45 |
| 100-grit sandpaper + microfiber cloth | Preps surface for adhesion; removes oxidation on aluminum or chalkiness on vinyl | $4–$8 |
| Butyl tape (1/4" x 30') | Secondary moisture barrier under new cap; compresses to fill minor gaps | $9–$15 |
Step-by-Step Fix
These methods assume your sill has a manufacturer-replaceable nose or cap—not solid wood or poured concrete. Confirm compatibility using your window’s model number (often stamped inside the frame jamb or on the sash label).
- Remove old cap: Score caulk lines with utility knife, then gently pry upward using a plastic putty knife—never metal—to avoid scratching the underlying sill base.
- Clean and prep: Wipe substrate with isopropyl alcohol, then lightly sand contact areas. Let dry 15 minutes.
- Apply butyl tape: Stick 1/4" butyl tape along the front lip of the base sill, pressing firmly to eliminate air pockets.
- Adhere new cap: Apply 3M DP8010 in three parallel beads (center + both edges), press cap into place with firm, even pressure, and hold for 60 seconds.
- Seal perimeter: After 24 hours, run a continuous bead of silicone (GE Advanced Silicone II) along outer seam—tool smooth with damp finger.
When to Call a Pro
DIY replacement fails fast when structural integrity is compromised. Call a licensed window contractor if you observe any of these:
- Crack extends more than 2 inches into the sill base or connects to the window frame’s mounting flange
- Underlying wood is soft, dark, or crumbles when poked with a screwdriver (sign of advanced rot)
- Your window is double-hung with integrated sill-to-jamb joinery—common in pre-1990s wood units
- The sill is load-bearing for masonry veneer or stone cladding above the window
"Over 68% of 'sill crack' service calls we handle turn out to be symptoms of failed head flashing—not the sill itself," says Mike Rinaldi, field supervisor at FensterUSA, 2023.
Prevention Tips
Extend the life of your replacement part with proactive habits:
- Re-caulk the sill-to-wall joint every 3 years using ASTM C920 Class 25 sealant
- Install exterior window well covers or overhangs if sill receives direct rain exposure
- Wipe standing water off sills after storms—especially critical for low-slope installations
- Avoid placing potted plants directly on sills; use trays with drainage holes and elevate with rubber feet
Can I glue a cracked vinyl sill instead of replacing it?
No—vinyl cracks propagate under UV and thermal stress. Adhesives like PVC cement or superglue may bond temporarily but fail within 6–12 months outdoors. Replacement is the only code-compliant, long-term solution per the Vinyl Siding Institute’s 2022 Installation Standards.
Do I need to remove the window to replace the sill nose?
Almost never. Most modern replacement sill noses install from the exterior only. Exceptions include tilt-turn windows (common in European brands like Internorm) and some early-generation Marvin Integrity units—check your owner’s manual or Marvel window repair guide for confirmation.
What if my window brand doesn’t sell individual sill caps?
Contact the manufacturer’s parts department directly—many keep discontinued components for up to 15 years. If unavailable, consider a custom-machined ABS or HDPE cap via services like custom plastic fabrication. Avoid 3D-printed PLA—it degrades rapidly in UV exposure.
How long does the adhesive take to fully cure?
3M DP8010 reaches handling strength in 2 hours at 70°F, but full structural cure requires 7 days. Avoid heavy objects or direct water spray until then. Cold temperatures (<50°F) extend cure time by 50% per 10°F drop, per 3M Technical Bulletin TB-1142 (2023).
Is painting the new sill cap safe?
Only if using 100% acrylic latex paint rated for plastics—and only after waiting 14 days post-installation. Never use oil-based or elastomeric paints: they trap moisture and cause delamination. For color matching, consult the window sill paint guide.
Can I use construction adhesive instead of specialty bonding agent?
No. Standard polyurethane or latex-based adhesives lack the elongation (≥100%) and UV resistance required for exterior sill movement. They’ll brittle, crack, and allow water intrusion within one season—violating ASTM D3405 standards for exterior window components.
A cracked sill isn’t just cosmetic—it’s an entry point for moisture that can undermine framing, insulation, and interior finishes. Replacing just the damaged section correctly restores weather resistance and preserves your window’s warranty. Done right, this repair lasts 10+ years and keeps your home tighter, drier, and more energy-efficient.