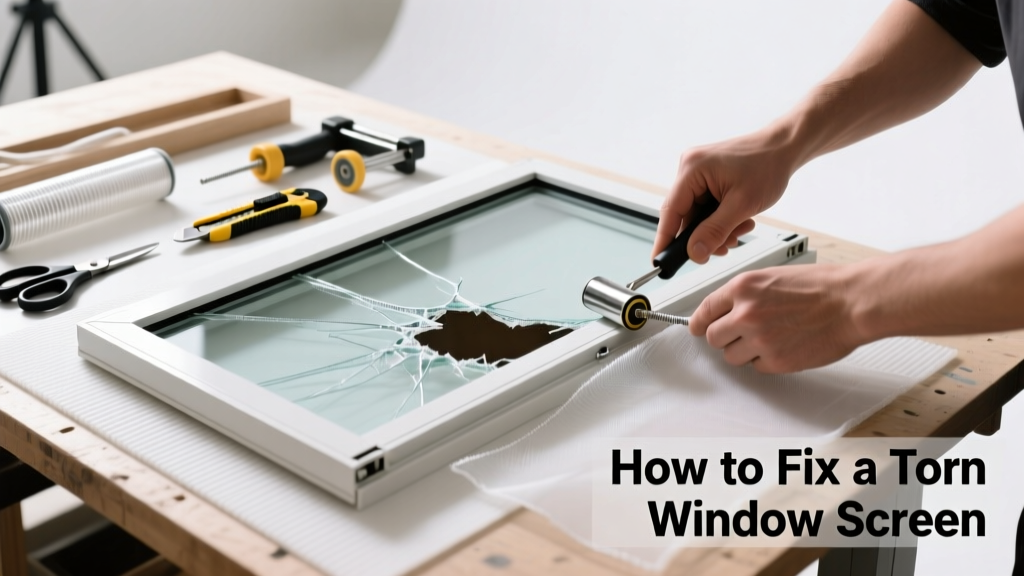
A torn window screen is more than just an eyesore—it lets in bugs, reduces airflow, and weakens your home’s first line of defense against weather and pests. The good news? Most tears under 3 inches can be repaired in under 20 minutes with basic tools you likely already own. Even larger rips often don’t require full replacement—just smart patching or reweaving.
Quick Diagnosis
Before grabbing tools, identify the cause—it guides your fix:
- Pet claws (especially cats jumping or scratching near screens)
- Accidental puncture from gardening tools or furniture moving
- UV degradation weakening fiberglass or aluminum mesh over time
- Frost heave or thermal expansion cracking vinyl frame corners
- Improper installation causing uneven tension and stress points
Tools & Materials Needed
| Item | Purpose | Estimated Cost |
|---|---|---|
| Screen repair kit (fiberglass or aluminum) | Includes patch material, adhesive, and applicator for seamless bonding | $4–$12 |
| Utility knife with fresh blade | Cleanly trim frayed edges and cut patch material to size | $3–$8 |
| Small flathead screwdriver | Remove spline from damaged section without damaging frame | $2–$6 |
| Replacement spline (round or D-shaped) | Re-secures mesh into frame groove; matches original diameter | $2–$5 per 25 ft |
| Work gloves (nitrile or leather) | Protect hands from sharp edges and fiberglass splinters | $5–$15 |
Step-by-Step Fix
Choose the method that fits your tear size and screen type:
- Small tear (under 1 inch): Clean area with rubbing alcohol, apply clear silicone sealant or screen-specific adhesive, then press on a ½-inch square patch from a repair kit. Let cure 2 hours before use.
- Moderate tear (1–4 inches): Remove spline along one side using a flathead screwdriver. Lift out damaged mesh, cut new replacement mesh 1 inch larger than opening, stretch taut, and reinstall spline with a spline roller.
- Fiberglass weave repair: For tiny holes or loose threads, use a needle and clear fishing line to reweave strands—start at one edge, loop through adjacent intact weaves, and secure with a drop of cyanoacrylate glue.
- Vinyl frame crack + tear combo: Stabilize frame first with epoxy putty (e.g., PC-Woody), let cure overnight, then replace mesh as in step 2.
When to Call a Pro
DIY isn’t always safe or effective. Call a licensed window technician if:
- The tear spans more than 40% of the screen surface area
- You’re dealing with specialty screens (motorized retractable, solar-coated, or security-grade aluminum)
- The frame is warped, cracked beyond epoxy repair, or missing mounting clips
- You live in a high-rise (above third floor) and lack fall protection equipment
According to the National Association of Home Builders’ 2022 Remodeling Impact Report, 68% of homeowners who attempted complex screen replacements without proper spline tensioning ended up needing professional rework within 90 days.
"A properly installed screen should hold firm pressure when pressed—not sag, ripple, or pop out at corners. If it does, tension wasn’t calibrated right." — Mike R., certified window installer with 17 years’ experience at FensterUSA
Prevention Tips
Extend your screen’s life with these habits:
- Trim pet nails every 3–4 weeks and install cat deterrent tape on lower screen edges
- Wash screens twice yearly with mild dish soap and soft brush—avoid pressure washers
- Replace vinyl spline every 5 years (it hardens and loses elasticity)
- Install storm windows or exterior shutters in high-wind zones to reduce screen stress
Can I use duct tape to fix a torn screen?
No—duct tape degrades quickly in UV light, leaves sticky residue that blocks airflow, and fails under humidity or temperature swings. It also prevents proper adhesion if you later try a real repair. Use only screen-specific adhesive or silicone caulk.
How long does screen repair adhesive take to dry?
Most screen repair adhesives (like Loctite PL Premium or Tear-Aid Type A) set in 15–30 minutes but need 2–4 hours for full bond strength. Avoid touching or stretching the patch during this time. Cold or humid conditions extend cure time by up to 50%.
Will a patched screen keep out mosquitoes?
Yes—if the patch fully covers the tear and bonds flush with the mesh surface. Test by holding the screen up to light: no visible gaps or thin spots mean insects can’t squeeze through. Mesh density matters too—standard 18×18 mesh stops most mosquitoes; finer 20×20 is better for no-see-ums.
Can I replace just part of the screen instead of the whole panel?
Absolutely—and it’s often smarter. As long as the frame is intact and the spline channel is clean, you can cut out only the damaged section, insert new mesh, and re-spline just that area. This saves up to 70% of the cost versus full replacement. See our guide to screen mesh types to match your original material.
What’s the difference between aluminum and fiberglass screen mesh?
Aluminum is stronger and rodent-resistant but dents easily and conducts cold. Fiberglass is flexible, non-corrosive, and easier to handle—but stretches over time and can sag without proper tension. For most homes, fiberglass is ideal; aluminum suits high-traffic areas like patios or rental units. Learn more in our aluminum vs. fiberglass comparison.
Do I need to remove the entire screen to fix a small tear?
No—you can patch in place for tears under 2 inches. Just clean the area thoroughly, stabilize surrounding mesh with masking tape, and apply patch material directly. Removing the screen is only necessary for larger repairs or when spline needs full reseating. For tips on safe removal, check our how to remove window screen guide.
A well-repaired screen looks nearly invisible and performs just as well as new—especially when you match materials and respect tension requirements. Keep spare spline and a small roll of mesh in your garage; they’ll pay for themselves after your second repair. And remember: even pros start with a clean surface, sharp tools, and patience—not speed.