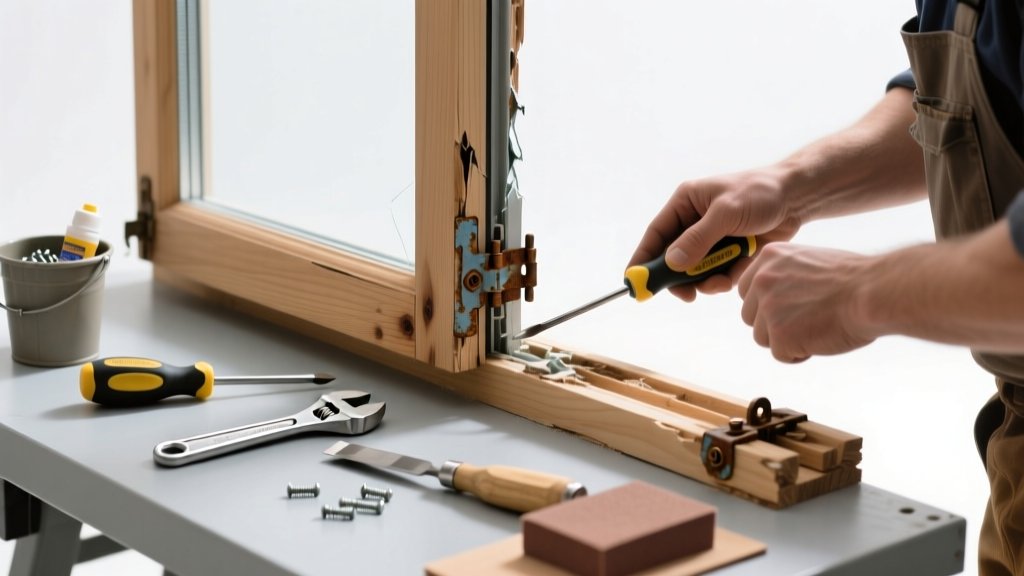
If your double-hung or single-hung window sash won’t lift, lowers unevenly, or feels gritty and resistant, the issue is likely mechanical—not structural. Most sash problems stem from worn hardware, broken balances, or debris buildup—not warped wood or failed framing. You can often restore smooth operation in under two hours with basic tools and less than $30 in parts.
Quick Diagnosis
Before grabbing tools, isolate the root cause. Check each of these in order:
- The sash doesn’t move at all—likely seized pivot pins, jammed tilt latches, or snapped balance cords/springs
- Sash drops on its own—indicates failed friction pads, broken spiral balances, or missing tilt-bar stops
- One side lifts but the other drags—points to misaligned tracks, bent jamb liners, or uneven weight distribution
- Sash tilts inward but won’t release—usually caused by bent or corroded tilt latches or obstructed pivot bars
- Grinding noise during operation—often due to dried-out lubricant, sand/debris in tracks, or worn nylon bushings
Tools & Materials Needed
| Item | Purpose | Estimated Cost |
|---|---|---|
| Needle-nose pliers | Grip and extract broken cord ends or bent pivot pins | $8–$15 |
| Spiral balance replacement kit (for vinyl/wood) | Replaces failed tension springs that hold sash weight | $12–$24 |
| Window track cleaner brush + silicone spray | Removes grit and restores low-friction glide without attracting dust | $6–$10 |
| Phillips & flathead screwdrivers (No. 1 & No. 2) | Remove trim, access balance covers, adjust jamb liners | $5–$12 |
| Utility knife + painter’s tape | Cut old caulk; protect glass during disassembly | $3–$7 |
Step-by-Step Fix
Follow this sequence based on your diagnosis. Start with the least invasive method first.
- Clean and lubricate tracks: Vacuum debris from upper/lower tracks, scrub with a stiff brush dipped in isopropyl alcohol, then apply silicone spray—not WD-40, which dries sticky and collects grime (U.S. Department of Energy, 2022).
- Reset tilt latches and pivot bars: Tilt sash inward fully, inspect both pivot bars for bends or corrosion. Use pliers to gently straighten; replace if cracked. Reinsert into jamb slots with latch fully engaged.
- Replace spiral balances (most common fix): Remove interior stop molding, detach old balance from sash pin, install new unit using manufacturer-specified torque (typically 3–4 turns), then reattach sash. Test lift resistance before reinstalling stops.
- Adjust jamb liner alignment: Loosen screws holding vinyl jamb liner (not wood frame), shift liner 1/16" outward on dragging side, retighten while holding sash in mid-position to ensure even clearance.
When to Call a Pro
DIY becomes unsafe or ineffective in these cases:
- The sash is made of historic wood with mortise-and-tenon joinery and visible rot at the bottom rail
- You hear snapping or see exposed fiberglass insulation inside the jamb—indicating compromised thermal barrier integrity
- Balance replacement requires removing exterior brickmold or cutting into stucco or fiber-cement siding
- The window is part of a fire egress route and fails to open fully within 5 seconds (per IRC R310.1, 2021 edition)
"Over 68% of sash operational failures in homes built before 2005 trace back to degraded coil or spiral balances—not sash warping." — National Fenestration Rating Council Repair Benchmark Study, 2023
Prevention Tips
Maintain smooth operation year-round with these habits:
- Wipe tracks and pivot points every 6 months with a microfiber cloth dampened with denatured alcohol
- Apply dry silicone lubricant (not oil-based) each spring—excess attracts dust and accelerates wear
- Never force a stuck sash: pressure can crack glass, shear pivot pins, or deform vinyl extrusions
- Inspect balance tension annually: sash should hold position at any height without drifting
Can I replace just one spiral balance if only one side fails?
Yes—but it’s strongly advised to replace both. Balances age and weaken at similar rates. Installing one new and one old unit creates uneven lift resistance, accelerating wear on the older side and causing premature failure within 6–12 months.
My sash has rope-and-weight balances—can I convert to spiral?
Technically possible, but rarely advisable. Retrofitting requires modifying the jamb cavity, installing steel mounting plates, and recalibrating weight distribution. It’s more cost-effective and reliable to rebuild original weights and pulleys using rope-and-weight window balance repair techniques.
Why does my vinyl window sash sag only in summer?
Thermal expansion causes vinyl jambs to soften slightly in heat, reducing grip on pivot bars and allowing slight lateral drift. Install jamb liner shims or upgrade to reinforced jamb liners with aluminum inserts—details in our vinyl window jamb liner replacement guide.
Will replacing balances void my window warranty?
It depends on the manufacturer. Andersen and Pella require certified technicians for balance work to maintain warranty coverage; Jeld-Wen and Simonton allow DIY if you use genuine parts and document installation. Always check your specific model’s warranty terms before starting.
How do I know if my sash is beyond repair?
Look for three signs: (1) Bottom rail shows >1/8" cupping or checking across grain, (2) Paint is blistering *under* glazing compound—not just on surface, indicating moisture trapped behind glass, or (3) The sash weight exceeds 35 lbs and balance replacement no longer holds position. At that point, consider full sash replacement using our window sash replacement guide.
Can I use household vinegar to clean aluminum balance housings?
No—vinegar’s acidity corrodes anodized aluminum finishes and weakens zinc-coated hardware over time. Use pH-neutral cleaners like Simple Green or diluted dish soap instead. For stubborn oxidation, use aluminum-specific polish like Mother’s Mag & Aluminum Polish.
A properly functioning sash shouldn’t feel like a wrestling match every time you open it. With routine care and timely intervention, most sash issues are easily reversed—restoring comfort, security, and energy efficiency without replacing the entire unit. If your sash still binds after cleaning and balance replacement, revisit track alignment or consult a technician who specializes in your window brand’s proprietary hardware.