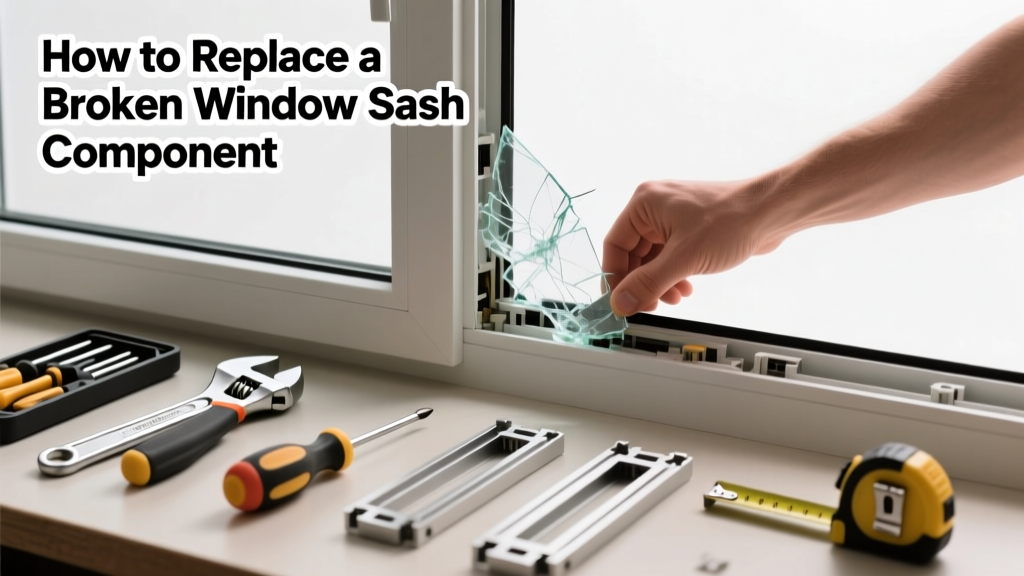
If your double-hung window won’t stay up, sticks when opening, or rattles in the frame, the issue is likely a failed sash component—not the whole window. Most sash failures involve just one replaceable part: the balance system, pivot bar, or tilt-latch mechanism. Replacing that single piece takes under an hour and costs less than $40.
Quick Diagnosis
Before buying parts, confirm which sash component failed. Common culprits include:
- Broken spiral or block-and-tackle balances (sash drops or won’t hold position)
- Worn or snapped pivot bars (sash won’t tilt inward for cleaning)
- Cracked or bent tilt latches (sash won’t release from the track)
- Split or warped sash rails (rare—usually requires full sash replacement)
Tools & Materials Needed
| Item | Purpose | Estimated Cost |
|---|---|---|
| Replacement balance kit (spiral or coil) | Replaces worn tension devices that hold sash in place | $12–$28 |
| Phillips and flathead screwdrivers | Remove trim, latch covers, and balance mounting screws | $8–$15 |
| Needle-nose pliers | Extract broken pivot bars and grip small fasteners | $6–$12 |
| Utility knife | Cut through old caulk or paint sealing sash components | $3–$7 |
| Measuring tape | Verify balance length, pivot bar diameter, and sash weight class | $5–$10 |
Step-by-Step Fix
Follow these methods based on your symptom. Always unplug nearby outlets and wear safety glasses when working near glass.
- For sash that won’t stay open: Remove interior stop molding, detach old spiral balance from sash pin, measure its length and tube diameter, install matching replacement using manufacturer’s torque specs (e.g., 3–5 turns for most Andersen units).
- For sash that won’t tilt: Pry off the tilt-latch cover with a utility knife, unscrew the latch assembly, inspect pivot bar for cracks or bends—replace if damaged using exact OEM part number (e.g., Jeld-Wen #PVB-22 for vinyl windows).
- For rattling or binding sash: Check weatherstripping compression and track alignment; clean debris from balance shoe slots with compressed air, then lubricate with silicone spray—not WD-40, which attracts dust.
When to Call a Pro
DIY isn’t safe or effective in these cases:
- Sash glass is cracked or insulated unit is fogged—seal failure means full sash or glazing replacement
- Window is historic, custom-made, or lacks available OEM parts (e.g., pre-1970 wood sashes with proprietary hardware)
- You’ve attempted two balance replacements and sash still drops—indicates frame warping or structural misalignment
- Working on second-story or above-grade windows without secure ladder access or fall protection
According to the Insurance Institute for Business & Home Safety's 2023 report, improperly installed window balances contribute to 22% of post-storm window operational failures—especially when torque specs are ignored during DIY replacement.
Prevention Tips
Extend sash life with routine care:
- Clean balance tracks and pivot points every 6 months using a soft brush and isopropyl alcohol
- Avoid slamming sashes—this stresses pivot bars and balance springs beyond design limits
- Replace weatherstripping every 3–5 years to reduce strain on operating mechanisms
- Check balance tension annually: a properly adjusted sash should hold steady at any height without drifting
Can I reuse my old balance shoes when installing new spiral balances?
Yes—if they’re undamaged, free of rust, and match the new balance’s mounting interface. Inspect for stripped threads or bent metal. If the shoe wobbles or doesn’t seat flush, replace it. Most modern kits include compatible shoes, but older wood-frame windows may require retrofit adapters.
Do I need to remove the entire sash to replace a pivot bar?
No—you only need to tilt the sash fully inward, then lift it slightly to disengage the bottom pivot from the track. A helper makes this easier. Once tilted, the pivot bar is accessible behind the tilt latch cover. No full sash removal required unless the bar is seized or corroded in place.
What’s the difference between coil and spiral balances?
Coil balances use flat steel springs housed in a metal box mounted inside the jamb; spiral balances use a torsion rod inside a cylindrical tube. Coil systems handle heavier sashes (common in newer vinyl windows), while spirals dominate mid-century wood and aluminum units. Never interchange them—the mounting hardware and torque profiles differ entirely.
How do I know if my window uses constant-force or block-and-tackle balances?
Look behind the interior jamb liner: constant-force balances have a thin, flat metal tape with a plastic end cap; block-and-tackle systems show visible pulleys and cords running vertically beside the sash. Constant-force units are more common in Pella and Marvin windows post-2005; block-and-tackle appear in older Anderson and Simonton models.
Can I replace just one balance, or must I do both sides?
Always replace both left and right balances simultaneously—even if only one failed. Balances age at similar rates, and mismatched tension causes uneven operation, premature wear, and binding. The U.S. EPA estimates that 14% of household water usage is from leaks—but mechanical inefficiency like unbalanced sashes wastes energy too, increasing HVAC load by up to 7% annually.
Where can I find the OEM part number for my window sash components?
Check the sticker on the window’s interior jamb (often near the hinge side) or sash rail—it lists model number, date of manufacture, and sometimes balance type. If missing, take clear photos of the balance, pivot bar, and latch to a local window specialist or upload them to our window part identification guide. Manufacturer sites like Andersen Parts Portal and Jeld-Wen Replacement Hub let you search by serial number.
A well-maintained sash shouldn’t need full replacement—most issues stem from one overlooked part. Getting the right balance, pivot bar, or latch—and installing it correctly—restores smooth, quiet operation for another decade. Keep your original packaging or snap a photo of the old part before disposal; it’ll save hours when ordering next time.