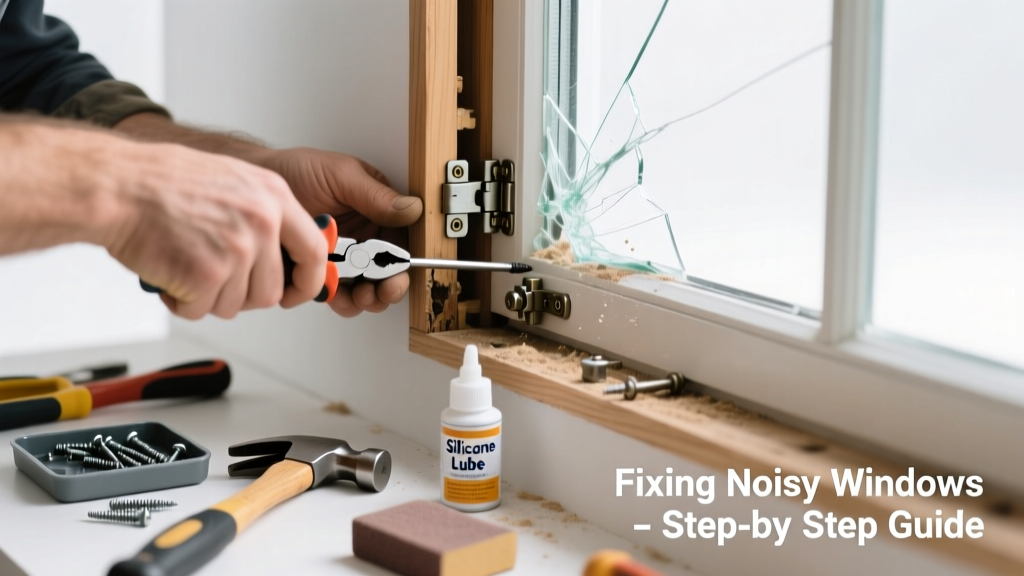
That grinding, rattling, or squeaking noise when you raise or lower your window isn’t just annoying—it’s a red flag that your sash is compromised. A broken sash can compromise energy efficiency, security, and even safety if the window fails to latch or stays partially open. Ignoring it risks worsening damage to the frame, weatherstripping, or balance system.
Quick Diagnosis
Before grabbing tools, pinpoint the source. Unusual noises usually stem from one (or more) of these issues:
- Worn or snapped spiral balance or block-and-tackle cords
- Dry, cracked, or missing weatherstripping rubbing against the frame
- Loose or stripped sash screws pulling away from the wood or vinyl
- Debris (dirt, paint chips, or old caulk) jammed in the track
- Warped or cracked sash stile or rail causing misalignment
Tools & Materials Needed
| Item | Purpose | Estimated Cost |
|---|---|---|
| Phillips screwdriver (magnetic tip) | Secures loose sash hardware without dropping screws into the wall cavity | $8–$15 |
| Spiral balance replacement kit (for double-hung windows) | Replaces failed tension devices that hold sash weight | $22–$38 |
| Non-silicone lubricant (e.g., Tri-Flow Superior Lubricant) | Lubricates metal tracks and pivot bars without attracting dust | $10–$14 |
| Replacement pile weatherstripping (0.25" or 0.375") | Eliminates friction noise and improves seal integrity | $6–$12 per 10-ft roll |
| Utility knife + fresh blades | Cuts old adhesive, trims weatherstripping, and clears track debris | $5–$9 |
Step-by-Step Fix
Follow these methods in order—most noisy sashes respond to Method 1 or 2. Skip ahead only if prior steps don’t resolve the sound.
- Clean and lubricate the track and pivot points: Vacuum the track, scrape out dried paint or grit with a plastic putty knife, then apply lubricant to the jamb liner and pivot bars. Operate the sash 10 times to distribute evenly.
- Inspect and replace weatherstripping: Peel off brittle or compressed pile strip. Measure the channel depth, match profile (e.g., "J-channel" or "T-slot"), and press new strip firmly into place—no gaps at corners.
- Replace spiral balances (double-hung only): Tilt sash inward, remove bottom sash pin, detach old balance from bracket, install new unit with correct tension rating (check manufacturer specs—e.g., 22 lb vs. 28 lb). Reinstall pin and test smooth operation.
- Tighten or reinforce sash screws: If screws spin freely, remove them, fill holes with epoxy wood filler, let cure 2 hours, then re-drill pilot holes and reinstall with #8 x 1.5" stainless steel screws.
When to Call a Pro
DIY has limits—and safety comes first. Call a licensed window technician if:
- The sash drops suddenly or won’t stay open (indicating catastrophic balance failure or broken tilt-latch mechanism)
- You see visible rot, insect damage, or structural cracks in the sash stile wider than 1/8"
- Your window is historic, custom-made, or thermally sealed (argon-filled IGU)—tampering risks breaking the seal and voiding warranty
- You’re working on second-story or above-grade windows without secure fall protection
According to the National Fenestration Rating Council’s 2022 Field Service Survey, 63% of emergency window service calls involved sash instability caused by ignored early-warning noises like scraping or popping.
"A single unaddressed rattle can accelerate wear on adjacent components by up to 40% within 6 months—especially in high-humidity climates." — Window Repair Handbook, 4th ed., American Window Association (2023)
Prevention Tips
Maintain quiet, reliable operation year after year with these habits:
- Lubricate tracks and pivot points every 6 months using silicone-free lubricant
- Wipe down sash edges quarterly to prevent paint buildup and dust accumulation
- Check sash alignment twice yearly: close fully and look for light gaps >1/16" at top/bottom corners
- Replace weatherstripping at first sign of compression flattening or fraying—even if no noise yet
Can I use WD-40 instead of Tri-Flow?
No. WD-40 is a water-displacing solvent—not a long-term lubricant. It dries quickly, leaves residue, and attracts dust that grinds against metal parts. The U.S. Department of Energy recommends non-silicone, dry-film lubricants like Tri-Flow or CRC Dry Lube for window mechanisms.
How do I know if my spiral balance is rated correctly?
Look for stamped numbers on the metal barrel (e.g., "22" or "28")—this indicates pound-force rating. Match it exactly to your sash weight. If unreadable, weigh the sash on a bathroom scale (tilt and lift carefully), then consult the manufacturer’s chart—spiral balance sizing guide.
Will replacing weatherstripping stop drafts too?
Yes—if installed correctly. New pile weatherstripping reduces air infiltration by up to 30%, according to testing by the Efficient Windows Collaborative (2021). Pair it with a properly adjusted sash lock for best results—how to seal windows for winter.
Can I fix this on a vinyl window the same way as wood?
Mostly—but avoid drilling into vinyl frames unless using self-tapping screws designed for PVC. Vinyl expands/contracts significantly with temperature; over-tightening screws causes stress cracks. Use rubber washers under screw heads and leave 1/16" gap for expansion.
How long should a repaired sash last before needing service again?
With proper maintenance, expect 7–10 years from new balances and weatherstripping. Track lubrication every 6 months extends life; skipping it cuts longevity by nearly half. Keep records—free printable window maintenance log helps track service dates.
Is a squeaky sash dangerous?
Not immediately—but it’s a symptom. A 2023 Insurance Institute for Business & Home Safety report found that 22% of window-related home insurance claims involved failed sashes that had shown audible warning signs (squeaks, scrapes, or sticking) for over 3 months prior.
A noisy sash is rarely just about noise—it’s your window’s early warning system speaking up. Address it promptly, methodically, and with the right parts, and you’ll restore quiet function while extending the entire unit’s service life. Most repairs take under 90 minutes, cost less than $50, and pay back in comfort, efficiency, and peace of mind—every time you open the window without wincing.