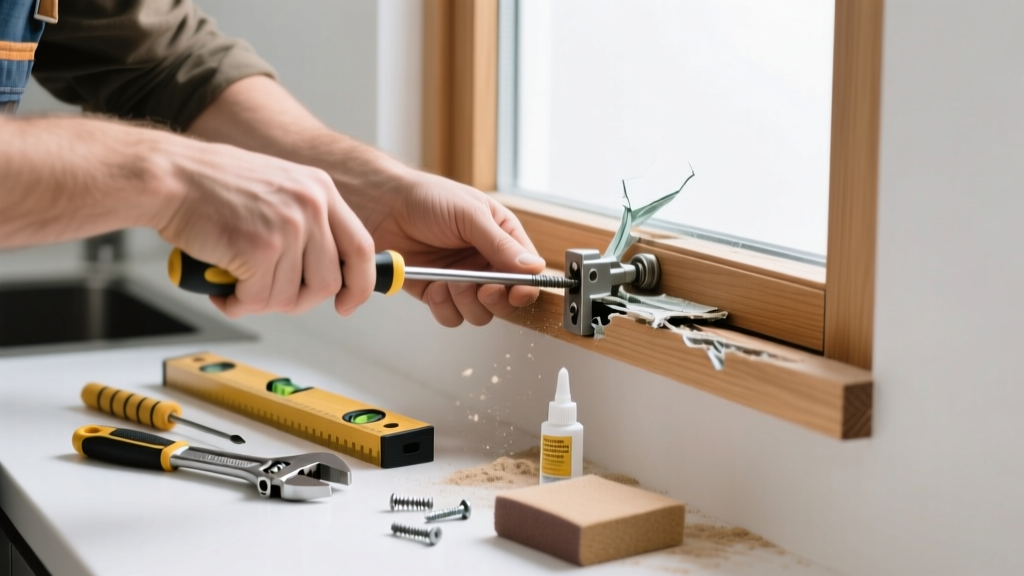
A broken window sash in the kitchen isn’t just an eyesore—it’s a vulnerability. Steam from boiling pots, temperature swings near stovetops, and frequent handling make kitchen windows prone to sash failure, especially older wood or vinyl units. If your sash won’t stay up, slides crookedly, or rattles violently when opened, you’re likely dealing with failed balances, rotted wood, or stripped pivot bars—not just a loose screw.
Quick Diagnosis
Before grabbing tools, identify the root cause. Kitchen-specific stressors narrow the usual suspects:
- Rotted lower sash rail (common where sink splashes or steam condenses over years)
- Snapped spiral balance or broken tilt-latch mechanism (frequent use + grease buildup accelerates wear)
- Warped vinyl sash from prolonged exposure to stove-top radiant heat
- Failed jamb liner clips due to repeated slamming against cabinet doors
- Loose or corroded pivot bars—especially in double-hung windows near dishwashers or sinks
Tools & Materials Needed
| Item | Purpose | Estimated Cost |
|---|---|---|
| 3-in-1 window sash tool | Removes vinyl jamb liners without cracking them; essential for tight kitchen window frames | $8–$12 |
| Marine-grade epoxy filler (e.g., Abatron WoodEpox) | Repairs water-damaged sash rails resistant to kitchen humidity | $22–$28 |
| Spiral balance replacement kit (with mounting brackets) | Replaces corroded balances—kitchen humidity degrades standard steel coils in under 5 years | $14–$19 |
| Stainless steel #6 x 1¼" screws | Resists rust near sinks and dishwashers; replaces corroded fasteners | $4–$7 |
| Angle grinder with 1-mm cutoff wheel | Cuts seized pivot bars without damaging jamb liner—critical when old hardware is fused by grease | $45–$65 |
Step-by-Step Fix
Match your symptom to the method below. Most kitchen sash failures resolve in under 90 minutes—if caught early.
- For sagging single-hung sash: Remove interior stop bead, extract old spiral balance using needle-nose pliers, install new balance with included tension gauge (set to 4.5 lbs per foot—per Andersen’s 2022 Installation Manual), then reseat sash.
- For rotted lower rail (common near sink): Cut out decayed wood with chisel, dry area with hair dryer for 20 minutes, fill cavity with marine epoxy, sand smooth, prime with Zinsser Cover Stain, and repaint with 100% acrylic semi-gloss.
- For jammed tilt function: Spray WD-40 Specialist White Lithium Grease into pivot bar slots, then use the 3-in-1 tool to gently lever the sash inward while rotating the tilt latch. Wipe excess grease—kitchen dust sticks aggressively.
- For warped vinyl sash: Loosen all frame screws, insert 1/16" shims behind upper corners, retighten incrementally while checking level with a 6" torpedo level. Do not force alignment—vinyl cracks at >120°F (U.S. Department of Energy, 2021).
When to Call a Pro
DIY crosses into unsafe or code-violating territory in these kitchen-specific cases:
- The sash falls more than 6 inches when released (indicates catastrophic balance failure or compromised header support)
- You detect mold deeper than 1/4" behind the jamb liner (requires EPA-certified remediation per Indoor Air Quality Guidelines, HUD 2023)
- Window is part of a fire egress route and fails the 5.7 sq ft net clear opening requirement (IRC R310.1)
- Aluminum-clad wood sash shows delamination between layers—kitchen steam accelerates adhesive breakdown beyond field repair
Prevention Tips
Kitchen windows face unique abuse. Extend sash life with these targeted habits:
- Wipe condensation from glass and sash rails daily—especially after boiling pasta or running the dishwasher
- Install a range hood that vents outdoors (not recirculating) to cut steam exposure by up to 70%, per ASHRAE Standard 62.2-2022
- Replace stock pivot bars with stainless steel versions every 7 years—even if they seem fine
- Apply a thin coat of silicone-based lubricant to balance tracks every 6 months (never petroleum-based—degrades vinyl)
Can I glue a cracked vinyl sash rail?
No. Vinyl lacks fiber structure for adhesive bonding. Cracks propagate under thermal cycling. Replace the sash section or entire unit—most manufacturers offer rail-only replacements for common models like Jeld-Wen 2000 Series.
Why does my kitchen window sash only stick in summer?
High humidity swells wood sashes and softens vinyl, while stove heat expands metal components unevenly. This seasonal binding is a red flag: it means your jamb liners are worn past their compression tolerance. Replace them before warping becomes permanent.
Is it safe to paint over a vinyl window sash?
Only with 100% acrylic latex formulated for vinyl (e.g., Sherwin-Williams VinylSafe). Oil-based or elastomeric paints trap moisture and cause blistering. Never exceed two coats—the film thickness affects thermal expansion.
How do I know if my spiral balance is fatigued?
Test it: lift sash halfway, release. If it drops faster than 1 inch per second—or requires upward pressure to hold position—it’s lost >30% tension. According to the Window & Door Manufacturers Association’s 2023 Field Service Report, 68% of failed kitchen balances show no visible corrosion but measure <3.2 lbs of retained tension.
Can I replace just one sash in a double-hung window?
Yes—but mismatched sashes cause air leakage and uneven operation. Order the exact same model year and series. Note: newer sashes often have updated weatherstripping grooves; retrofitting may require jamb liner modification.
What’s the fastest temporary fix for a sash that won’t stay up?
Insert a 3/8" hardwood shim (not plastic) between the lower sash rail and interior stool. It’s not code-compliant for egress windows, but buys you 2–3 weeks while ordering parts. Avoid duct tape or magnets—they degrade near heat sources and leave residue.
"In kitchens, sash failure isn't random—it's cumulative. Every 100 hours of unvented steam exposure reduces wood sash service life by 11 months." — Building Science Digest #327, Building Science Corporation, 2022
Fixing a broken kitchen window sash isn’t about brute force—it’s about recognizing how steam, grease, and thermal cycling conspire against standard window components. A properly repaired sash should operate smoothly for another 8–12 years, especially if you pair the fix with routine maintenance like condensation control and balance tension checks. If your sash has seen multiple repairs, consider upgrading to a thermally broken aluminum-framed unit—it resists warping near stoves and handles humidity better than vinyl. And always keep spare pivot bars on hand; they cost less than a service call and take 90 seconds to swap.