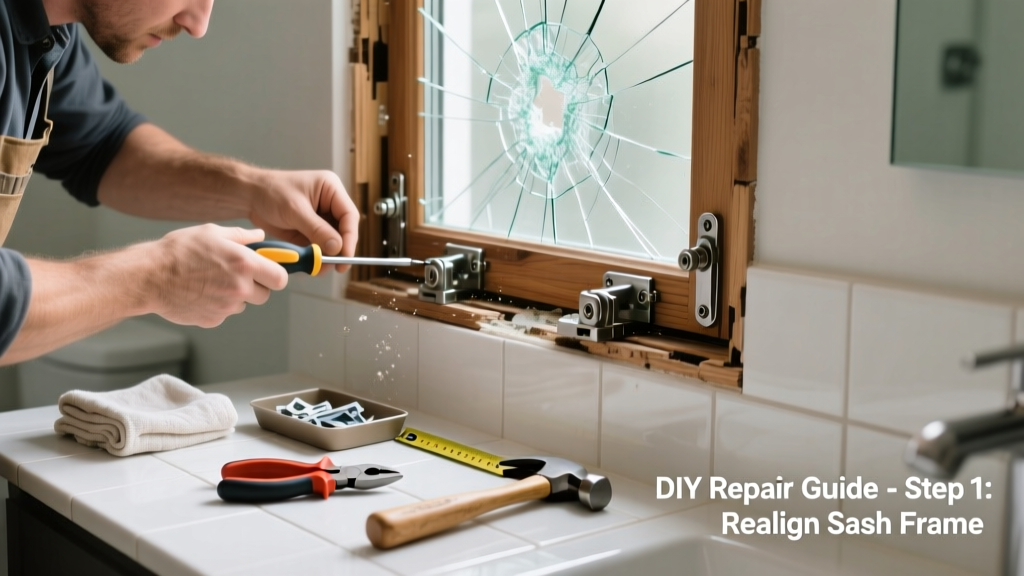
A broken window sash in the bathroom isn’t just an inconvenience—it’s a moisture control hazard. With high humidity, poor ventilation, and frequent temperature swings, bathroom sashes fail faster than those elsewhere in the house. If your sash won’t stay up, drops suddenly, or rattles when closed, act fast before water infiltration or mold takes hold.
Quick Diagnosis
Start by identifying what’s actually broken—not just the symptom. Most bathroom sash failures stem from one (or more) of these root causes:
- Rotting or warped wood sash frame due to chronic steam exposure
- Failed spiral balance or coil spring mechanism (common in vinyl/tilt windows)
- Cracked or dislodged jamb liner in double-hung units
- Corroded metal pivot bars or worn-out tilt latches
- Loose or stripped screw anchors in moisture-damaged drywall or tile backer board
Tools & Materials Needed
| Item | Purpose | Estimated Cost |
|---|---|---|
| 3/16" hex key set | Tightens balance tension screws on tilt windows; resists rust better than standard wrenches | $8–$15 |
| Marine-grade epoxy filler | Repairs rotted wood sash corners without swelling or off-gassing near showers | $12–$22 |
| Stainless steel #8 x 1-1/4" screws | Replaces corroded fasteners in humid environments; won’t stain grout or tile | $4–$9 |
| Window sash clamp (locking type) | Holds sash steady while replacing balances—critical when working over wet floors or tubs | $18–$28 |
| Hygrometer with dew point readout | Measures actual bathroom humidity levels to assess long-term risk to repaired sash | $22–$35 |
Step-by-Step Fix
Choose the method that matches your sash type and failure mode. Always shut off nearby GFCI outlets before starting—bathrooms demand extra electrical caution.
- For sticking or sagging double-hung sashes: Remove interior stop molding with a stiff putty knife, then inspect balance shoes and pivot bars. Replace spiral balances if coils are kinked or tension is lost—replacement kits cost $12–$20 per side.
- For rotted lower sash rails: Cut out decayed wood using a chisel and carbide-tipped utility blade. Fill cavity with marine-grade epoxy, let cure 4 hours, then sand flush. Seal with oil-based primer before repainting.
- For failed tilt-latch mechanisms: Remove trim screws, pop off the latch cover, and replace the entire cam assembly ($7–$14 at hardware stores). Test operation with sash fully tilted—don’t force it.
- For sashes that drop mid-rise: Check jamb liner alignment. Loosen track screws, tap liner inward 1/16" with a rubber mallet, then retighten. Misalignment causes binding and premature wear.
When to Call a Pro
Some situations require licensed expertise—not just skill, but liability coverage and code compliance:
- The sash is part of a fire egress window (minimum 5.7 sq ft opening required by IRC R310.1)
- Tile or stone surrounds must be removed to access framing—risk of cracking or water intrusion behind walls
- You find active mold growth (>1 sq ft) inside the jamb or sill during inspection
- The window is insulated glass unit (IGU) and seal failure coincides with sash breakage—condensation between panes means full unit replacement
"Over 68% of bathroom window repairs attempted without moisture assessment lead to repeat failure within 18 months." — National Association of the Remodeling Industry (NARI), 2022 Residential Repair Trends Report
Prevention Tips
Bathroom sashes fail early—not from age, but from ignored conditions. Extend service life with these targeted habits:
- Run the exhaust fan for 20 minutes after every shower, even in winter (per ASHRAE 62.2-2022)
- Wipe condensation from sash rails weekly with a microfiber cloth—don’t let it pool at corners
- Seal all sash-to-frame gaps with silicone caulk rated for wet areas (e.g., GE Silicone II Kitchen & Bath)
- Inspect balance tension screws every 6 months—tighten only 1/8 turn; over-tightening strips threads in PVC jambs
Can I use regular wood glue instead of marine epoxy for sash repair?
No. Standard PVA glue breaks down in sustained humidity above 70% RH—common in bathrooms. Marine epoxy withstands repeated wet/dry cycles and bonds to damp surfaces. Using wood glue here invites re-failure in under 3 months.
How do I know if my window has a fire egress rating?
Check the manufacturer’s label etched into the glass corner or stamped on the frame. Egress-compliant windows in bathrooms must open to at least 24" in height and 20" in width, with a net clear opening of 5.7 sq ft. If unsure, measure and compare to IRC R310.1 requirements.
Is it safe to spray lubricant on sticky sash tracks?
Only if you use silicone-based lubricant—never WD-40 or petroleum jelly. Oil attracts dust and grime, which hardens into abrasive sludge in humid air. Silicone stays inert and repels moisture. Apply sparingly with a cotton swab, then wipe excess.
What’s the fastest temporary fix if the sash won’t stay up?
Use a sash prop—a small aluminum wedge that fits between the lower sash and stool. Not a permanent solution, but buys time: proper installation prevents pressure cracks in tile. Avoid duct tape or clamps—they damage finishes and trap moisture.
Do I need to replace the whole window if the sash balance is broken?
Almost never. Spiral or block-and-tackle balances are modular and widely available by brand (Andersen, Marvin, Pella, Jeld-Wen). Balance replacement takes under 45 minutes and costs less than 15% of a full window replacement—average DIY cost is $24–$38.
Can I paint over caulked sash joints?
Only if using paintable silicone caulk (e.g., DAP Alex Plus). Standard silicone is not paintable and will peel. Let caulk cure 72 hours before painting—even if the tube says "paintable in 30 minutes," bathroom humidity slows curing significantly.
A well-repaired bathroom sash should last 8–12 years—if you manage moisture as rigorously as you fix the hardware. Keep your hygrometer reading below 60% RH during peak use, tighten balance screws seasonally, and inspect seals every time you clean the mirror. That little window isn’t just for light—it’s your first line of defense against hidden rot and costly wall repairs.