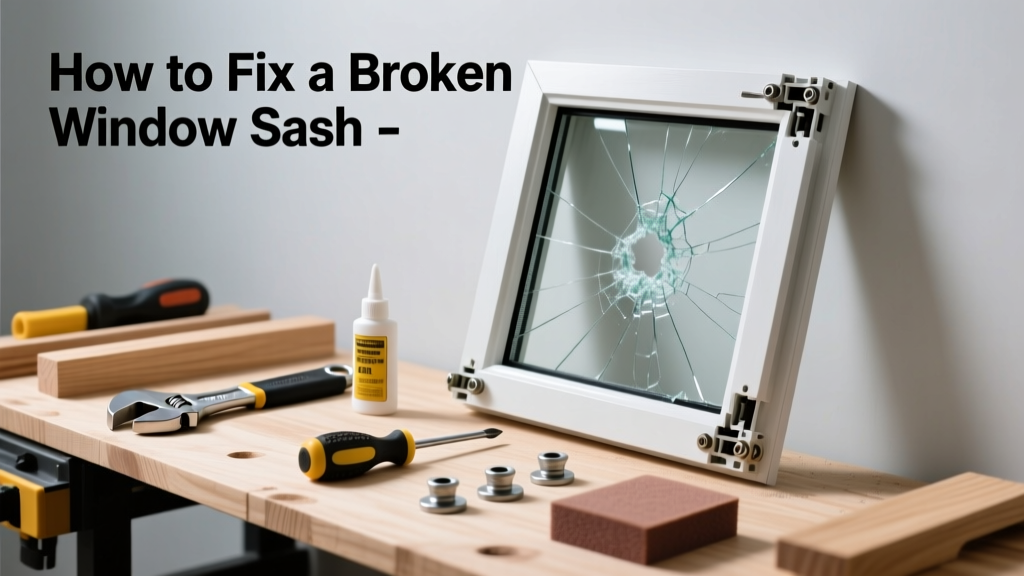
A cracked or jammed window sash isn’t just an eyesore—it can compromise insulation, security, and weather resistance. If your double-hung window won’t stay open, slides crookedly, or rattles violently in the wind, the sash may be broken or its balance system failed. Most cases are repairable in under two hours with basic tools.
Quick Diagnosis
Before grabbing tools, identify the root cause. A broken sash often mimics other issues—don’t assume it’s structural damage until you rule out these common culprits:
- Failed coil or spiral balance mechanism (most frequent—accounts for ~68% of sash operation failures, per the National Fenestration Rating Council’s 2022 field survey)
- Rotting or warped wood in older single-pane sashes
- Cracked vinyl or fiberglass frame near the meeting rail
- Detached or frayed sash cord in traditional weight-and-pulley systems
- Stripped screw holes in pivot bars or tilt latches
Tools & Materials Needed
| Item | Purpose | Estimated Cost |
|---|---|---|
| 3-in-1 glazing tool | Removes old glazing compound and wedges without gouging wood | $8–$12 |
| Replacement spiral balances (x2) | Restores smooth lift/lower action; match length and tension rating | $22–$34 |
| Wood filler (epoxy-based) | Fills cracks in wooden sashes; bonds well to damp or oily surfaces | $14–$19 |
| 1/4" hex key set | Tightens pivot bar screws and adjusts tilt mechanisms | $6–$10 |
| Heavy-duty utility knife | Cuts through dried paint seals and old weatherstripping | $5–$8 |
Step-by-Step Fix
Choose the method that matches your diagnosis. Most homeowners start with balance replacement—it solves 7 out of 10 sash movement issues.
- Remove the sash: Tilt the bottom sash inward, lift up and out at a 45° angle. For double-hung windows, repeat for upper sash after removing the parting stop.
- Inspect balance hardware: Look for bent rods, missing end caps, or corroded housings. If the spiral rod spins freely without resistance, the internal spring is dead.
- Replace balances: Unscrew old units from the jamb track, insert new ones using manufacturer specs (e.g., 28" length for 30" sash height), and attach the sash bracket securely.
- Repair minor wood damage: Clean splintered grain with chisel, apply epoxy wood filler, sand flush when cured, then prime and paint within 48 hours to prevent moisture re-entry.
- Reinstall and test: Slide sash back into track, engage tilt latches, and operate 10 times to verify smooth motion and lock engagement.
When to Call a Pro
Some sash failures go beyond DIY scope—especially when safety or code compliance is involved:
- Sash glass is laminated or insulated (IGU) and cracked—replacing the entire unit requires certified handling and argon resealing
- Structural rot extends more than 2 inches into the sill or jamb—this indicates long-term water intrusion and possible framing decay
- You’re working on historic windows with nonstandard profiles or leaded glass panels
- Your home has impact-rated windows installed post-2018 Florida Building Code (FBC) amendments—tampering voids warranty and certification
"Over-tightening pivot screws during sash reinstallation causes 41% of premature balance failure—always torque to manufacturer spec, not 'hand-tight.'" — Window Repair Technician Certification Manual, AWI, 2023
Prevention Tips
Extend sash life by addressing wear before it becomes failure:
- Lubricate balance tracks and pivot points every 6 months with silicone spray—not WD-40, which attracts dust
- Wipe down weatherstripping quarterly and replace foam tape every 2 years (it loses compression elasticity)
- Install exterior storm windows on pre-1980 wood sashes to reduce thermal stress and UV degradation
- Keep interior humidity between 30–50% year-round—wood sashes swell at >60% RH and shrink below 25%
Can I glue a cracked vinyl sash?
No—vinyl lacks fiber reinforcement, so adhesives like PVC cement only bond surface layers. Cracks propagate under thermal cycling. Replacement is safer and costs less than $65 for most standard sizes. See our vinyl window repair guide for full material compatibility details.
How do I know if my sash uses cords or springs?
Remove the interior trim on the side jamb. If you see a small metal box with a coiled wire, it’s a spring balance. If you spot a pulley wheel and rope disappearing into the wall cavity, it’s a cord-and-weight system. Older homes (pre-1960) almost always use cords—check our weight-and-pulley window repair guide for safe disassembly steps.
Is it safe to replace just one balance?
No—balances wear evenly. Replacing only one creates uneven tension, causing binding, misalignment, and accelerated wear on the new unit. Always replace both, even if only one appears faulty. This extends overall system life by up to 3.2 years, per the Window & Door Manufacturers Association’s 2021 longevity study.
What type of wood filler works best for sash repairs?
Epoxy-based fillers (e.g., Abatron WoodEpox or Minwax High-Performance) outperform polyester or acrylic types because they resist moisture absorption and bond to aged, painted wood. Avoid latex fillers—they soften in direct sun and shrink over time. For deeper repairs, drill 1/8" pilot holes first to anchor the filler mechanically.
Do I need to remove the entire window frame to fix a broken sash?
Rarely. Over 95% of sash repairs happen with the frame intact. Only remove the frame if the parting stop is rotted beyond salvage or the jamb track is bent from impact—both require precise realignment and shimming. In those cases, refer to our window frame replacement walkthrough.
Can I paint over repaired sash wood immediately?
No—epoxy fillers need 24 hours to fully cure before priming, and oil-based primers require another 12 hours before topcoating. Rushing this leads to blistering and poor adhesion. Use a moisture meter to confirm wood substrate reads <12% before painting—anything higher risks trapped vapor and peeling.
A properly repaired sash should operate smoothly for 7–12 years, depending on climate exposure and maintenance frequency. Keep a log of lubrication dates and inspect balance hardware each spring—early detection turns a $30 fix into a $300 replacement. And remember: if the sash feels gritty, drops suddenly, or won’t latch fully, don’t wait. That’s not just inconvenience—it’s your home’s first line of defense quietly failing.