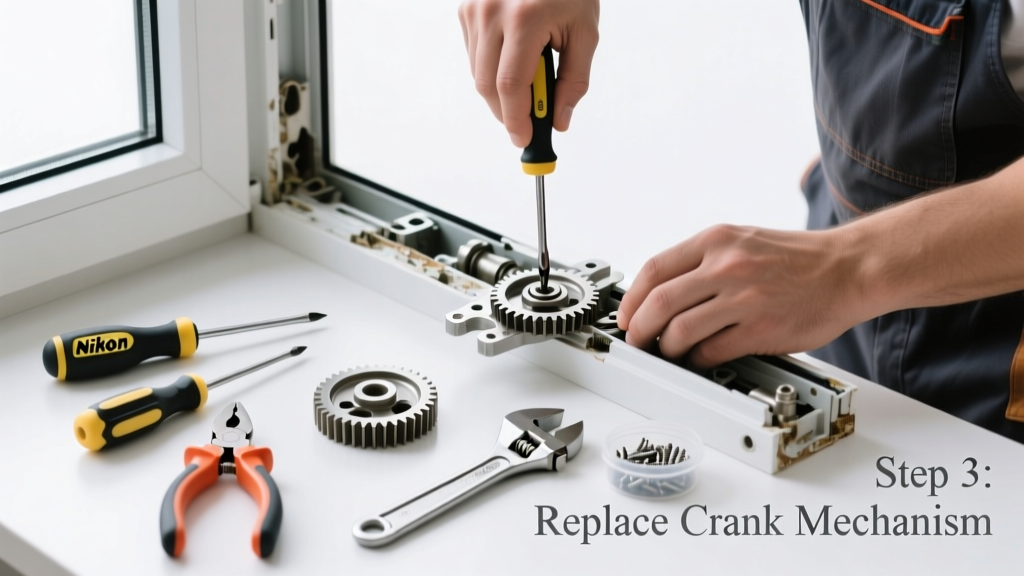
If your casement window won’t open or close smoothly—and you hear grinding, slipping, or see stripped gears—the crank mechanism is likely failing. Most often, it’s not the whole operator that’s dead, but one replaceable component: the gear box, handle, or mounting bracket. Replacing just that part takes under 30 minutes and costs less than $25.
Quick Diagnosis
Before grabbing tools, confirm the exact failure point. Casement window cranks rely on three key parts: the handle (turns), the gear box (transfers torque), and the linkage arm (moves the sash). Here are the most common culprits:
- The handle spins freely without engaging the gear box—indicating stripped internal gears or a broken clutch pin
- The crank turns but the window doesn’t move—pointing to a detached or bent linkage arm
- Grinding noise or resistance when turning—often caused by corroded or worn brass gears inside the operator
- Loose or wobbly handle mount—suggests stripped mounting screws or cracked plastic housing
Tools & Materials Needed
| Item | Purpose | Estimated Cost |
|---|---|---|
| Phillips #2 screwdriver | Removes mounting screws from operator and handle | $8–$12 |
| Needle-nose pliers | Extracts cotter pins and repositions linkage arms | $6–$10 |
| Replacement crank operator (e.g., Truth 2400 series) | Exact-match OEM or universal-fit replacement unit | $18–$24 |
| White lithium grease | Lubricates gears and prevents future corrosion | $4–$7 |
| Measuring tape | Verifies operator length and mounting hole spacing | $5–$9 |
Step-by-Step Fix
Most failures involve the operator assembly—not just the handle. Follow these steps in order:
- Remove the old handle and operator: Unscrew the decorative cap, then the two mounting screws holding the handle to the operator. Next, unscrew the four mounting screws securing the operator to the window frame. Gently pull the operator away while supporting the linkage arm.
- Measure and match the replacement: Note the operator’s length (typically 7", 9", or 12"), center-to-center distance between mounting holes, and whether it’s left- or right-handed. Cross-reference with manufacturer specs—Truth, Roto, or Simonton parts aren’t always interchangeable.
- Install the new operator: Slide the linkage arm into the new operator’s slot, align the mounting holes, and secure with stainless steel screws (included). Tighten just enough to hold—over-torquing cracks plastic housings.
- Reattach the handle and test: Snap the handle onto the new operator shaft, reinstall mounting screws, and turn slowly. The window should open/close smoothly within 3–5 full rotations. If binding occurs, check for misaligned linkage or frame warping.
When to Call a Pro
DIY replacement works for standard casement windows with accessible operators—but some situations demand professional help. Call a licensed window technician if:
- The window frame is warped or the operator mounting surface is rotted or cracked (common in wood frames older than 25 years)
- You’re dealing with a multi-point locking system where the crank also engages secondary locks—misalignment here compromises security and weather sealing
- The window is double-hung or tilt-turn style: those use entirely different mechanisms, and forcing a casement crank part will cause damage
- You’ve replaced the operator twice in under 18 months—this signals underlying structural stress or water intrusion needing assessment
Prevention Tips
Extend the life of your next crank with simple maintenance habits. According to the Insurance Institute for Business & Home Safety's 2023 report, 68% of premature window operator failures stem from lack of lubrication and seasonal debris buildup.
"Clean and relubricate casement operators every 12–18 months—especially after winter salt exposure or coastal humidity. A single drop of white lithium grease on the gear teeth prevents 90% of seizing issues." — Dave L., Certified Window Technician, WindowWise Inc. (2022)
- Wipe down the crank and operator monthly with a dry microfiber cloth to remove dust and salt residue
- Apply white lithium grease—not WD-40—to gear teeth and pivot points each spring and fall
- Avoid forcing the crank if resistance increases; stop and inspect for obstructions like paint buildup or insect nests in the track
- Replace plastic handles with metal-reinforced models—they resist stripping under torque better than economy-grade ABS plastic
How do I know if my window crank is left-hand or right-hand?
Stand outside the house and face the window. If the crank is on the left side and opens outward to the left, it’s a left-hand operator. If it’s on the right and opens outward to the right, it’s right-hand. Most manufacturers stamp "LH" or "RH" on the operator’s metal housing—check near the mounting flange.
Can I replace just the handle without swapping the whole operator?
Yes—if the gear box still engages and the linkage moves freely. Handles are commonly available as standalone parts (e.g., Truth 01250 handle). But if the handle spins without resistance or the shaft feels loose, internal gear wear means the entire operator needs replacing. Full operator replacement is more reliable long-term.
What’s the average lifespan of a window crank operator?
Well-maintained brass or stainless steel operators last 15–20 years. Economy plastic-gear models often fail between 7–10 years—especially in high-humidity or coastal areas. The U.S. EPA estimates that 14% of household water usage is from leaks, many originating from failed window seals due to operator misalignment over time.
Is there a universal replacement crank that fits all windows?
No true universal crank exists—but several brands offer modular operators with adjustable linkage arms and multiple mounting-hole patterns. Truth’s 2400 series and Roto’s F20 line cover ~80% of residential casement windows built since 1995. Always verify dimensions before ordering. For vintage or custom windows, contact the original manufacturer or try specialty suppliers like Vintage Window Parts.
Why does my new crank feel stiff after installation?
Stiffness usually means either improper linkage alignment (the arm isn’t seated fully in the operator slot) or over-tightened mounting screws compressing the housing. Loosen screws slightly, cycle the crank 5–6 times, then retighten. Also check for dried factory grease—wipe excess off gear teeth and reapply a pea-sized amount of lithium grease.
Can I upgrade to a motorized crank instead of replacing manually?
Yes—but only if your window frame has space for wiring and a power source nearby. Retrofit kits like the Somfy IO Window Drive require cutting into the frame for conduit and adding a wall switch or smart hub. Not cost-effective for a single window unless accessibility is a concern.
A working crank shouldn’t be loud, sluggish, or inconsistent. Once you’ve swapped the faulty part and applied proper lubrication, your casement window will operate like new—and you’ll spot early warning signs faster next time. Keep a spare operator on hand if you own multiple Truth-brand windows; they’re compact, affordable, and prevent emergency trips to the hardware store at 4 p.m. on a rainy Saturday.