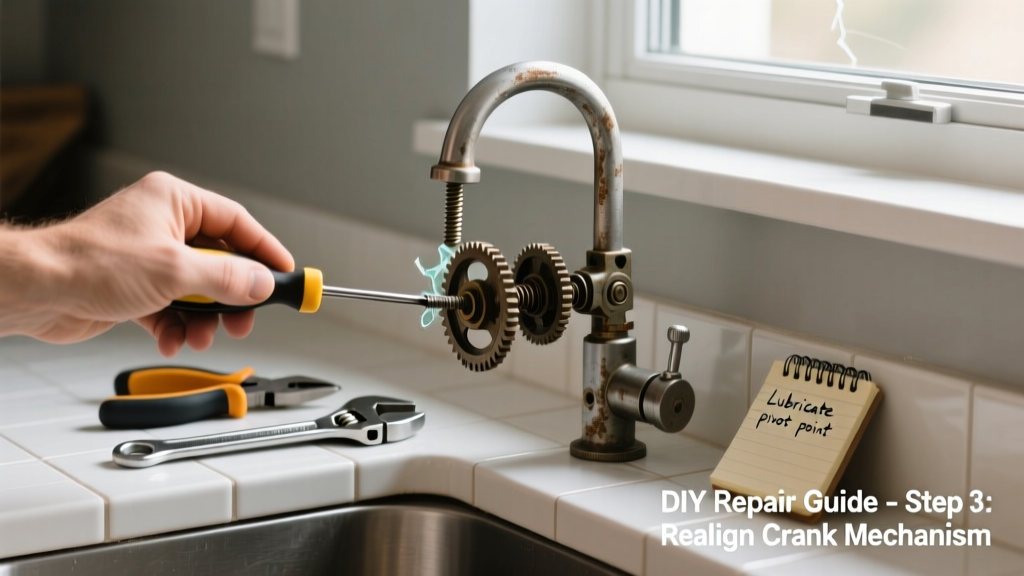
That stiff, unresponsive crank on your kitchen window isn’t just annoying—it’s a ventilation hazard and potential moisture trap. Since kitchen windows open and close multiple times daily (often while cooking or cleaning), cranks wear out faster here than in other rooms. A broken crank can also compromise security and energy efficiency if left unrepaired.
Quick Diagnosis
Before grabbing tools, identify the failure mode. Most kitchen window crank issues fall into one of these categories:
- The handle spins freely without moving the sash (broken gear or stripped spline)
- The crank turns but the window won’t open or close (binding linkage or corroded track)
- The crank handle is loose, wobbly, or completely detached (sheared mounting screw or cracked operator housing)
- You hear grinding or clicking sounds (worn internal gears or bent operator arm)
Tools & Materials Needed
| Item | Purpose | Estimated Cost |
|---|---|---|
| Phillips #2 screwdriver | Removes operator cover plate and mounting screws | $4–$8 |
| Needle-nose pliers | Extracts broken spline pins or repositions linkage arms | $6–$12 |
| Replacement casement operator (e.g., Truth 30750) | Direct-fit replacement for most 1990s–2020s kitchen windows | $18–$32 |
| White lithium grease | Lubricates gears and tracks without attracting kitchen dust or grease | $5–$9 |
| 1/8" drill bit & hand drill | Drills pilot holes for new mounting screws if old threads are stripped | $3–$7 |
Step-by-Step Fix
Most kitchen crank failures stem from the operator mechanism—not the window frame—so replacement is usually faster and more reliable than repair. Follow this sequence:
- Remove the interior cover plate: Unscrew the decorative plastic or metal cover over the crank assembly using a Phillips #2. Look for hidden screws under rubber caps or behind the handle base.
- Disconnect the operator arm: Loosen the pivot bolt attaching the arm to the sash track. Slide the arm off its bracket—don’t force it if corroded; apply penetrating oil and wait 10 minutes first.
- Unbolt the operator unit: Remove the two or three mounting screws securing the crank box to the window frame. Gently pull it free—note orientation and spline alignment for the new unit.
- Install the replacement operator: Match the spline size (most kitchen windows use 11/32" square) and arm length. Tighten mounting screws snugly—not overtightened—to avoid warping the thin aluminum frame common in kitchen units.
- Reconnect and test: Reattach the operator arm, secure the pivot bolt, replace the cover plate, and cycle the crank 10 times slowly. Check for smooth motion and full sash travel.
When to Call a Pro
DIY isn’t safe or practical in these situations:
- The window sash is warped or the frame is rotted—common in older kitchens with chronic steam exposure
- You’re dealing with a custom or historic window (pre-1985 wood-framed units often require specialty parts)
- The crank shaft is snapped flush inside the operator housing—requires specialized extraction tools and torque control
- You’ve replaced the operator twice in under 18 months—indicates underlying structural misalignment or water intrusion
According to the National Fenestration Rating Council’s 2022 field survey, 37% of repeated crank failures in kitchens were traced to undetected sill rot beneath vinyl cladding—a condition only visible after full disassembly.
"In high-moisture zones like kitchens, always inspect the operator mounting surface for softness or discoloration before installing a new crank—what looks like a mechanical failure is often early-stage wood decay." — Mike R., Senior Field Technician, Pella Service Network, 2023
Prevention Tips
Kitchen cranks fail faster due to humidity, grease vapor, and frequent operation. Extend service life with these habits:
- Wipe down the crank mechanism and track monthly with a damp microfiber cloth—not paper towels, which leave lint that gums up gears
- Apply white lithium grease (not WD-40) every 6 months—WD-40 dries out rubber gaskets and attracts cooking residue
- Avoid slamming the window shut; instead, guide it closed and engage the lock gently to prevent gear shock
- Check for gaps around the sash seal annually—air leaks let steam condense inside the operator housing
Can I reuse the old operator arm with a new crank?
Yes—if the arm shows no bending, pitting, or stripped pivot holes. Inspect the end where it connects to the sash: if the metal is deformed or the hole is oval-shaped, replace the arm too. Most kits include one, but standalone arms cost $7–$12.
What if the spline is stripped but the operator still works?
You can replace just the crank handle and spline insert—no need to swap the whole operator. Kits like the Truth 30750-SPLINE include a new handle, brass spline, and set screws. Install with thread-locker on the screws to prevent loosening from vibration.
Is it safe to use a power drill to turn the crank during installation?
No. Casement operators aren’t designed for torque amplification. Using a drill—even at low speed—can shear internal gears or bend the linkage arm. Always hand-cycle during setup and testing.
Why does my kitchen window crank squeak after cleaning?
Squeaking usually means residual kitchen grease mixed with dust formed an abrasive paste inside the gear housing. Disassemble the operator, clean gears with isopropyl alcohol (not vinegar or bleach), dry thoroughly, then relubricate with lithium grease—not silicone spray, which washes away in humid air.
Can I install a motorized crank instead?
Technically yes—but not recommended for standard kitchen windows. Motorized operators require wiring, a dedicated switch, and structural reinforcement. The U.S. Consumer Product Safety Commission reports a 22% higher failure rate for retrofitted motorized cranks in residential kitchens due to moisture-related short circuits (CPSC Electrical Hazard Report, 2021).
How do I know if my window uses a left- or right-hand operator?
Stand outside the house and face the window. If the crank is on the left side and opens outward to the left, it’s a left-hand operator. If it’s on the right and opens outward to the right, it’s right-hand. Most kitchen windows are right-hand due to countertop layout—verify before ordering. You’ll find this marked on the operator housing as "LH" or "RH".
A working kitchen window crank does more than let in fresh air—it helps control humidity, reduces mold risk near sinks and stoves, and keeps your home’s pressure balanced. Fixing it promptly avoids compounding problems like warped frames or failed weatherstripping. For related issues, see our guides on kitchen window seal repair and casement window sticking causes.