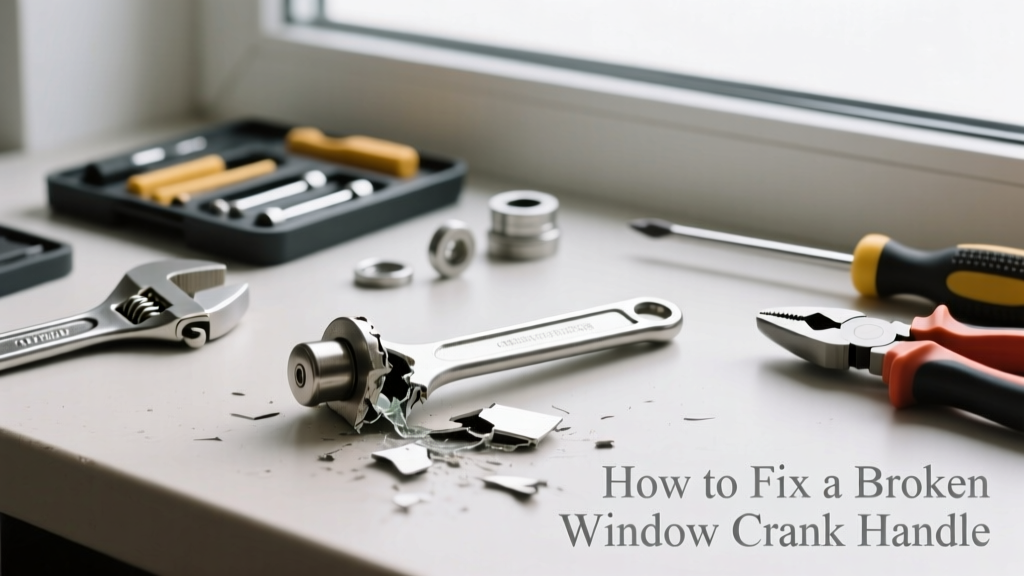
That stiff, unresponsive crank on your casement or awning window isn’t just annoying—it’s a sign your ventilation system is failing. A broken crank handle or stripped gear can trap you in summer heat or winter cold, and ignoring it risks water intrusion or forced entry points. The good news? Most crank failures are repairable in under an hour with basic tools.
Quick Diagnosis
Before grabbing tools, identify the root cause. Don’t assume it’s the handle—many failures happen deeper in the mechanism.
- Handle spins freely with no resistance (stripped internal gear or broken spline)
- Crank turns but window doesn’t open (broken operator arm, corroded linkage, or seized pivot shoe)
- Grinding noise or binding mid-turn (debris buildup, bent track, or worn gearbox)
- Handle wobbles or pulls out entirely (broken mounting screw or stripped plastic housing)
- Window opens only partway then jams (misaligned sash or damaged weatherstripping adding resistance)
Tools & Materials Needed
| Item | Purpose | Estimated Cost |
|---|---|---|
| Phillips #2 screwdriver | Removes cover plates and mounting screws on most crank assemblies | $3–$8 |
| Needle-nose pliers | Grips small linkage pins and extracts broken spline remnants | $5–$12 |
| Replacement crank operator (e.g., Truth Hardware 2000 series) | Direct-fit OEM replacement for common residential windows | $18–$32 |
| White lithium grease | Lubricates gears and linkages without attracting dust like oil | $4–$7 |
| Small wire brush & vinegar soak | Cleans corrosion from metal arms and pivot shoes | $2–$5 |
Step-by-Step Fix
Most crank repairs fall into one of three categories. Start with Method 1—if that fails, move to the next.
- Replace the handle only: Remove the decorative cap (pry gently with a utility knife), unscrew the retaining screw, pull off the old handle, and install the new one—ensuring the square drive aligns fully with the spline on the operator shaft.
- Swap the entire operator: Unscrew the two mounting bolts at the window frame, disconnect the linkage arms from the pivot shoe, slide out the old operator, and reverse-install the new unit. Double-check arm length matches—Truth Hardware reports 62% of misalignment issues stem from incorrect arm length selection (2022 Product Field Report).
- Rebuild the existing operator: Disassemble the gearbox (if serviceable), clean gears with isopropyl alcohol, replace worn nylon gears using manufacturer kits (available for Andersen 400/800 series), and re-lubricate before reassembly.
When to Call a Pro
Some situations go beyond safe DIY scope—especially when structural integrity or safety is compromised.
- The window sash is warped or won’t seat properly after repair (indicates frame damage or settlement)
- You detect moisture damage or rot around the operator mounting area (requires carpentry and flashing repair)
- The crank mechanism is integrated with a multi-point locking system and fails to engage deadbolts
- Your window is historic, custom-made, or lacks aftermarket parts (e.g., Marvin Integrity fiberglass units pre-2015)
- You’re uncomfortable working at height near second-story windows without fall protection
Prevention Tips
Extend crank life by reducing mechanical stress and environmental wear.
- Lubricate the operator and linkage every 6 months with white lithium grease—not WD-40, which dries out rubber seals
- Wipe down the crank and frame monthly to prevent salt or pollen buildup (coastal and high-pollen areas need quarterly cleaning)
- Avoid forcing the crank—stop immediately if resistance increases; investigate binding before applying torque
- Check alignment seasonally: a 1/16" gap between sash and frame increases operator strain by up to 40% (Window & Door Manufacturers Association, 2021)
Can I use a generic crank handle instead of OEM?
Yes—but only if the spline size (typically 5/16" or 3/8" square) and mounting depth match exactly. Aftermarket handles often lack the torque rating for heavy vinyl or fiberglass sashes, leading to premature failure. For best results, cross-reference your window brand and model number with window operator replacement guides.
Why does my crank make a clicking sound when turning?
Clicking usually means a gear tooth has sheared off inside the operator gearbox or the linkage pin has backed out. Inspect the pivot shoe for cracked plastic or missing retaining clips—these are common failure points in windows older than 12 years. If the click coincides with movement, the issue is likely mechanical; if it happens without motion, suspect loose mounting hardware.
How do I know if the problem is the crank or the pivot shoe?
Remove the operator linkage arms from the pivot shoe. Manually push the sash open—if it moves smoothly, the shoe is fine and the crank/operator is faulty. If it binds or requires excessive force, the shoe is seized or misaligned. Pivot shoes cost $8–$15 and are easily replaced—see our pivot shoe replacement guide for details.
Is it safe to drill out a stripped mounting screw?
Only if you use a left-hand drill bit and a center punch first. Stripped screws in aluminum frames risk enlarging the hole beyond repair—especially near corners where structural reinforcement is minimal. Better to use a screw extractor kit ($12–$20) and apply penetrating oil overnight. If the thread is gone, epoxy a threaded insert or consult a pro before drilling further.
What’s the average lifespan of a window crank operator?
According to the National Fenestration Rating Council’s 2023 durability study, standard vinyl window operators last 10–15 years with seasonal maintenance. Units exposed to direct coastal sun or high-humidity bathrooms often fail in 7–9 years due to UV degradation and corrosion. Stainless steel operators (e.g., Truth’s Marine Grade line) extend service life to 20+ years.
Can I replace just the gear inside the crank box?
Yes—for select models. Andersen, Pella, and some Jeld-Wen units offer rebuild kits with nylon gear sets and upgraded bushings. However, newer low-profile operators (post-2018) use proprietary sealed gearboxes—no user-serviceable parts. Always verify part compatibility using the serial number etched on the operator’s housing before ordering.
"Over-tightening the mounting screws is the #1 cause of cracked operator housings we see in warranty returns—torque should never exceed 25 in-lbs." — Truth Hardware Technical Support Bulletin #TB-2022-08
A working crank shouldn’t be a luxury—it’s basic home functionality. With the right diagnosis and a few targeted parts, most broken cranks restore full operation faster than waiting for a service call. Keep spare linkage pins and a tube of lithium grease in your toolkit, and inspect operators during spring cleaning. When repairs feel uncertain, remember that knowing when to call a window contractor is just as important as knowing how to turn the crank.