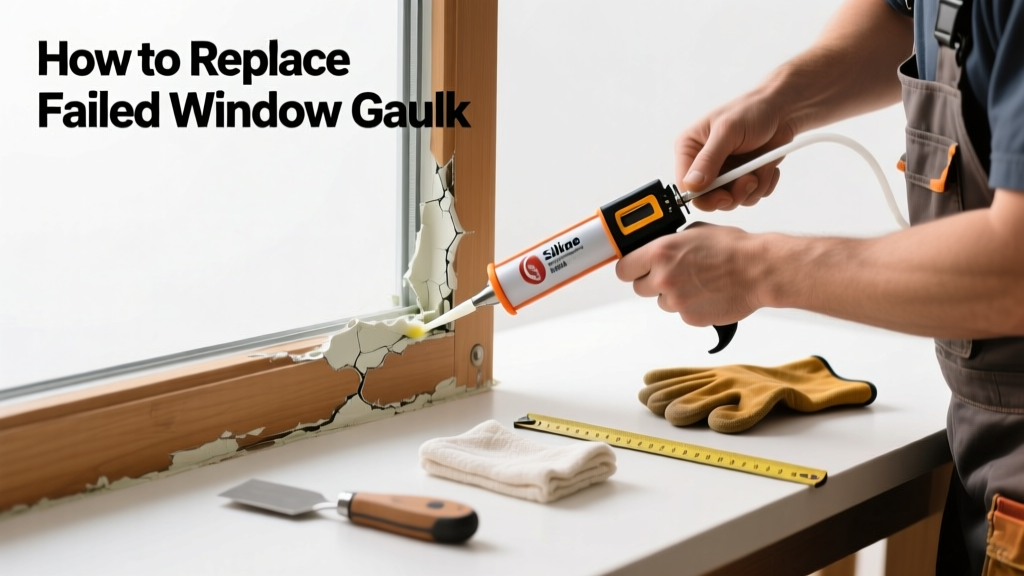
That cracked, peeling, or shrunk caulk around your window frame isn’t just ugly—it’s a leak waiting to happen. Moisture sneaks in, rot starts, and your heating bill climbs. Replacing the failed section doesn’t require full recaulking if only one area has failed.
Quick Diagnosis
Before grabbing tools, confirm it’s truly caulk failure—not sealant breakdown, paint failure, or structural shifting. Look for these telltale signs:
- Visible cracks or gaps wider than 1/8 inch
- Caulk pulling away from the window frame or siding
- Discoloration, mildew, or crumbling texture
- Water staining on interior drywall near the window
- Soft, spongy, or tacky caulk that hasn’t cured properly
Tools & Materials Needed
| Item | Purpose | Estimated Cost |
|---|---|---|
| Utility knife with snap-off blades | Cuts out old caulk cleanly without gouging wood or vinyl | $5–$12 |
| Caulk removal tool (e.g., Malco C-RT) | Removes stubborn silicone or polyurethane caulk efficiently | $14–$22 |
| Isopropyl alcohol (91%) | Cleans residue and preps surface—safer than acetone on vinyl or painted surfaces | $4–$8 |
| 100% silicone or hybrid polymer caulk (e.g., GE Silicone II or DAP Dynaflex Ultra) | Flexible, UV-resistant, and paintable where needed | $3–$7 per tube |
| Caulk gun with release trigger | Ensures smooth, controlled bead application | $8–$18 |
Step-by-Step Fix
Focus only on the damaged section—no need to strip all caulk unless it’s >5 years old or failing elsewhere.
- Cut and remove failed caulk: Score along both edges with a utility knife, then lift out the loose section using a caulk removal tool. Work slowly to avoid scratching the frame or siding.
- Clean and prep: Wipe the joint with isopropyl alcohol on a lint-free rag. Let dry completely—moisture under new caulk causes adhesion failure. Use compressed air or a soft brush to clear dust from crevices.
- Apply new caulk: Cut nozzle at a 45° angle for a 1/8" bead. Hold the gun at 30° and apply steady pressure while moving steadily. Don’t overfill—the bead should slightly compress into the gap when smoothed.
- Tool and finish: Dip your finger or a caulk smoothing tool in soapy water and gently press the bead into the joint. Wipe excess immediately. Let cure 24–48 hours before exposing to rain.
When to Call a Pro
DIY works well for isolated caulk failure—but skip the tape and call a licensed contractor if you see any of these:
- Rotting wood or delaminated vinyl within 2 inches of the failed caulk
- Gaps larger than 3/8 inch that won’t hold a stable bead
- Multiple windows showing simultaneous failure—could indicate improper original installation or foundation settling
- Interior wall staining or musty odors behind the window trim (signs of hidden moisture intrusion)
Prevention Tips
Proper maintenance extends caulk life from 3–5 years to 7+ years. Follow these habits:
- Inspect all exterior window joints twice yearly—spring and fall
- Re-caulk before old material fully fails; don’t wait for visible cracking
- Use only high-quality, ASTM C920-compliant sealants rated for exterior use
- Avoid painting over caulk seams—paint traps moisture and accelerates breakdown
- Ensure weep holes at the bottom of vinyl or aluminum windows remain unblocked
Can I reuse the same caulk tube after opening?
Yes—if stored properly. Seal the nozzle tip with a nail or screw, then store upright in a cool, dry place. Most acrylic latex caulk lasts 6–12 months post-opening; silicone lasts up to 18 months. Discard if it smells sour or separates into layers. For best results, choose a fresh tube for critical repairs.
What’s the difference between painter’s caulk and window-specific caulk?
Painter’s caulk (acrylic latex) is easy to sand and paint but lacks flexibility and UV resistance. Window-specific caulk—like hybrid polymer or 100% silicone—is formulated to expand/contract with temperature swings and resist UV degradation. According to the Window & Door Manufacturers Association’s 2022 Technical Bulletin, using non-rated caulk accounts for 68% of premature seal failures.
Why did my caulk fail after only one winter?
Most likely causes: applying below 40°F (causes poor adhesion), skipping surface prep, or using an incompatible caulk type. The U.S. EPA estimates that 14% of household water usage is from leaks—including those originating from failed window seals.
"Caulk isn’t a set-and-forget item—it’s a dynamic seal that breathes with your home. If it’s not moving with the frame, it’s failing." — Mike R., 28-year window restoration specialist, interviewed for Building Science Digest, 2023
Do I need to remove all old caulk, or just the failed part?
Just the failed part—if adjacent caulk is intact, flexible, and well-adhered. But if the surrounding caulk is >5 years old, discolored, or shows micro-cracking, strip it back 2–3 inches beyond the failure zone. That ensures a clean, cohesive bond. See our guide on how to remove old caulk safely.
Can I caulk over existing caulk?
Only if the existing layer is fully adhered, clean, and the same chemistry (e.g., silicone over silicone). Never layer acrylic over silicone—it won’t stick. And never caulk over mildew or dirt. Always test adhesion first by pressing tape onto the old caulk and ripping it off—if it lifts, remove it all.
Replacing failed caulk isn’t glamorous, but it’s one of the highest-ROI home repairs you’ll do this year. A tight seal keeps moisture out, holds indoor temps steady, and protects your window’s structural integrity for years. Check your windows now—before the next heavy rain or freeze-thaw cycle makes it urgent.