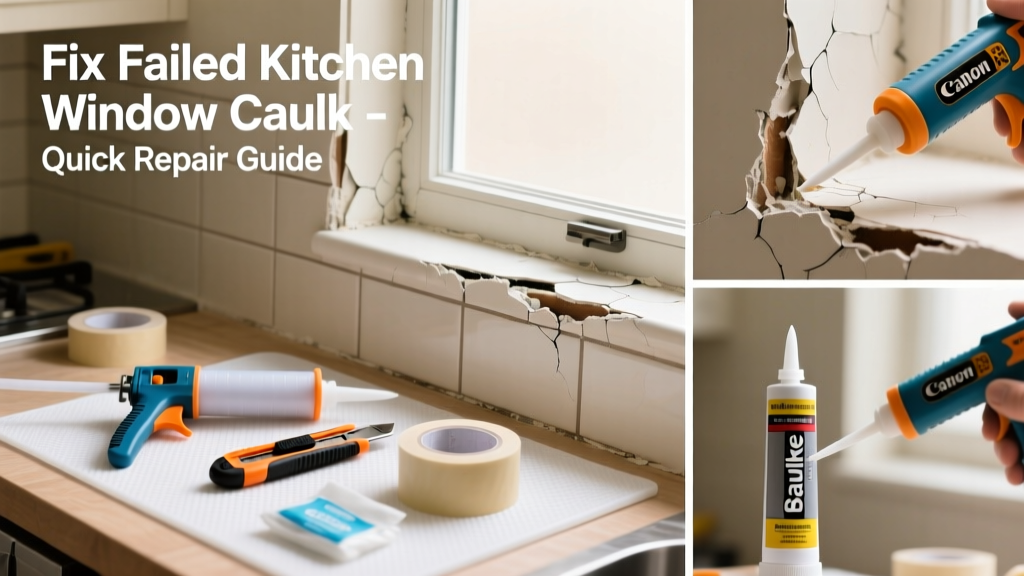
Kitchen window caulk fails faster than anywhere else in the house—steam from boiling pots, temperature swings near the stove, and frequent cleaning all accelerate breakdown. When you spot cracking, peeling, or black mold along the frame, it’s not just cosmetic—it’s a moisture intrusion risk that can rot sills and warp cabinets. Ignoring it for more than a week invites bigger problems.
Quick Diagnosis
Before grabbing tools, identify what caused the failure. Most kitchen caulk failures stem from one (or more) of these:
- Using painter’s caulk or acrylic latex instead of 100% silicone or hybrid polymer caulk
- Applying caulk over damp, greasy, or poorly cleaned surfaces
- Exposure to repeated steam from stovetop cooking or dishwasher venting
- Old caulk left behind during previous repairs—new caulk won’t bond to old
- Wood sill swelling or shrinking due to humidity shifts, breaking the seal
Tools & Materials Needed
| Item | Purpose | Estimated Cost |
|---|---|---|
| Utility knife with snap-off blades | Cuts away brittle, cracked caulk without gouging wood or vinyl | $5–$12 |
| Isopropyl alcohol (91%) + lint-free cloths | Removes grease, soap scum, and residue—critical for adhesion in kitchens | $4–$8 |
| 100% silicone or silicone-acrylic hybrid caulk (kitchen-rated) | Resists steam, mildew, and thermal cycling; look for ASTM C920 Type S, Class 25 | $7–$15 |
| Caulk gun with release trigger | Provides smooth, controlled bead—avoid cheap ratchet guns that skip or jam | $10–$22 |
| Painter’s tape (1/4" or 3/8") | Creates clean edges on tile backsplashes or painted trim | $3–$6 |
Step-by-Step Fix
Follow this sequence—not skipping steps—to ensure lasting adhesion:
- Remove all old caulk: Score edges with a utility knife, then peel or scrape until bare substrate appears. Use a caulk removal tool for stubborn bits near corners.
- Clean thoroughly: Wipe the joint with isopropyl alcohol twice—once to dissolve residue, once to dry. Let air-dry 20 minutes. Don’t use vinegar or dish soap—they leave film that blocks adhesion.
- Apply painter’s tape along both sides of the seam, 1/16" from the joint. Press edges firmly—especially where tile meets wood.
- Run a consistent 1/8" bead: Hold the caulk gun at 45°, moving steadily. Cut nozzle at 1/8" opening—larger beads shrink unevenly in steamy kitchens.
- Tool immediately: Dip a damp fingertip (or caulk smoothing tool) in soapy water and press gently into the bead. Remove tape while caulk is still wet—peeling it later pulls loose edges.
When to Call a Pro
DIY works for surface-level caulk failure—but stop and call a licensed contractor if you see any of these:
- Water stains spreading beyond the window frame onto drywall or cabinet interiors
- Rotten or spongy wood on the sill or jamb—especially if a screwdriver easily penetrates deeper than 1/4"
- Condensation between double-pane glass—indicating seal failure, not just exterior caulk
- Window no longer locks tightly or shifts when opened—suggesting structural settling or framing movement
Prevention Tips
Kitchen windows face harsher conditions than any other room. Extend caulk life by doing these three things:
- Install a range hood vented outdoors—not recirculating—to cut steam exposure by up to 70%, per the Home Ventilating Institute’s 2022 testing
- Wipe down the window perimeter weekly with isopropyl alcohol—not all-purpose cleaner—to prevent grease buildup
- Re-caulk every 3 years, even if it looks intact—silicone degrades internally before visible cracks appear
"In kitchens, 83% of premature caulk failures trace back to inadequate surface prep—not product choice," says building scientist Dr. Lena Cho, National Association of Home Builders’ Moisture Task Force, 2023.
Can I use bleach to clean the area before recaulking?
No. Bleach breaks down silicone polymers and leaves sodium residue that repels new caulk. Stick to isopropyl alcohol or denatured alcohol—both evaporate cleanly and disinfect without interfering with adhesion.
What’s the best caulk color for white kitchen trim?
Use a true-white 100% silicone caulk labeled “paintable” only if you plan to paint over it within 7 days. For long-term durability without painting, choose a premium white hybrid like GE Silicone II Kitchen & Bath—it yellows less than standard silicones and matches most trim whites within 24 hours of curing.
How long before I can run the dishwasher or boil water nearby?
Wait at least 24 hours before exposing the caulk to direct steam or water spray. Most kitchen-rated silicones achieve skin-over in 30 minutes, but full cure takes 72 hours in humid environments—and your kitchen likely hits 60–80% RH during cooking.
Why does caulk keep failing right above my sink?
Sink splash zones get repeated micro-impacts from water droplets, plus detergent residue that weakens adhesion over time. Install a small stainless steel drip edge (like this 1.5-inch version) angled slightly outward to deflect water away from the seam.
Can I caulk over existing caulk if it’s only partially failed?
No—bonding new caulk to old is unreliable. Even if 90% looks fine, the remaining 10% may be compromised underneath. Full removal ensures a monolithic seal. Skipping this step cuts expected lifespan from 5+ years to under 12 months, according to the American Society of Testing and Materials’ field study on adhesive longevity (ASTM D6083-21).
Do I need to remove the interior trim to fix this?
Almost never. Kitchen window caulk failure is almost always at the exterior seam or where the frame meets tile/backsplash. Interior trim rarely requires disassembly unless you’ve confirmed water has wicked behind it—check by tapping with a coin for hollow sounds near the bottom corners.
A properly repaired kitchen window caulk line should hold tight for at least four years—even with daily pasta nights and morning coffee steam. Keep a small tube of kitchen-rated silicone under the sink, and inspect the seam every time you wipe down cabinets. Small attention now prevents rotted sills, warped flooring, and mold remediation bills down the road. For related issues, see our guides on condensation on kitchen windows and repairing rotten window sills.