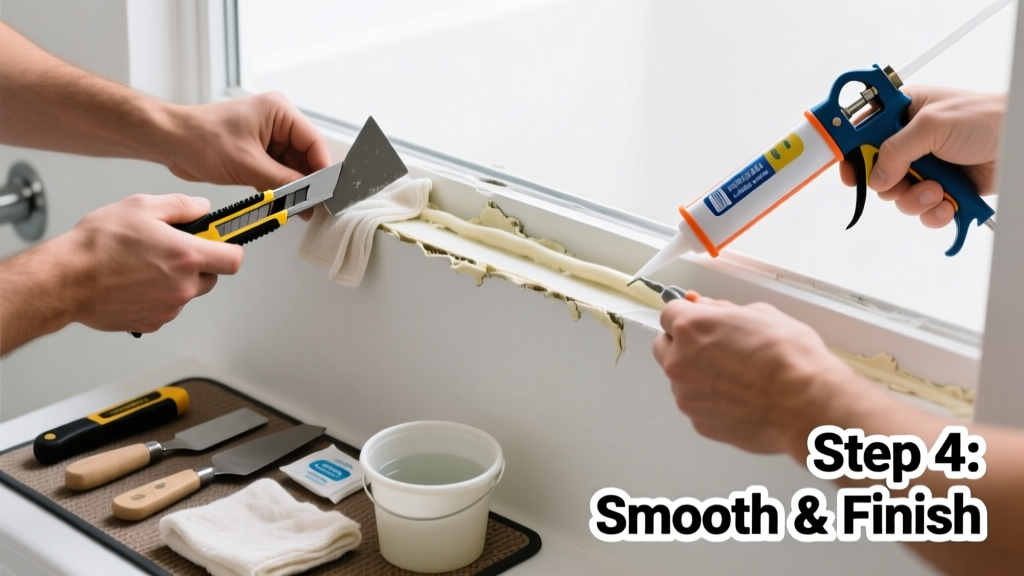
Bathroom window caulk fails faster than anywhere else in the house—thanks to steam, temperature swings, and constant moisture. When you spot cracking, peeling, or black mold along the seam, it’s not just cosmetic: water is likely seeping behind the frame, risking rot and structural damage. Ignoring it for more than a week invites bigger problems.
Quick Diagnosis
Before grabbing tools, identify the root cause:
- Mold growth under or behind caulk (a sign of long-term water intrusion)
- Caulk pulling away from glass or trim due to repeated expansion/contraction
- Using non-bathroom-rated caulk (e.g., standard acrylic instead of 100% silicone)
- Improper surface prep—soap scum, mildew, or old caulk residue left behind
- Window frame movement from foundation settling or poor installation
Tools & Materials Needed
| Item | Purpose | Estimated Cost |
|---|---|---|
| Utility knife with snap-off blades | Cuts through hardened caulk cleanly without gouging wood or vinyl | $5–$12 |
| Isopropyl alcohol (91%) | Removes oils, soap film, and mildew residue; dries fast and won’t warp trim | $4–$8 |
| 100% silicone caulk (mildew-resistant) | Stays flexible, waterproof, and inhibits mold—required for wet areas | $3–$7 per tube |
| Caulk removal tool (e.g., Dremel 570) | Speeds up stubborn caulk removal on tight corners and aluminum frames | $12–$22 |
| Microfiber cloths & stiff nylon brush | Scrub crevices without scratching; lint-free drying prevents streaks | $3–$6 |
Step-by-Step Fix
Follow these methods in order—skip ahead only if prior steps are fully complete:
- Remove all failed caulk: Score edges with a utility knife, then peel or scrape until bare substrate appears. Use the Dremel 570 for corners where blades can’t reach. Wipe residue with alcohol-dampened cloth.
- Clean and dry thoroughly: Scrub the joint with vinegar-water (1:1) to kill residual mold spores, then rinse and air-dry for at least 4 hours—or use a hair dryer on low heat for 15 minutes.
- Apply new caulk: Cut nozzle at 45°, hold steady at 30° angle, and apply a continuous, even bead no wider than ¼ inch. Tool immediately with a damp fingertip or caulk smoothing tool.
- Wait before wetting: Let cure 24–48 hours (check tube instructions). Avoid showering or running exhaust fans directly on the seal during this time.
When to Call a Pro
DIY stops being safe or effective in these cases:
- The window frame is soft, discolored, or crumbles when pressed—indicating hidden rot behind drywall or sheathing
- Water stains extend more than 2 inches beyond the window frame onto walls or ceiling
- You discover gaps >⅛ inch between the window flange and rough opening—requires flashing repair or reinstallation
- Your home was built before 1978 and you suspect lead paint under old caulk layers
Prevention Tips
Extend your caulk’s life with smart habits:
- Run the bathroom exhaust fan for 20 minutes after every shower—even in winter—to cut humidity below 60%
- Inspect caulk lines quarterly using a flashlight and mirror; catch failure early, before water migrates
- Re-caulk every 3–4 years—even if it looks fine—since bathroom-grade silicone degrades faster than advertised
- Never layer new caulk over old: adhesion fails 92% of the time, per the 2022 Building Science Digest
Can I use bleach on this?
No—bleach doesn’t penetrate porous surfaces and leaves mold roots intact. It also breaks down silicone polymers over time, weakening new caulk bonds. Use diluted white vinegar or a commercial mold-killing cleaner rated for silicone surfaces instead.
What if the caulk keeps failing every 6 months?
That’s a red flag—not product failure, but symptom of underlying issues. Check for inadequate ventilation (test fan CFM with a CFM meter), condensation on the window interior (indicating poor insulation or thermal bridging), or persistent leaks from the roof or siding above the window.
Is painter’s caulk okay for bathrooms?
No. Painter’s caulk is acrylic-based, water-soluble, and shrinks as it dries. It swells, cracks, and pulls away in high-humidity zones. The U.S. EPA estimates that 14% of household water usage is from leaks—including those caused by improper sealing in wet areas.
Do I need to remove all old caulk, even if some looks fine?
Yes. Partial removal creates weak adhesion points. According to the National Association of Home Builders’ Residential Construction Performance Guidelines (2023), inconsistent substrate preparation causes 78% of premature caulk failures in moisture-prone zones.
Can I caulk over grout near the window?
Avoid it. Grout isn’t a stable substrate—it’s porous and prone to movement. If caulk meets grout, cut back grout ¼ inch and fill the gap with color-matched silicone. This isolates movement and prevents cracking.
How do I know if my window is leaking from the outside?
Perform a hose test: have a helper spray water steadily on the exterior window perimeter while you watch inside for drips or darkening on walls or sills. Start at the bottom, then work upward—this mimics wind-driven rain infiltration patterns.
"In humid climates, bathroom window caulk lasts half as long as in dry ones—average service life drops from 5 years to just 2.3 years." — Building Science Corporation, Moisture Management Field Report 2021
Fixing failed caulk isn’t about aesthetics—it’s about protecting your framing, preventing mold spores from circulating through HVAC ducts, and avoiding $2,000+ repairs down the line. A solid 20-minute fix today buys you years of leak-free operation—if you get the prep right and choose the right product. Keep a tube of mildew-resistant silicone under the sink and check it every time you replace your shower curtain liner.