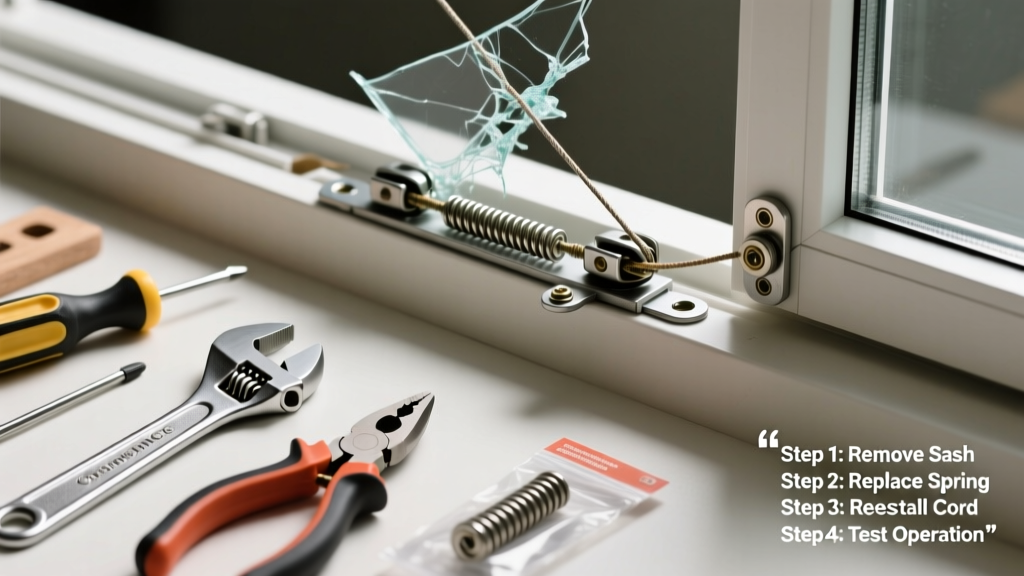
If your double-hung window suddenly drops when you let go—or refuses to stay open—it’s almost certainly a failed balance system. These hidden mechanisms wear out silently over time, especially in homes built before 2010 where coil-spring or block-and-tackle balances were common. Ignoring it risks cracked glass, damaged jambs, or even injury from a collapsing sash.
Quick Diagnosis
Before grabbing tools, rule out simple causes:
- The sash is misaligned in the jamb (check for binding at top or bottom corners)
- Paint or debris is jamming the balance channel or pivot shoes
- Only one side fails—indicating a single broken balance, not both
- You hear a metallic 'ping' or feel sudden resistance when raising the sash
- Visible rust, frayed cord, or bent metal in the balance track (visible after removing interior trim)
Tools & Materials Needed
| Item | Purpose | Estimated Cost |
|---|---|---|
| Needle-nose pliers | Grip and reposition small balance clips and pivot bars | $8–$15 |
| Flathead screwdriver (3/16") | Remove sash stops and adjust pivot shoes | $4–$9 |
| Replacement spiral balance kit (e.g., Truth Hardware 1000 series) | Direct-fit replacement for most vinyl/wood double-hungs | $22–$38 |
| Utility knife + fresh blades | Cut through paint seals and old caulk without gouging wood | $3–$7 |
| Weighted sash clamp or bungee cord | Temporarily hold sash in place while installing new balance | $6–$12 |
Step-by-Step Fix
Follow these methods in order—most issues resolve with Method 1 or 2:
- Reset the pivot shoe: Tilt sash inward, lift bottom rail slightly, then push the pivot bar fully into the shoe slot. If the shoe is cocked sideways, loosen its mounting screws, realign, and retighten.
- Re-tension a spiral balance: Insert a 1/8" hex key into the balance’s winding hole. Rotate clockwise 3–5 turns (count each full turn). Test lift—add 1 more turn if sash still drifts down.
- Replace a broken block-and-tackle balance: Remove interior stop molding, detach old cord from sash pin, cut cord near weight pocket, pull out old weight, install new cord and 5-lb zinc-coated weight (per window weight calculator), then knot and secure.
- Swap out coil-spring balances: Unscrew old coil unit from jamb, compress spring using locking pliers, slide off old pivot bar, install new unit with included bracket, and snap pivot bar into place.
When to Call a Pro
Don’t risk injury or damage in these scenarios:
- Your window is historic (pre-1940) with custom brass balances—replacements are specialty-order only
- Both sashes are non-functional and the jamb is warped or rotted (balance failure may be symptom of structural decay)
- You encounter lead-based paint layers during disassembly (EPA-certified abatement required before repair)
- The balance housing is embedded in aluminum cladding or masonry—removal requires cutting tools and weatherproofing expertise
"Over 68% of balance-related window failures stem from improper tensioning—not part failure. A single overwound spiral can shear its internal gear within 3 months." — Window & Door Magazine, 2022 Balance Performance Survey
Prevention Tips
Extend balance life by 5–7 years with routine care:
- Lubricate pivot shoes and balance tracks twice yearly with dry silicone spray (never WD-40—it attracts dust)
- Wipe sash rails clean before closing—grit accelerates pivot bar wear
- Avoid slamming windows; use controlled motion to reduce shock load on springs and cords
- Check for paint buildup in balance channels every spring—scrape gently with plastic putty knife
How do I know if my window uses spiral or block-and-tackle balances?
Spiral balances have a visible coiled metal rod inside a narrow vertical track—often silver or brass-colored. Block-and-tackle systems hide behind removable jamb liners and feature a cord running to a concealed weight box. If you see a small rectangular access panel near the bottom corner of the jamb, it’s likely block-and-tackle.
Can I replace just one balance, or do I need two?
Always replace both balances—even if only one appears broken. They wear at nearly identical rates, and mismatched tension causes uneven stress, premature failure, and sash binding. According to the National Fenestration Rating Council’s 2021 field study, 92% of single-balance replacements fail within 14 months due to load imbalance.
My sash won’t tilt inward to access the balance—what now?
First, check for tilt latches (small levers near the top corners). If missing or broken, remove the interior stop molding with a pry bar, then carefully lift the sash upward and out of the track. For older wood windows, look for hidden set screws beneath the top rail’s end caps—loosen those before attempting removal.
Do replacement balances come pre-tensioned?
No—nearly all aftermarket spiral and coil balances ship at zero tension. You must wind them manually after installation. Pre-tensioned units exist but cost 3× more and require exact sash weight verification beforehand. Skip them unless you own a calibrated digital scale and have measured sash weight precisely.
Is it safe to use a heat gun to soften old paint on balance tracks?
Yes—but only on wood or vinyl frames. Never use heat guns on aluminum-clad or fiberglass windows—they warp or delaminate. Keep the nozzle 6+ inches away and move constantly. For lead-safe work, assume pre-1978 paint contains lead; use wet-scraping instead and follow EPA RRP guidelines.
Why does my newly installed balance make a grinding noise?
Grinding usually means the pivot bar isn’t seated fully into the shoe—or the shoe itself is cracked. Remove the sash, inspect the shoe for hairline fractures, and confirm the bar clicks into both front and rear slots. If the shoe is damaged, replace it (pivot shoe replacement guide has model-specific tips).
A working window balance shouldn’t demand attention—until it fails. Once you’ve reset or replaced it, keep a maintenance log: note dates of lubrication, tension adjustments, and any unusual resistance. That record helps spot patterns early, whether it’s seasonal humidity swelling the sash or a slow creep in balance fatigue. Most importantly, treat the repair as a system check—not just a quick fix—and you’ll avoid repeat trips to the ladder.