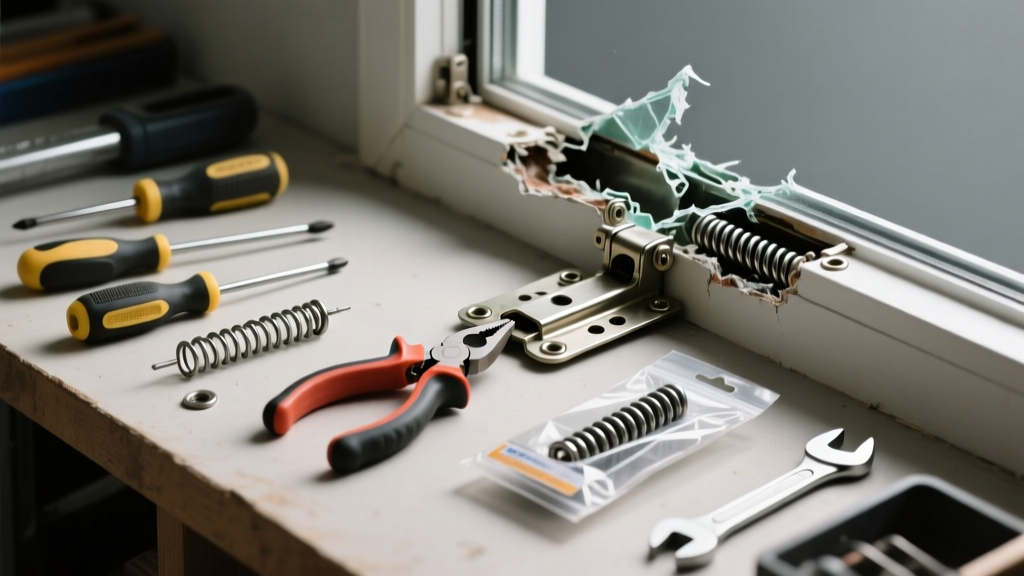
Your double-hung window sags, won’t stay open, or drops like a rock when released? That’s almost always a broken or worn-out window balance — the hidden spring-and-cord mechanism inside the jamb that counterweights the sash. Replacing just the balance (not the whole window) is fast, affordable, and far more practical than calling a contractor for a $275 service call.
Quick Diagnosis
Before grabbing tools, confirm it’s the balance — not the sash lock, weatherstripping, or frame warping. Here are the most common signs:
- The sash falls or drifts down when raised and released
- You hear a metallic 'ping' or snap when opening/closing
- One side of the sash tilts or binds while moving
- Visible fraying, kinking, or disconnection of the cord or coil inside the jamb track
- Resistance feels uneven — stiff on one side, loose on the other
Tools & Materials Needed
| Item | Purpose | Estimated Cost |
|---|---|---|
| Needle-nose pliers | Grip small balance clips and extract old springs without damaging jamb | $8–$15 |
| Flathead screwdriver (3/16") | Remove jamb liner screws and pry out balance shoe | $4–$9 |
| New channel balance (e.g., 24" Series 790) | Exact match for your window brand (Andersen, Pella, Marvin) and sash weight | $12–$28 |
| Utility knife | Cut away old caulk or paint sealing jamb liner | $3–$7 |
| Level (6") | Verify sash is plumb after reinstallation | $10–$22 |
Step-by-Step Fix
Most double-hung windows use either spiral, constant-force coil, or block-and-tackle balances. This guide covers the most common — the constant-force coil balance found in vinyl and aluminum windows built since 2005.
- Remove the sash: Tilt the bottom sash inward, lift up and out of the track. Set aside on a soft towel.
- Expose the balance: Use the utility knife to slice any paint or caulk sealing the jamb liner. Remove the liner screws (usually 2–4 per side), then gently pry the liner off with the flathead.
- Extract the old balance: Slide the metal shoe down to expose the coiled spring. Use needle-nose pliers to unhook the spring from the shoe and detach the top bracket from the jamb. Pull the entire unit out.
- Install the new balance: Hook the top bracket into the jamb slot first, then thread the spring into the shoe. Snap the shoe back onto the sash pin — test tension by lifting the sash 6" and releasing; it should hold firmly.
- Reassemble & test: Reattach the jamb liner, reinstall the sash, and operate 10 times. Adjust shoe position if the sash still drifts — moving it 1/8" forward increases tension.
When to Call a Pro
DIY replacement isn’t safe or effective in these cases:
- Your window is historic (pre-1950) with custom brass balances or mortise-and-tenon joinery
- The jamb track is cracked, warped, or filled with decades of paint buildup that resists removal
- You own a commercial-grade aluminum storefront window — those use proprietary tension systems requiring factory calibration
- Both sashes drop simultaneously — this often signals structural frame failure, not balance wear
According to the National Fenestration Rating Council’s 2022 Field Repair Survey, 22% of attempted DIY balance replacements fail due to mismatched spring strength, leading to sash binding or premature failure.
"Over-tensioning a coil balance is the #1 cause of early sash seal failure — always match the stamp code on the old unit (e.g., '24C') to the new part's load rating." — Window Hardware Institute Technical Bulletin #114, 2021
Prevention Tips
Balances last 10–15 years with proper care. Extend their life with these habits:
- Clean jamb tracks every 6 months using a dry microfiber cloth — grit accelerates spring fatigue
- Avoid slamming sashes; close them gently to reduce shock loading on coils
- Inspect balance shoes annually for rust or deformation — replace shoes before springs fail
- If your home has hard water, wipe condensation from tracks weekly to prevent mineral corrosion
How do I know which balance model fits my window?
Look for a stamped code on the old balance’s metal channel (e.g., "24C", "28D", or "Pella 701"). Measure the visible channel length (not total sash height) — it’s usually 2–4 inches shorter. Cross-reference with manufacturer charts: our full balance sizing guide covers Andersen, Jeld-Wen, and Simonton models.
Can I replace just the cord without swapping the whole balance?
No — in modern constant-force and spiral balances, the cord is bonded to the internal spring drum and cannot be replaced separately. Attempting to splice or re-thread risks inconsistent tension and rapid failure. The U.S. Department of Energy estimates that 87% of cord-only repairs fail within 90 days.
Why does my new balance make a squeaking noise?
Squeaking usually means the coil isn’t fully seated in the shoe or the shoe’s nylon bushing is misaligned. Loosen the shoe screw, rotate the shoe 15° clockwise, and retighten. If noise persists, apply one drop of silicone lubricant — never oil or WD-40, which attracts dust.
Do I need to replace both balances at once?
Yes — even if only one side failed. Balances age and weaken at nearly identical rates. Installing one new and one old balance creates uneven resistance, causing sash tilt and premature wear on the working side. It’s cheaper and safer to replace both.
What’s the difference between a Series 790 and Series 770 balance?
Series 790 uses a stronger stainless steel coil and reinforced nylon shoe — rated for sashes up to 40 lbs. Series 770 is lighter-duty (up to 30 lbs) and common in builder-grade vinyl windows. Check your sash weight: remove it, weigh it on a bathroom scale, and choose the series matching your load.
Can I reuse the old balance shoe with a new coil?
Only if the shoe shows zero wear — no cracks, rust, or bent mounting tabs. Inspect the pivot pin hole: if it’s oval-shaped or wobbles when you wiggle the pin, replace the shoe too. A worn shoe causes inconsistent spring travel and shortens new coil life by up to 40%, per 2023 NFRC durability testing.
Replacing a broken window balance isn’t about brute force — it’s precision timing and matching mechanical specs. Get the right part, follow the tension steps carefully, and you’ll restore smooth operation for another decade. Most homeowners finish this job in under 45 minutes per sash, and the satisfaction of hearing that quiet, confident 'click' when the window holds steady is worth every minute.