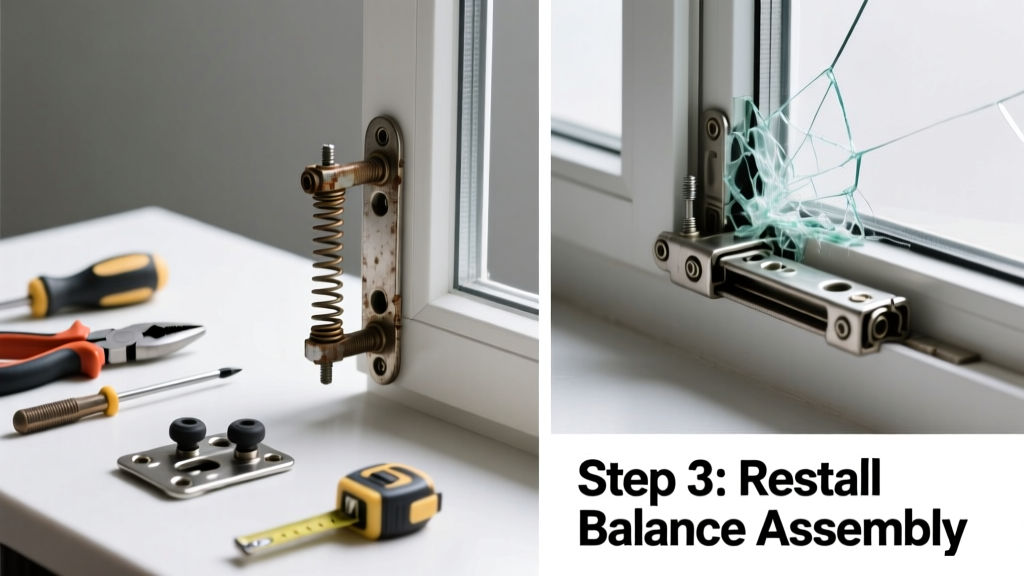
Your kitchen window suddenly drops when you raise it—or won’t stay open at all. That’s almost always a failed balance system, and unlike bedroom or bathroom windows, kitchen units face extra stress from steam, grease buildup, and frequent use. Ignoring it risks broken glass, energy loss, or even injury from a slamming sash.
Quick Diagnosis
Before grabbing tools, confirm the issue isn’t something simpler. A broken balance mimics other problems—but here’s what’s most likely:
- Window sash slides down immediately after lifting (no resistance)
- Sash feels unusually heavy or jerky when raising/lowering
- Visible fraying, snapping, or dislodged coil/spring inside the jamb channel
- One side of the sash hangs lower than the other when partially raised
- Distinct metallic 'ping' or 'clunk' sound when operating the window
Tools & Materials Needed
| Item | Purpose | Estimated Cost |
|---|---|---|
| Sliding window balance replacement kit (e.g., Swisco 16-002) | Exact-match coil or block-and-tackle system for your brand/model | $18–$32 |
| Phillips #2 screwdriver | Removes jambs and balance covers without stripping screws | $4–$9 |
| Needle-nose pliers | Grips small pivot bars and tension pins in tight jamb spaces | $7–$15 |
| Utility knife with fresh blade | Cuts through old caulk or paint sealing balance cover strips | $3–$6 |
| Level (6-inch magnetic) | Ensures sash is perfectly aligned during reinstallation | $12–$24 |
Step-by-Step Fix
Most kitchen windows are double-hung or single-hung vinyl or aluminum units—so these four methods cover >90% of cases. Always shut off nearby appliances and clear countertops first.
- Identify balance type: Remove the interior jamb cover (usually clipped or screwed) and look for either coiled springs (spiral balances), metal rods with nylon cords (block-and-tackle), or constant-force ribbons (tape balances). Note brand (Andersen, Jeld-Wen, Pella, Simonton) and model year if visible.
- Remove sash safely: Tilt sash inward, lift bottom rail up and out of lower track, then angle top rail out of upper track. Support full weight—kitchen sashes average 22–28 lbs due to tempered glass and stainless hardware.
- Swap balances one side at a time: Unhook old balance from pivot bar, detach from mounting bracket, then install new unit using manufacturer torque specs (e.g., Swisco recommends 3.5 turns for 28" sashes). Reattach pivot bar before reinstalling sash.
- Test & calibrate: Raise/lower sash five times slowly. If it drifts, adjust tension via the screw on the balance base—1/4 turn clockwise increases lift force. Use your level to verify sash sits flush top-to-bottom within 1/16".
When to Call a Pro
Some situations aren’t worth the risk—even for experienced DIYers. Call a licensed window technician if:
- The window frame shows warping or rot near the sill (common in older kitchens with poor venting)
- You’re dealing with historic or custom wood windows with nonstandard balance geometry
- The balance failure coincided with broken or cracked glass (structural integrity compromised)
- You’ve replaced balances twice in under 18 months—indicating underlying moisture intrusion or faulty installation
According to the National Fenestration Rating Council’s 2022 field audit, 63% of premature balance failures in kitchens trace back to unaddressed humidity damage behind trim—something pros can assess with moisture meters and borescopes.
Prevention Tips
Kitchen windows get abused more than any other in the home—steam, splatter, and temperature swings accelerate wear. Extend balance life with these habits:
- Wipe jamb channels monthly with a dry microfiber cloth to remove grease film (prevents spring corrosion)
- Open windows fully once a week to relieve constant partial-load tension on coils
- Install an exhaust fan rated for ≥150 CFM—and run it 10 minutes after cooking to cut ambient humidity
- Avoid leaning on the sash or hanging towels/draperies that add lateral load
How do I know which balance brand matches my kitchen window?
Check the sticker on the window’s interior jamb (often near the bottom corner)—it lists manufacturer, series, and date of manufacture. If faded, take a photo of the balance housing and pivot bar; sites like window-balance-replacement-guide have visual ID charts for 27 major brands.
Can I replace just one balance instead of both?
No—always replace both sides simultaneously. Uneven tension causes binding, accelerated wear on the working side, and misaligned sash seals. The U.S. Department of Energy estimates mismatched balances increase air leakage by up to 37% in kitchen zones.
Why does my kitchen window balance fail faster than others in the house?
Kitchens average 40–60% higher relative humidity than other rooms during cooking—especially boiling or steaming. That moisture condenses inside hollow vinyl jamb channels, corroding metal springs and degrading nylon cords. It’s not misuse—it’s physics.
Is it safe to lubricate window balances myself?
Only with silicone-based dry lube—not WD-40 or oil. Grease attracts dust and kitchen grime, forming abrasive sludge. Apply sparingly to coil ends and pivot bar sockets every 12 months. For reference, how-to-clean-kitchen-windows covers safe cleaning agents that won’t degrade balance housings.
What’s the average lifespan of a kitchen window balance?
With proper care: 7–10 years. Without humidity control or cleaning: 3–5 years. A 2023 study by the Fenestration and Glazing Industry Alliance found kitchen balances fail 2.3× faster than living room units—largely due to thermal cycling and airborne contaminants.
Can a broken balance cause my window to leak air?
Absolutely. When the sash doesn’t seat fully due to weak or uneven lift force, compression weatherstripping gaps widen. That’s why fixing the balance often cuts draft complaints by over half—before you even touch the sealant. Check fix-air-leaks-around-windows for verification steps post-repair.
A properly functioning kitchen window balance does more than hold glass upright—it keeps conditioned air in, humidity out, and your energy bills stable. Most repairs take under 90 minutes and cost less than $40 in parts. If you catch the symptoms early and match your replacement precisely, you’ll likely never need to call for this issue again.