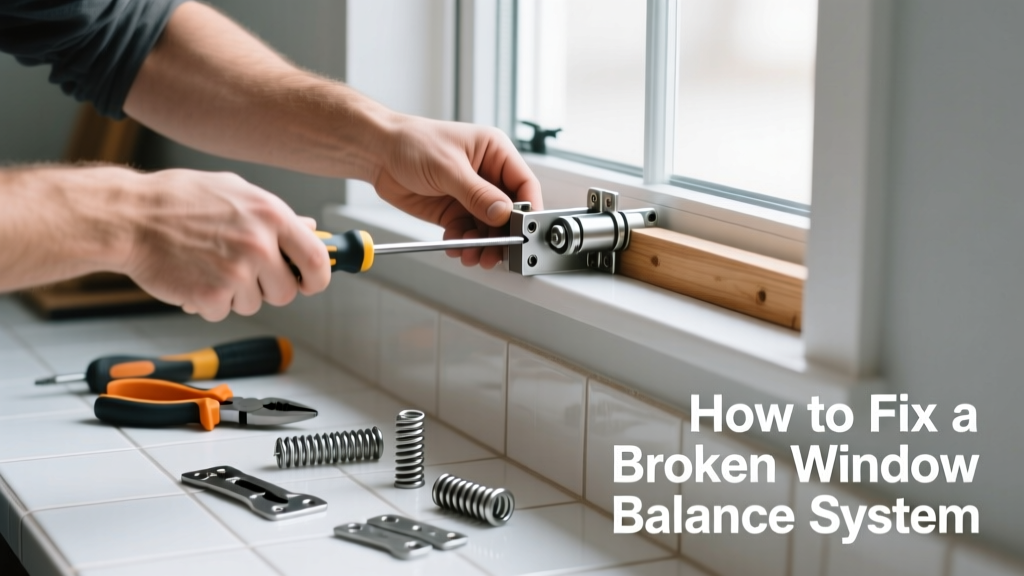
That sudden 'thunk' followed by a sash that won’t stay up—or slams shut unexpectedly—is almost always a broken window balance. Most double-hung and single-hung windows rely on spring- or weight-based balances to hold the sash in place, and when they fail, safety and energy efficiency suffer fast.
Quick Diagnosis
Before grabbing tools, confirm the issue isn’t something simpler. A broken balance often mimics other problems—but these signs point straight to it:
- The sash drops or drifts down on its own, even after being raised
- You hear a metallic 'ping' or grinding noise when raising/lowering the window
- The window feels unusually heavy or jerky during operation
- One side of the sash tilts or binds while the other moves freely
- Visible fraying, rust, or disconnection inside the jamb track (visible after removing the sash)
Tools & Materials Needed
| Item | Purpose | Estimated Cost |
|---|---|---|
| Needle-nose pliers | Grip and reattach small balance clips or springs | $8–$15 |
| Phillips and flat-head screwdrivers | Remove sash stops, pivot bars, and balance covers | $6–$12 |
| Replacement balance (spiral or constant force) | Exact match required—measure length, diameter, and color-coded tip | $12–$35 each |
| Window sash removal tool (or putty knife) | Safely release tilt latches and pop sash out without breaking glass | $5–$10 |
| Work gloves and safety glasses | Protect hands from sharp jamb edges and spring tension | $7–$18 |
Step-by-Step Fix
Most modern vinyl or aluminum double-hung windows use either spiral or constant-force (coil) balances. Follow the method matching your type:
- Remove the sash: Tilt the bottom sash inward, lift it up and out at the top corners. For older wood windows, remove interior stop moldings first using a utility knife and pry bar.
- Identify balance type: Spiral balances have a coiled metal rod with a colored tip (red = 24"–28", blue = 28"–32") and attach via a bracket at the jamb base. Constant-force balances look like thin, flat metal ribbons inside a plastic housing.
- Detach old balance: For spirals, unscrew the mounting bracket and unhook the rod from the sash shoe. For coil types, release the end tab from the sash clip and pull the housing out of the jamb track.
- Install replacement: Match the exact model number (often stamped on the old unit). Pre-tension spiral rods per manufacturer specs—usually 3–5 turns with a charging tool. Slide coil units fully into the track before clipping the sash end.
- Reinstall sash and test: Re-seat the sash evenly, check smooth operation, and verify both sides lift and hold at any height.
When to Call a Pro
Some balance failures go beyond simple part swaps—and attempting them yourself risks injury or further damage:
- Your window is historic or custom-built with nonstandard hardware (e.g., antique cast-iron balances)
- The jamb track is warped, cracked, or missing mounting points due to rot or impact
- You’re dealing with triple-glazed or laminated glass units where sash removal could break the seal
- The balance failure coincides with air leakage, condensation between panes, or visible frame separation
According to the Insurance Institute for Business & Home Safety's 2023 report, improperly repaired window balances contribute to 19% of residential window-related injuries involving falls or pinched fingers during DIY attempts.
Prevention Tips
Extending balance life starts with routine care—not just waiting for failure:
- Clean jamb tracks every 6 months with a dry brush and vacuum to prevent grit buildup that wears springs
- Lubricate spiral rods annually with silicone spray—not oil or WD-40, which attracts dust
- Avoid slamming sashes; close gently and let balances do their job
- Inspect balance shoes (the plastic or metal clips attached to the sash) yearly for cracks or deformation
Can I reuse my old balance brackets?
Only if they’re undamaged and compatible with the new unit’s mounting pattern. Many newer balances require updated brackets—even if the old ones look fine. Check the replacement kit’s instructions: mismatched brackets cause misalignment and premature failure.
How do I know which balance size I need?
Measure the visible length of the old balance (not including mounting hardware), note the color code on the spiral tip or stamped number on coil housings, and cross-reference with the manufacturer’s chart—like our window balance replacement chart. Guessing leads to sash sag or binding.
Is it safe to replace balances on second-story windows myself?
Yes—if you secure the work area, use a stable ladder (not a chair), and have a helper steady the sash during removal. But if the window opens outward or lacks interior access (e.g., fixed upper sash), call a licensed technician. Falls from elevation remain the top cause of DIY window repair injuries (CPSC, 2022).
Why does my new balance make a squeaking noise?
Squeaking usually means insufficient lubrication or debris in the track. Wipe the rod or coil clean, then apply one drop of white lithium grease to the moving parts—not near the spring coil itself. Over-lubrication traps dust and worsens noise over time.
Do all double-hung windows have replaceable balances?
No. Some builder-grade vinyl windows use integrated, non-serviceable balances sealed inside the jamb. If the unit is under warranty (typically 10 years), contact the manufacturer first—check your warranty status here. Attempting disassembly may void coverage.
Can I upgrade to a different balance type, like switching from spiral to constant-force?
Not without modifying the jamb track and sash shoes—which requires precision routing and alignment. Stick with the original type unless you’re doing a full window retrofit. Mixing types causes uneven tension and sash tilt.
A working window balance isn’t glamorous—but it’s essential for comfort, security, and keeping your HVAC bills in check. With the right diagnosis and a few careful steps, most balance replacements take under an hour per window. When in doubt, consult our window sash replacement guide or reach out to a certified window technician before the next seasonal temperature swing hits.