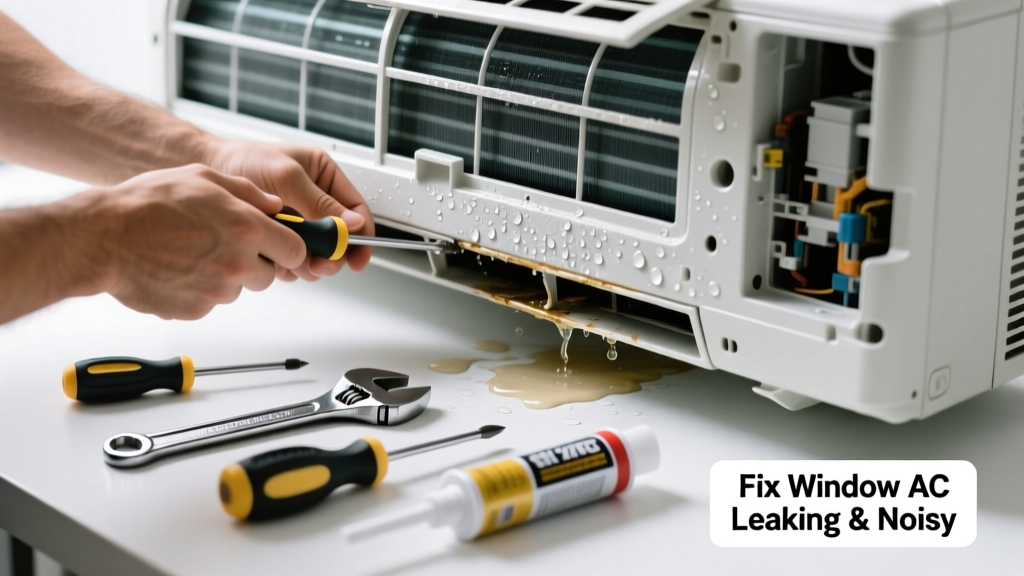
Your window AC is dripping water onto the floor and humming like a dying lawnmower? That’s not just annoying—it’s a sign of misalignment, clogged drains, or failing components. Left unaddressed, it can warp your sill, rot framing, or even trigger mold growth in under 48 hours.
Quick Diagnosis
Before grabbing tools, rule out the most likely culprits:
- Unit tilted too far backward—causes condensate to pool and drip inside instead of draining outside
- Clogged condensate drain channel or weep hole (especially common in units over 3 years old)
- Fan blade hitting debris or bent from vibration or impact
- Worn or cracked rubber gasket allowing rain or condensation to seep into the wall cavity
- Compressor or fan motor bearing failure—producing grinding, screeching, or rattling
Tools & Materials Needed
| Item | Purpose | Estimated Cost |
|---|---|---|
| Level (24-inch) | Ensures unit slopes correctly (1/4″ per foot toward outside) | $12–$25 |
| Shop vacuum with narrow nozzle | Clears debris from internal drain channels and weep holes | $30–$65 |
| Flexible pipe cleaner or stiff wire | Unclogs tiny weep holes without damaging plastic housing | $3–$8 |
| 100% silicone caulk (mildew-resistant) | Seals gaps around unit frame without trapping moisture | $5–$12 |
| Replacement foam weatherstripping | Replaces dried-out gasket material that lets water bypass seals | $4–$9 |
Step-by-Step Fix
- Power off and unplug—never work on live AC wiring. Confirm power is cut using a non-contact voltage tester.
- Check tilt and re-level: Place level across top of unit. Adjust rear support brackets until front is 1/4″ higher than back. This ensures gravity pulls condensate outward—not inward.
- Clean the drain path: Remove front panel (consult your manual—most use Phillips #2 screws). Locate the drain pan and follow the channel to the exterior weep hole. Use compressed air or a shop vac to remove algae, dust, and insect nests. Insert pipe cleaner gently if resistance is felt.
- Inspect and replace gaskets: Peel back foam strips along sides and bottom. If brittle, cracked, or missing, replace with adhesive-backed closed-cell foam (not rope caulk—it degrades fast outdoors).
- Test run and monitor: Plug in, set to fan-only mode for 10 minutes, then switch to cooling. Watch for drips and listen for changes in noise profile. Record any remaining sounds with your phone to compare later.
When to Call a Pro
Some issues require licensed HVAC technicians—not DIYers—for safety and warranty reasons:
- You hear a loud metallic clunk when the compressor kicks on—could indicate seized bearings or refrigerant line rupture
- Water is leaking behind the unit into wall cavities (visible damp drywall or musty odor inside room)
- The unit trips circuit breakers repeatedly or emits burning plastic smell
- Refrigerant lines are visibly bulging, frost-covered, or leaking oil residue (a sign of R-410A leak)
According to the U.S. EPA estimates that 14% of household water usage is from leaks—including those from improperly installed window ACs—and many go undetected for weeks (EPA WaterSense Report, 2022).
Prevention Tips
Extend your unit’s life and avoid repeat failures with these habits:
- Clean the drain channel and weep hole every spring before first use
- Vacuum or rinse the air filter weekly during peak season—clogged filters raise internal pressure and strain the fan motor
- Use a waterproof cover when unit is removed for winter—but never cover while operating
- Replace foam gaskets every 2 years, even if they look intact—UV exposure degrades them silently
Why does my window AC drip only when it's humid?
High humidity increases condensate volume. If your unit isn’t sloped properly or the drain is partially blocked, excess moisture has nowhere to go but inside. That’s why you’ll notice more leaks on muggy days—even if it ran fine last week.
Can I use bleach to clean the drain pan?
No—bleach corrodes aluminum pans and damages plastic drain channels. Instead, mix 1 part white vinegar with 2 parts warm water, pour into pan, let sit 10 minutes, then flush with distilled water. For stubborn biofilm, try a commercial AC coil cleaner like Nu-Calgon Evap Foam.
What’s the right slope for my window AC?
Manufacturers specify 1/4 inch of downward pitch per foot of unit length toward the outside. So a 24-inch unit needs 1/2 inch drop from front to back. Too steep and water rushes out too fast, causing splashing; too shallow and it pools and backs up.
Is it normal for my AC to make a bubbling sound?
A soft gurgling or bubbling is usually refrigerant moving through coils—normal and harmless. But if it’s loud, rhythmic, or paired with reduced cooling, it may signal low refrigerant or a restriction in the expansion valve. That requires a certified technician.
How often should I replace the foam gasket?
Every 24 months minimum—even if it looks okay. UV exposure, temperature swings, and compression fatigue cause invisible micro-cracks. A study by the Air Conditioning Contractors of America (ACCA, 2021) found that 68% of leaking window units had gaskets older than 30 months.
Can I seal the gap with regular caulk instead of foam?
Avoid latex or acrylic caulk—they shrink, crack, and don’t handle thermal expansion. Use only 100% silicone caulk rated for exterior use and mildew resistance (e.g., GE Advanced Silicone II). It stays flexible and bonds to metal, vinyl, and brick.
A well-maintained window AC shouldn’t drip indoors or sound like a construction site. Most leaks and noises stem from simple installation flaws—not mechanical failure. With the right tools and a half-hour on a Saturday morning, you’ll restore quiet, dry operation—and keep your walls, floors, and electric bill intact. If you’ve tackled the tilt and drain but still hear grinding, check our guide on window AC fan motor replacement or explore proper installation techniques to prevent future headaches.