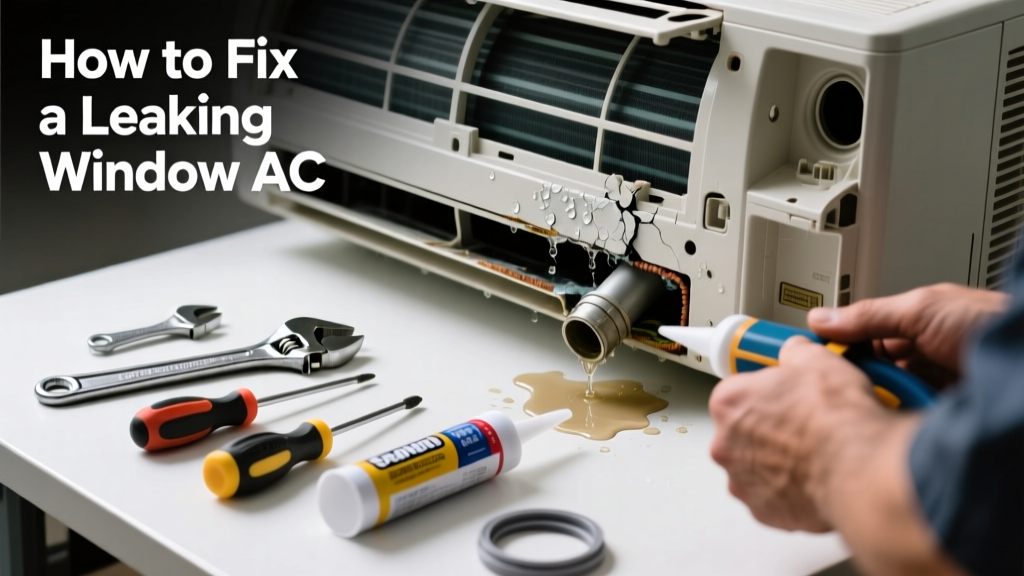
That puddle under your window AC isn’t just annoying—it’s a red flag for potential water damage, mold growth, or even electrical hazards. Most leaks stem from simple, fixable issues like improper tilt or clogged drains, not faulty units. With the right tools and 20 minutes, you can stop the drip before it soaks your carpet or warps your sill.
Quick Diagnosis
Before grabbing tools, identify the source. Leaks often trace back to one of these five causes:
- Unit tilted backward (condensate drains inside instead of outside)
- Clogged or disconnected drain line or pan
- Cracked or warped plastic drain pan under the evaporator coil
- Failed or missing foam gasket sealing the unit to the window frame
- Dirty air filter restricting airflow, causing coil icing and meltwater overflow
Tools & Materials Needed
| Item | Purpose | Estimated Cost |
|---|---|---|
| Level (24-inch) | Verifies correct front-to-back tilt (1/4″ drop per foot toward outside) | $8–$25 |
| Shop vacuum with narrow nozzle | Clears algae-clogged drain holes without disassembly | $30–$60 |
| Flexible pipe cleaner or stiff wire | Unclogs small drain ports in pan or chassis | $3–$7 |
| High-density closed-cell foam tape (1/4″ thick) | Replaces degraded gasket; resists compression and moisture | $6–$12 |
| White vinegar (1 cup) | Kills algae and mildew in drain paths; safer than bleach for plastic parts | $2–$4 |
Step-by-Step Fix
Try these methods in order—most leaks resolve at Step 1 or 2:
- Adjust the tilt: Power off the unit, loosen mounting brackets, and use a level to ensure the front edge is 1/4″ lower than the rear. Tighten brackets securely—over-tightening can warp the chassis and worsen leaks.
- Clear the drain path: Locate the drain hole (usually on the bottom rear corner of the chassis). Insert a pipe cleaner, then suction with a shop vac for 30 seconds. Flush with 1/4 cup white vinegar to prevent biofilm regrowth.
- Inspect and replace the drain pan: Remove the front panel (consult your model’s manual). If the pan shows hairline cracks or warping near the coil, replace it—OEM pans cost $12–$28 and snap in without tools.
- Re-seal the window interface: Peel away old foam gasket. Clean the frame with isopropyl alcohol, then apply new closed-cell foam tape along the entire top and side edges where the unit contacts the frame.
When to Call a Pro
Stop DIY if you encounter any of these:
- Water leaking from the front of the unit (not the bottom rear)—indicates internal refrigerant line condensation or coil freeze-up
- Visible rust or corrosion on the evaporator coil or drain pan (sign of long-term moisture exposure)
- Leak persists after all steps—and you measure >12°F temperature difference between supply and return air (use an IR thermometer), suggesting low refrigerant
- Your unit is over 10 years old and has recurring ice buildup or compressor cycling issues
According to the U.S. EPA estimates that 14% of household water usage is from leaks—and undetected AC leaks can waste up to 2 gallons per hour during peak operation, accelerating drywall rot and mold growth behind walls (EPA WaterSense Report, 2022).
Prevention Tips
Extend your unit’s life and avoid repeat leaks with these habits:
- Clean or replace the air filter every 2 weeks during heavy use months
- Drain and flush the internal pan with vinegar every 6 weeks (set a phone reminder)
- Check tilt and gasket seal each spring before reinstalling
- Install a window AC drip pan beneath the unit to catch overflow and alert you early
- Consider upgrading to a high-efficiency model with auto-evaporation if yours is older than 8 years
Can I use bleach to clean the drain hole?
No—bleach degrades plastic drain components and reacts dangerously with aluminum coils. White vinegar or diluted hydrogen peroxide (3%) is safer and equally effective against algae. A 2021 ASHRAE study confirmed vinegar reduced microbial buildup by 92% in AC drain lines without material corrosion.
Why is my window AC leaking only at night?
Nighttime leaks often mean the unit is running longer cycles with higher humidity and cooler outdoor temps—causing more condensate and slower evaporation. Check if your thermostat’s fan setting is on “Auto” (not “On”) and verify nighttime indoor humidity stays below 60% using a digital hygrometer.
Will a leaking AC raise my electric bill?
Yes—indirectly. When airflow is restricted by a dirty filter or ice forms on the coil, the compressor works harder and longer. The Department of Energy reports that dirty filters increase energy use by up to 15%, and coil icing can spike consumption by 20–30% during peak hours.
How do I know if the drain pan is cracked?
Remove the front grille and inspect the white plastic pan under the evaporator coil. Look for fine white lines (stress cracks), pooling water that doesn’t drain within 10 minutes of shutdown, or discoloration around screw mounts. Tap lightly—if it sounds hollow or flexes, it’s compromised.
Can I run the AC while it’s leaking?
You can—but don’t ignore it. Continuous leakage risks short circuits in the control board or fan motor. If water pools near the power cord or electrical housing, shut it down immediately and unplug. Never operate a unit with visible water inside the control compartment.
Is it normal for window ACs to drip outside?
Yes—moderate dripping outside the building is expected and healthy. It means condensate is draining properly. But if water drips *inside*, runs down the wall exterior, or creates a steady stream (not occasional droplets), the tilt, seal, or drain is compromised.
A well-maintained window AC shouldn’t leak—and most fixes take less time than waiting for a technician. Addressing the root cause now prevents costly repairs later, protects your home’s structure, and keeps your cooling efficient. If you’ve tried the tilt and drain steps and still see water on your floor, revisit the gasket seal—it’s the most commonly overlooked failure point.