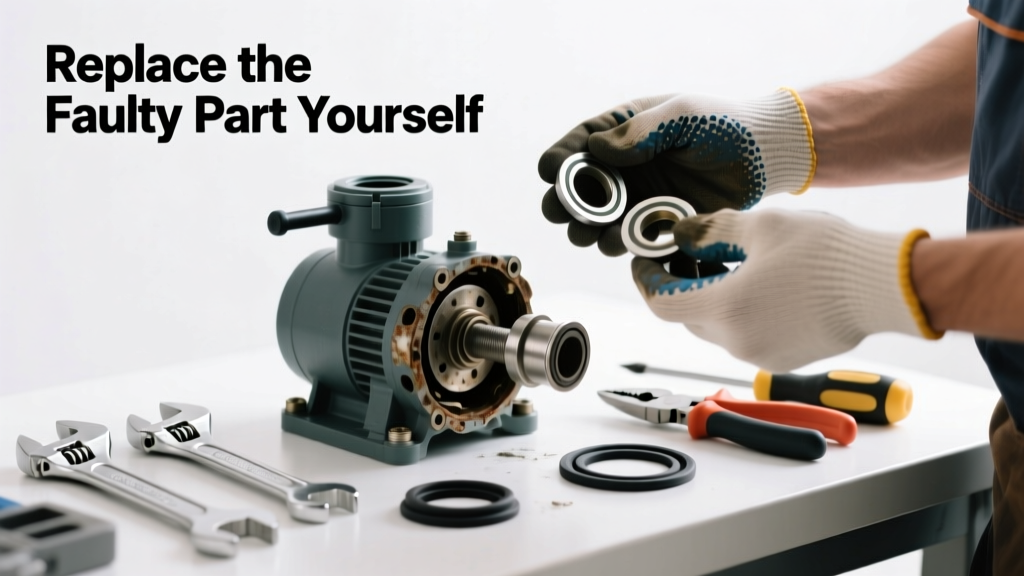
Your well pump suddenly stops delivering water — no sputtering, no noise, just silence and dry faucets. That’s not always a full pump replacement; often, it’s one failed component hiding behind the pressure tank or buried in the control box. Spotting which part is dead saves time, money, and weeks of waiting for a contractor.
Quick Diagnosis
Before grabbing tools, rule out simple causes first:
- No power to the pump (check breaker, wiring, or GFCI outlet)
- Tripped pressure switch (reset lever may be flipped down)
- Clogged foot valve or inlet screen (common in shallow wells with sandy soil)
- Blown capacitor (audible 'pop' or bulging case on single-phase pumps)
- Failed pressure tank bladder (tank feels solid when tapped, no air charge)
Tools & Materials Needed
| Item | Purpose | Estimated Cost |
|---|---|---|
| Multimeter (digital) | Test voltage at pressure switch, capacitor, and motor leads | $25–$65 |
| Capacitor tester or multimeter with capacitance mode | Verify microfarad rating on start/run capacitors | $18–$40 |
| Pressure tank air gauge | Check pre-charge pressure (should be 2 psi below cut-in setting) | $8–$15 |
| Replacement capacitor (match µF & voltage) | Most common fix for single-phase submersible or jet pumps | $12–$32 |
| Pressure switch (40/60 or 30/50 psi) | Replaces corroded contacts or faulty differential settings | $22–$45 |
Step-by-Step Fix
Most no-water failures trace to three replaceable parts. Prioritize in this order:
- Test and replace the capacitor: Turn off power, discharge capacitor with insulated screwdriver across terminals, then test capacitance. If reading is ±6% off label value, replace it. Capacitor replacement takes under 20 minutes.
- Inspect and reset the pressure switch: Remove cover, check for blackened contacts or loose wires. Clean contacts with fine sandpaper if lightly pitted. If contacts are welded or switch doesn’t click when pressure drops, install a new 40/60 psi switch.
- Check pressure tank pre-charge: Drain system, use air gauge to measure bladder pressure. If below 38 psi (for 40/60 switch), add air with bicycle pump until correct. A ruptured bladder requires tank replacement — see our full tank guide.
When to Call a Pro
Stop and call a licensed well contractor if you encounter any of these:
- Voltage readings show open circuit from control box to pump (indicates broken wire underground)
- Pump runs but delivers zero water after checking foot valve and screen
- You hear grinding or screeching from the pump motor during operation
- Water tests positive for coliform bacteria after repair (suggests casing breach or seal failure)
According to the National Ground Water Association’s 2022 Field Service Report, 68% of emergency well service calls involve misdiagnosed electrical faults — many DIYers mistake a failed pump motor for a bad switch or capacitor.
"If your multimeter reads OL (open loop) between the red and black pump leads — even after disconnecting at the control box — assume the drop cable is damaged. That’s a dig-and-replace job, not a garage fix." — Jim R., certified well driller with 27 years’ experience, NGWA-certified since 2001
Prevention Tips
Extend your pump’s life and avoid sudden failure with these habits:
- Test capacitor annually using a capacitance meter — degradation starts silently
- Drain and re-pressurize tank every 6 months to prevent waterlogging
- Install a whole-house surge protector near the pressure switch (per NEC Article 242)
- Log pump runtime: more than 30 minutes per cycle signals pressure loss or low yield
How do I know if it’s the pressure switch or the capacitor?
Listen closely when you turn on a faucet: if the pump doesn’t hum at all, suspect the switch or power supply. If it hums for 2–3 seconds then shuts off, it’s almost certainly a failed start capacitor. Use your multimeter to verify voltage at the switch output — no voltage means switch failure; voltage present but no motor response points to capacitor or motor.
Can I replace a 30/50 psi pressure switch with a 40/60 model?
Yes — but only if your tank’s air pre-charge matches. A 40/60 switch requires 38 psi pre-charge; a 30/50 needs 28 psi. Mismatched settings cause short cycling or premature bladder failure. Always adjust tank air pressure *before* swapping switches.
Why does my pump lose prime after replacing the capacitor?
A new capacitor won’t restore prime if the foot valve is stuck open or the suction line has an air leak. Check for wet spots along above-ground piping, inspect the foot valve screen for debris, and ensure the pump is submerged at least 10 feet below static water level. Jet pumps need priming; submersibles don’t — so if yours is submersible and lost prime, suspect a cracked drop pipe or failed check valve.
Is it safe to work on a well pump without shutting off power?
No. Even with breakers off, capacitors store lethal charge. Always lockout/tagout the main panel, verify zero voltage with a multimeter at both line and load terminals, and discharge capacitors using an insulated screwdriver across terminals before touching anything. The U.S. Bureau of Labor Statistics recorded 12 electrocution incidents involving residential well systems in 2023 — 9 involved skipped lockout procedures.
How long should a well pump capacitor last?
Typical lifespan is 5–7 years in moderate climates, but drops to 3–4 years in high-heat installations (e.g., pump houses without ventilation) or areas with frequent voltage spikes. Heat accelerates dielectric breakdown — that’s why capacitors mounted directly on hot motors fail faster. Keep spare capacitors on hand if your pump is over 4 years old.
What’s the difference between start and run capacitors?
Start capacitors provide high-torque boost for initial motor spin-up (50–1200 µF, rated for intermittent duty). Run capacitors maintain efficiency during operation (3–50 µF, continuous-duty rated). Most single-phase well pumps use both — a dual-run capacitor combines them. Replacing only the start section while ignoring a weak run capacitor leads to overheating and premature motor failure.
A working well pump shouldn’t be a mystery — it’s a mechanical system with predictable wear points. Replacing the right part, at the right time, keeps your water flowing without draining your wallet. And if you’ve walked through each diagnostic step and still get silence from the wellhead, that’s not failure — it’s your cue to pick up the phone and call someone who carries a 300-foot puller and a torque wrench calibrated for stainless steel couplings.