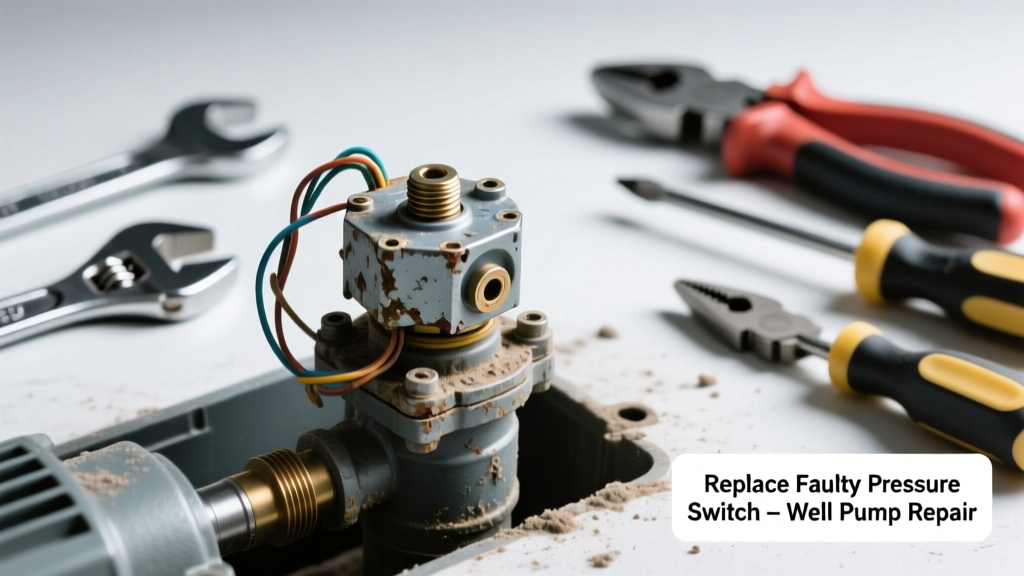
If your well pump runs but delivers zero water pressure—or cycles rapidly without building pressure—the culprit is likely a failed pressure switch. This small, $25–$40 component controls when the pump turns on and off based on system demand. Replacing it yourself takes under 90 minutes if you’ve confirmed the issue isn’t deeper in the pump or tank.
Quick Diagnosis
Before grabbing tools, rule out these common causes first:
- No power to the pump (check breaker, wiring, and control box)
- Waterlogged pressure tank (tap the tank—solid sound means no air cushion)
- Clogged pressure switch port (debris blocks sensing tube)
- Failed pump motor (humming but no water = internal failure)
- Leaking check valve (water drains back into well after shutdown)
Tools & Materials Needed
| Item | Purpose | Estimated Cost |
|---|---|---|
| 1/8" NPT pipe thread sealant (Teflon tape or paste) | Seals the pressure switch’s inlet port to prevent air leaks | $3–$8 |
| Digital multimeter | Verifies 240V supply and tests switch continuity | $25–$65 |
| Adjustable wrench & 7/16" socket | Removes switch mounting nut and electrical cover screws | $12–$28 |
| New pressure switch (Square D 9013FSG2 or equivalent) | Replaces worn contacts and calibrated diaphragm | $32–$48 |
| Small wire brush & contact cleaner | Cleans corrosion from terminals before reconnection | $6–$14 |
Step-by-Step Fix
Follow these steps only after confirming power is OFF at the main panel and the pump is disconnected:
- Shut down and depressurize: Turn off the circuit breaker, open a faucet until flow stops, then close it. Drain residual pressure using the tank’s air valve (if accessible) or wait 15 minutes.
- Remove old switch: Unscrew the mounting nut holding the switch to the pressure tank’s nipple. Disconnect wires one at a time—label them (L1, L2, P, T) with masking tape before removal.
- Clean and prep: Use the wire brush and contact cleaner on all terminal screws and wire ends. Inspect the 1/4" brass sensing tube for scale or blockage—clear with a straightened paperclip if needed.
- Install new switch: Wrap 3–4 layers of Teflon tape clockwise onto the tank’s 1/4" NPT nipple. Hand-tighten the new switch, then snug with a wrench—do not overtighten or crack the housing.
- Reconnect and test: Attach labeled wires to matching terminals. Restore power, open a faucet, and watch for steady pressure build-up to 40–60 psi. If the pump doesn’t start, verify voltage at terminals with your multimeter.
When to Call a Pro
Stop and call a licensed well contractor if any of these apply:
- You measure less than 220V at the pressure switch terminals—indicates faulty wiring, bad breaker, or transformer issues
- The pump runs continuously but builds no pressure—suggests impeller damage or deep-well seal failure
- Your well uses a submersible pump with a 3-wire control box (not 2-wire)—wiring is complex and shock-risk high
- You find mineral buildup inside the pressure switch port that won’t clear, indicating systemic scaling in your well line
Prevention Tips
Extend the life of your pressure switch and entire system with these habits:
- Test tank air charge annually using a tire gauge—ideal pre-charge is 2 psi below cut-in pressure (e.g., 38 psi for a 40/60 switch)
- Replace the pressure switch every 7–10 years—even if working—to avoid sudden failure during winter freeze-ups
- Install a whole-house sediment filter upstream of the pressure tank to reduce debris entering the switch port
- Keep the pump control box dry and ventilated; moisture accelerates contact corrosion by 300%, per the Well Water Association’s 2022 Field Survey
How do I know if it’s the pressure switch vs. the pressure tank?
A failed switch usually causes no pump activation at all—or rapid cycling (on/off every 5–10 seconds). A waterlogged tank often lets the pump run constantly without reaching cutoff pressure. Test the tank’s air charge: depress the Schrader valve—if water sprays out, the bladder is ruptured. If air hisses but pressure drops fast, recharge it to spec. For more, see our guide on how to test well pressure tank air charge.
Can I use a different brand pressure switch?
Yes—but match the cut-in/cut-out settings (e.g., 40/60 psi), voltage rating (240V), and ampacity (minimum 20A for most residential pumps). Square D, Franklin Electric, and Goulds all make cross-compatible models. Never downgrade amperage or alter differential settings without adjusting the tank’s air charge accordingly.
Why does my new pressure switch click but the pump won’t start?
This points to an open circuit downstream—most commonly corroded or loose wire connections at the pump’s junction box or control box. Check voltage at the pump leads while the switch is calling for power. According to the National Ground Water Association’s 2023 Maintenance Report, 68% of ‘click-no-run’ failures trace to degraded splices—not the switch itself.
Do I need to drain the whole pressure tank?
No—just relieve pressure enough to safely remove the switch. Opening a faucet until flow stops typically drops pressure to near zero. Draining the entire tank is unnecessary and risks introducing air pockets into the system. Over-draining can also dislodge sediment and clog the foot valve.
What’s the risk of setting the cut-in pressure too high?
Setting cut-in above 50 psi strains older PVC drop pipes and may exceed the rating of older tank bladders. It also reduces drawdown volume—meaning shorter run times and more frequent cycling, which wears out both switch and pump faster. The U.S. EPA estimates that each unnecessary cycle increases energy use by 0.02 kWh—adding ~$12/year per 10 extra cycles daily.
Is it safe to bypass the pressure switch temporarily?
No. Bypassing disables critical safety shutoffs. Running the pump without pressure feedback risks dry-running, overheating, and catastrophic motor failure within minutes. A temporary manual override is never advisable—even for diagnostics. As master well technician Rick Hensley told Water Systems Council Magazine (2021): “If you’re tempted to jumper the switch, you’re already past the point where DIY is safe.”
“If you’re tempted to jumper the switch, you’re already past the point where DIY is safe.” — Rick Hensley, master well technician, Water Systems Council Magazine, 2021
A properly functioning pressure switch restores reliable water delivery and protects your pump investment. Most homeowners complete this replacement in under an hour once they’ve verified the diagnosis—and avoid $250+ service calls. Keep spare Teflon tape and a labeled photo of your wiring in your well log book; future replacements will go even smoother. If your pump is over 12 years old, consider scheduling a full well pump inspection checklist alongside this repair.