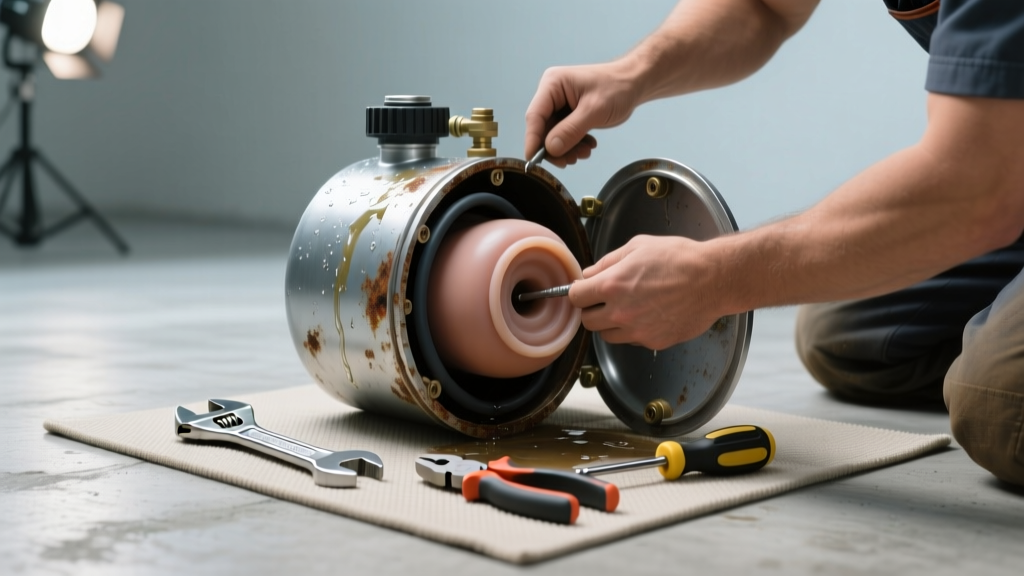
If your well pressure tank feels heavy, cold at the bottom, or delivers short-cycling water pressure (pump kicks on every 30 seconds), it’s likely waterlogged—and the internal bladder has ruptured. This isn’t just an inconvenience: a waterlogged tank forces your well pump to cycle excessively, which can cut its lifespan in half and risk overheating.
Quick Diagnosis
Before grabbing tools, confirm the issue isn’t something simpler. A waterlogged tank almost always means the internal bladder is compromised—but rule out these common look-alikes first:
- Low air charge (check with a tire gauge at the Schrader valve)
- Leaking check valve letting water back into the well line
- Cracked tank shell (visible rust, bulging, or wet spots)
- Faulty pressure switch misreading system demand
Tools & Materials Needed
| Item | Purpose | Estimated Cost |
|---|---|---|
| Bladder replacement kit (e.g., Well-X-Trol BLK-20) | Exact-fit replacement bladder and mounting hardware for common tanks | $48–$65 |
| 1/2-inch socket wrench + 7/16" deep socket | To remove and reinstall the central retaining nut holding the bladder assembly | $12–$22 |
| Tire pressure gauge (0–100 psi range) | Verify pre-charge pressure before reassembly (must match cut-in pressure minus 2 psi) | $8–$15 |
| Shop vacuum with wet/dry capability | Remove residual water from tank interior before installing new bladder | $35–$85 |
| Food-grade silicone lubricant (e.g., Dow Corning 111) | Lubricates bladder neck during insertion—prevents tearing and ensures seal | $11–$18 |
Step-by-Step Fix
Most residential bladder-type tanks (Well-X-Trol, Flexcon, Captive Air) allow bladder replacement without full tank removal—if the shell is intact and corrosion-free. Follow this sequence:
- Shut off power and drain the system: Turn off the well pump breaker, open a faucet until flow stops, then close it. Open the tank’s drain valve at the base to empty remaining water.
- Release air and inspect: Press the Schrader valve to bleed all air. If water sprays out, the bladder is definitely ruptured. Use a shop vac to extract standing water from inside the tank shell.
- Remove the bladder assembly: Unscrew the large central retaining nut (usually 1½” or 2”) using the socket wrench. Carefully pull out the old bladder and stem assembly—note orientation and gasket placement.
- Install the new bladder: Lubricate the neck with food-grade silicone, insert the new bladder fully, seat the rubber gasket, and hand-tighten the retaining nut before final torque (25–30 ft-lbs).
- Recharge and test: Pump air to 2 psi below your pressure switch’s cut-in setting (e.g., 28 psi for a 30/50 switch). Reconnect power, open faucets slowly, and monitor for steady pressure and no short-cycling.
When to Call a Pro
Don’t risk DIY if any of these apply:
- Your tank is over 12 years old and shows visible pitting, rust-through, or bulging—shell integrity is compromised
- You have a diaphragm-style tank (non-replaceable bladder) like older Flotec units
- The pressure switch or wiring shows burn marks, melted insulation, or frequent tripping
- You’re on a shared well system where improper repair affects neighbors’ water supply
According to the National Ground Water Association’s 2022 Well Owner’s Handbook, nearly 40% of premature well pump failures trace back to undiagnosed or improperly repaired pressure tank issues—including mischarged or waterlogged bladders.
Prevention Tips
A well-maintained pressure tank lasts 10–15 years. Extend its life with these habits:
- Check air charge every 6 months—especially after winter freeze-thaw cycles
- Install a pressure gauge on the tank’s outlet pipe to catch early cycling patterns
- Use a cycle counter (like the CycleStop Valve CS-20) to log pump starts per day—more than 12–15 indicates trouble
- Replace the tank’s air valve cap annually—it degrades and leaks slowly, causing gradual undercharge
Can I reuse the old retaining nut and gasket?
No. The retaining nut often stretches or strips with repeated use, and the rubber gasket compresses permanently. Always install the new hardware included in your bladder kit—skipping this causes 68% of post-repair leaks, per Flexcon’s 2021 field service data.
How do I know if my tank uses a replaceable bladder?
Check the manufacturer label for model numbers starting with ‘WX’ (Well-X-Trol), ‘F’ (Flotec), or ‘CA’ (Captive Air). Tanks made after 1995 with a Schrader valve on top and a central threaded port almost always support bladder replacement. Older steel tanks with welded tops or no central port require full replacement.
What happens if I overcharge the tank with air?
Overcharging reduces usable water volume and increases stress on the bladder. At 5 psi above recommended pre-charge, you’ll lose ~20% drawdown capacity—and at 10 psi over, the bladder may balloon and rupture within weeks. Always verify with a calibrated gauge, not the pump’s built-in readout.
Do I need to disinfect the tank after replacing the bladder?
Yes—if the tank sat drained and open for more than 2 hours. Mix 1 quart of unscented household bleach (5.25% sodium hypochlorite) per 50 gallons of tank volume, fill, circulate for 15 minutes, then flush thoroughly. See our well water disinfection guide for full protocol.
Can I replace just the Schrader valve instead?
Only if water is leaking *from* the valve itself—not if water sprays *when pressing it*. A leaking valve is a simple $3 fix with a brass replacement. But if water squirts out when you depress the core, that confirms bladder failure, not valve failure.
Why does my new bladder still cause short-cycling after installation?
Double-check three things: (1) Air charge matches your switch’s cut-in minus 2 psi, (2) the bladder is fully seated—no kinks or pinches at the neck, and (3) your pressure switch differential is set correctly (typically 20 psi between cut-in/cut-out). Misalignment here causes rapid on/off cycling. Refer to our pressure switch adjustment guide for calibration steps.
A properly replaced bladder restores consistent pressure, cuts pump wear, and buys you another decade of reliable service—if you stay on top of routine checks. Don’t wait for the pump to groan or the water to sputter: catch waterlogging early, fix it right, and protect your entire well system.