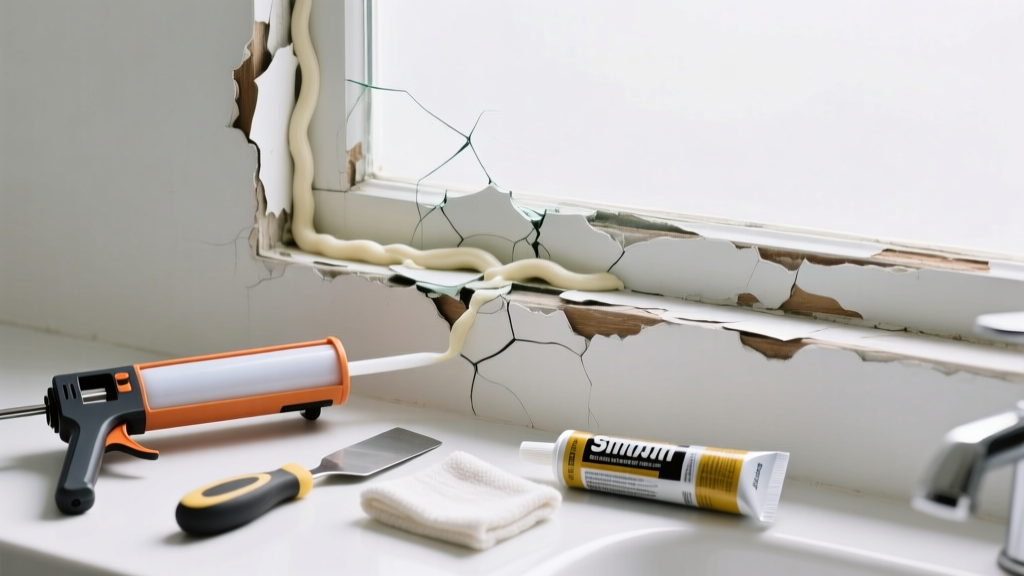
That faint musty smell near your window frame? The tiny puddle on the sill after rain? These are early warnings that weatherproofing has worn—caulk cracked, sealant failed, or flashing pulled away. Left unaddressed, worn weatherproofing invites moisture intrusion, rot, mold, and energy loss—costing homeowners an average of $1,200 annually in avoidable heating and cooling waste (U.S. Department of Energy, 2022).
Quick Diagnosis
Before grabbing tools, confirm what’s actually failing:
- Cracked, brittle, or shrinking caulk around windows, doors, or siding joints
- Peeling or lifting rubber gaskets on sliding patio doors
- Rusted, corroded, or detached metal flashing at roof-to-wall intersections
- Discolored drywall or paint bubbling near exterior trim—signs of hidden moisture
- Gaps wider than 1/8 inch between siding panels or where brick meets framing
Tools & Materials Needed
| Item | Purpose | Estimated Cost |
|---|---|---|
| Utility knife with fresh blades | Cuts away old caulk cleanly without gouging substrate | $5–$12 |
| 3M Super 77 Spray Adhesive | Bonds foam backer rod to irregular gaps before caulking | $9–$14 |
| DAP Dynaflex Ultra (siliconized acrylic) | Flexible, paintable, UV-resistant sealant for most above-grade joints | $4–$8/tube |
| Backer rod (3/16" or 1/4") | Fills deep gaps to control caulk depth and prevent three-sided adhesion failure | $6–$10/roll |
| Stainless steel roofing nails & tin snips | Re-secures loose flashing; tin snips cut and shape metal accurately | $8–$15 |
Step-by-Step Fix
Most weatherproofing wear falls into three categories—caulk failure, flashing detachment, or gasket degradation. Use the method that matches your symptom:
- Remove old material completely: Score caulk edges with a utility knife, then peel or scrape until bare, clean substrate is exposed. For flashing, gently pry up loose sections with a flat bar—don’t bend or kink.
- Prepare the surface: Clean with isopropyl alcohol (not vinegar or bleach—they degrade adhesion). Let dry fully. For porous surfaces like brick or concrete, apply a primer like Sherwin-Williams Loxon Concrete & Masonry Primer.
- Install backer rod if gap exceeds 1/4 inch: Press foam rod snugly into the joint—never compress more than 25%. This prevents caulk from sinking and ensures proper skin formation.
- Apply new sealant: Cut nozzle at 45°, hold steady at 30° angle, and move at consistent speed. Tool with a damp finger or caulk tool for smooth, concave bead—this sheds water better than a convex one.
- Re-secure flashing: Nail every 6 inches along top edge only—never nail through the exposed face. Overlap upper pieces over lower by at least 3 inches, per International Residential Code (IRC R905.2.2, 2021).
When to Call a Pro
DIY weatherproofing crosses into dangerous or code-violating territory in these cases:
- Flashing failure behind stucco, stone veneer, or EIFS—removing cladding risks structural compromise
- Rot or soft wood discovered beneath trim—indicates long-term moisture exposure requiring structural assessment
- Worn weatherproofing on second-story windows or roof valleys without fall protection
- Multiple failures across the home suggesting systemic design flaws (e.g., missing drip edges, improper slope)
"Three out of four water intrusion claims in homes older than 15 years trace back to failed weatherproofing details—not roof leaks," says building scientist Dr. Linda Reeder, ASHRAE Journal, 2023.
Prevention Tips
Extend the life of your weatherproofing with proactive habits:
- Inspect all exterior seals twice yearly—spring and fall—using a ladder and flashlight
- Reseal caulk every 5 years on south-facing exposures (UV degrades silicone faster)
- Keep gutters clear: clogged gutters cause overflow that saturates siding and undermines sealants
- Use only ASTM C920–rated sealants for exterior use—avoid cheap 'painter's caulk' labeled for interior only
Can I use bleach on this?
No. Bleach breaks down polymer chains in silicone and acrylic sealants, weakening adhesion and accelerating future failure. It also corrodes metal flashing and harms nearby plants. Use isopropyl alcohol or a dedicated caulk remover like Krud Kutter Caulk Remover instead.
How long does new caulk need to cure before rain?
DAP Dynaflex Ultra requires 24 hours of dry conditions for full skin-over and 72 hours before heavy rain exposure. If rain is forecast, wait—or cover the joint with plastic sheeting weighted at edges for 48 hours.
Is silicone better than acrylic for exterior use?
Silicone lasts longer (20+ years vs. 10–15 for premium acrylic), but it’s not paintable and harder to remove later. For painted trim or siding, siliconized acrylic like Dynaflex Ultra offers the best balance of flexibility, adhesion, and paint compatibility.
Why did my caulk crack after only one winter?
Most likely causes: applying caulk below 40°F (it won’t cure properly), using too thin a bead (under 1/8" wide), or installing without backer rod in gaps deeper than 1/4". Always check manufacturer specs for minimum application temperature and joint depth ratios.
Do I need to replace the entire window if weatherproofing fails?
Rarely. Over 90% of weatherproofing issues occur at the interface between window and framing—not the window unit itself. Focus on the seam, not the sash. Only consider replacement if you see fogged double-pane glass, warped frames, or failed hardware as covered in our window seal repair guide.
Can I weatherproof over old caulk?
Never. Bonding new sealant to old creates a weak interface prone to delamination. According to the Sealant, Waterproofing & Restoration Institute’s 2022 Field Manual, ‘adhesion to aged sealant is unpredictable and should be avoided.’ Remove everything down to sound substrate.
A well-executed weatherproofing repair doesn’t just stop leaks—it preserves insulation value, prevents decay, and keeps indoor humidity stable. Treat worn seals like a small leak under the sink: inconvenient now, but catastrophic if ignored. For persistent issues, consult a certified weatherization contractor who can perform blower-door testing to verify air barrier integrity. And remember: the best weatherproofing job is the one you catch before the first drop hits the drywall.