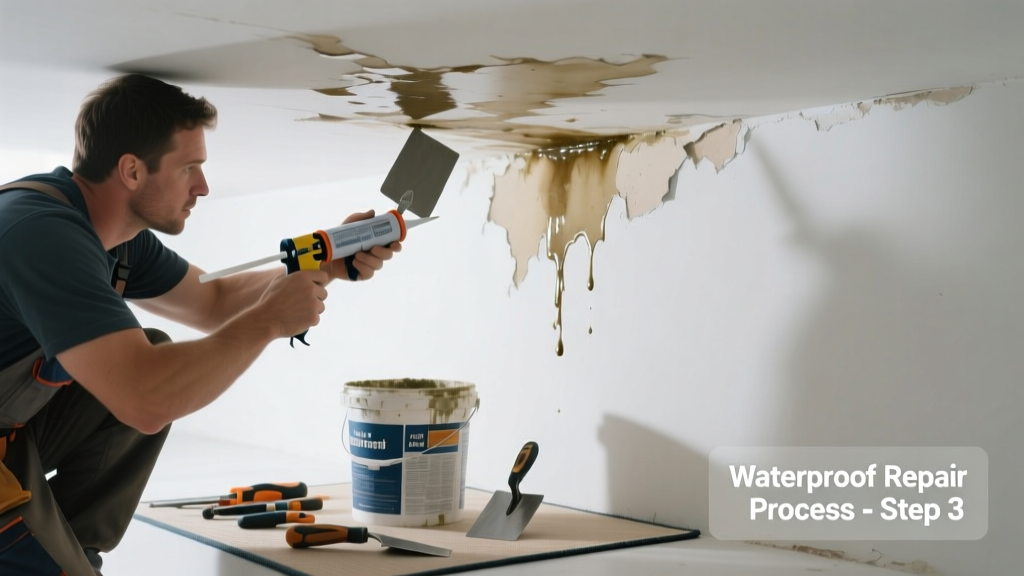
That brownish-yellow stain on your ceiling isn’t just ugly—it’s a symptom screaming for attention. If you’ve patched it twice and it’s still bleeding through, bubbling, or spreading, the problem isn’t the paint: it’s the moisture source or the repair method. Let’s fix it right—starting with what’s really going on behind the drywall.
Quick Diagnosis
Before grabbing a roller, rule out these five most common root causes:
- Active roof leak (missing shingle, cracked flashing, or deteriorated underlayment)
- Clogged or disconnected attic vent pipe (especially near bathrooms)
- Condensation buildup from poor attic ventilation or insufficient insulation
- Leaking HVAC condensate drain line above the ceiling
- Plumbing leak in an upper-floor wall or floor that’s migrating laterally into ceiling framing
Tools & Materials Needed
| Item | Purpose | Estimated Cost |
|---|---|---|
| Moisture meter (pin-type) | Confirms active dampness behind drywall; avoids premature painting | $45–$85 |
| Kilz Original Oil-Based Primer | Blocks tannin and mineral stains that latex primers can’t stop | $18–$24 |
| 100-grit sandpaper + pole sander | Removes failed paint layers and ensures primer adhesion | $12–$20 |
| Utility knife + drywall saw | Cuts access panel to inspect framing and confirm leak origin | $8–$15 |
| Attic access ladder + headlamp | Safely reaches and inspects roof deck, vents, and ductwork | $65–$130 |
Step-by-Step Fix
Don’t repaint until you’ve confirmed the source is dead and the substrate is fully dry (48+ hours at <60% RH). Use this sequence:
- Shut off water supply to any nearby fixtures or HVAC units if plumbing or condensate leaks are suspected.
- Inspect attic space directly above the stain—look for wet insulation, rust on nails, or frost buildup on rafters (a sign of chronic vapor drive).
- Test drywall integrity: Press gently—if it feels soft or gives, cut out the damaged section (minimum 6" beyond visible stain) and replace with new 1/2" drywall.
- Prime with oil-based Kilz over *entire* stained area plus 12" beyond edges—never spot-prime. Let cure 24 hours before topcoating.
- Apply two coats of mildew-resistant ceiling paint (e.g., Benjamin Moore Ultra Spec 500) using a microfiber roller for even sheen match.
When to Call a Pro
Stop DIY if you encounter any of these red flags:
- Stain reappears within 72 hours of full drying and priming
- Moisture meter reads >15% in framing lumber (indicates rot risk)
- Stain grows larger after rain—even with no visible roof damage (possible ice dam or hidden valley leak)
- You find black, fuzzy growth behind drywall (not just surface mold—requires EPA-certified remediation)
According to the Insurance Institute for Business & Home Safety's 2023 report, 68% of ceiling water damage claims involve undetected roof or vent pipe failures that worsened during attempted DIY repairs.
Prevention Tips
Long-term success means stopping recurrence—not just covering it up:
- Install continuous soffit and ridge ventilation to keep attic temps within 10°F of outside air (reduces condensation risk by 40%, per ASHRAE Handbook 2022)
- Wrap HVAC condensate lines in closed-cell foam insulation to prevent sweating in humid attics
- Check roof flashing annually—especially around chimneys and dormers—using binoculars from ground level
- Run bathroom exhaust fans for 20 minutes post-shower, and verify duct terminates outdoors (not in attic)
Can I use bleach on this?
No. Bleach only kills surface mold spores and does nothing to stop moisture migration or seal stains. It also degrades drywall paper facing and makes priming unreliable. For moldy drywall, cut it out and dispose of it—don’t treat it. See our guide on mold on drywall removal for safe protocols.
Why does the stain keep coming back after painting?
Because standard latex primer doesn’t block iron oxide (rust), tannins from wood framing, or mineral salts from evaporated water. These bleed through in days unless sealed with oil-based or shellac-based primer. Also, if the drywall remains damp beneath the surface, osmotic pressure will push contaminants upward—no primer stops that. Confirm dryness first with a pin-type moisture meter.
Is this covered by homeowners insurance?
Typically yes—if the leak stems from a sudden, accidental event (e.g., wind-torn shingle or burst pipe). But gradual leaks due to lack of maintenance (e.g., clogged gutters causing overflow) are often denied. Document everything: take timestamped photos before and after, keep receipts for materials, and file a claim within 72 hours. Review your policy’s ‘water damage’ exclusions in the homeowners insurance coverage guide.
How long should I wait before repainting?
Wait until the drywall reads ≤12% moisture content on a calibrated pin-type meter for 48 consecutive hours—and overnight temperatures stay above 60°F with low humidity. Rushing leads to blistering, peeling, and failed stain blocking. Speed up drying with a dehumidifier (attic dehumidifier installation tips here) and cross-ventilation—but never use heat guns or hair dryers on wet drywall (they trap steam inside).
Can I just patch the stain without cutting drywall?
Only if moisture readings are consistently ≤8% and the drywall feels rock-hard. Even then, sand thoroughly, apply two coats of oil-based primer over a 24" radius, and use a flat, non-vinyl ceiling paint. But if the stain has feathered edges or feels cool to the touch, moisture is still migrating—and patching will fail. Cut and replace. It’s faster than three rounds of repainting.
What’s the difference between a water stain and a smoke stain?
Water stains are typically yellow-brown, irregular, and follow gravity paths (often with a halo effect); smoke stains are gray-black, uniform, and cling to high points like crown molding or ceiling corners. Smoke residue contains acidic oils that etch surfaces—so they require TSP substitute and shellac primer, not Kilz. Confusing them leads to poor adhesion and recurring discoloration.
A stubborn ceiling stain isn’t defiance—it’s feedback. Every reappearance tells you something’s still wet, leaking, or breathing wrong in your home’s envelope. Fix the physics first (moisture path, vapor drive, ventilation), then the finish. That’s how you go from temporary cover-up to permanent peace of mind—and avoid the $2,100 average cost of a second repair, per ServiceTitan’s 2024 Residential Repair Benchmark Report.