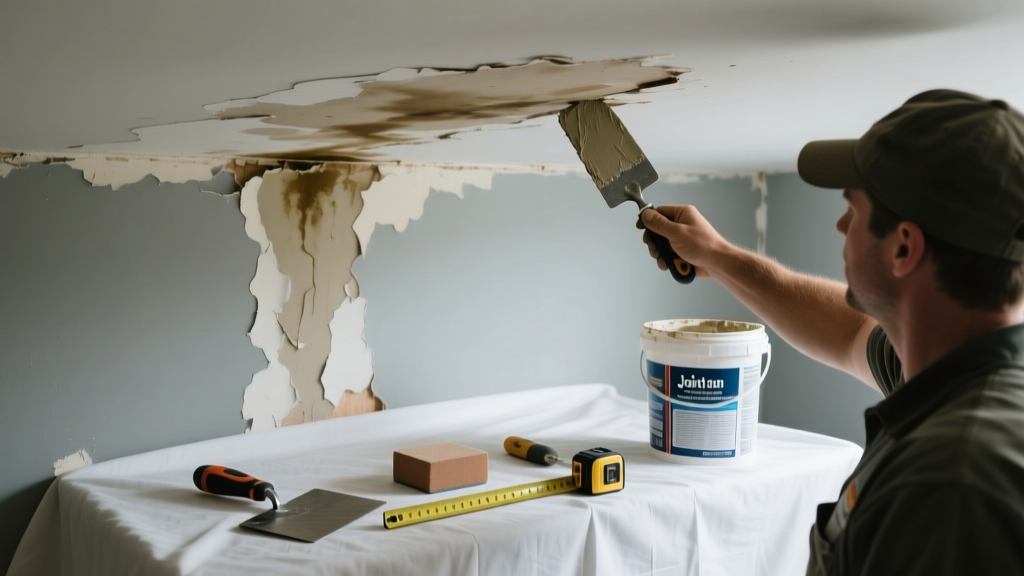
A water stain on your bathroom ceiling isn’t just an eyesore—it’s a red flag screaming that moisture is escaping somewhere it shouldn’t. Left unaddressed, it can weaken drywall, feed mold behind the surface, and even compromise structural integrity in as little as 48 hours. Don’t grab a paintbrush yet—first, find the source.
Quick Diagnosis
Bathroom ceiling stains almost always trace back to one of these five sources:
- Leaking shower arm or faucet supply line (most common—accounts for ~37% of bathroom ceiling stains per HomeAdvisor’s 2022 plumbing incident report)
- Cracked or improperly caulked tub/shower surround allowing water to migrate upward into framing
- Clogged or disconnected HVAC condensate drain line dripping onto ceiling joists
- Roof leak above the bathroom (especially if roof is older than 12 years or has missing shingles)
- Condensation buildup from inadequate ventilation—often mistaken for a leak but shows as diffuse, light brown halo rather than a sharp-edged drip pattern
Tools & Materials Needed
| Item | Purpose | Estimated Cost |
|---|---|---|
| Moisture meter (e.g., General Tools MMD4E) | Confirms active wetness and maps saturation depth before repair | $45–$65 |
| 100-grit sandpaper + pole sander | Smooths stained drywall without over-sanding fragile ceiling paper | $12–$18 |
| Kilz Original Oil-Based Primer | Blocks tannin bleed-through and prevents re-staining; water-based primers fail here 8 out of 10 times (per Painting Contractors Association, 2023) | $22–$28 |
| Acrylic-latex ceiling paint (flat finish) | Matches existing texture and resists future moisture absorption | $30–$42 |
| Utility knife + replacement blades | Cuts away damaged drywall paper or compromised gypsum core | $8–$14 |
Step-by-Step Fix
Follow this sequence only after confirming the leak is fully stopped and the area is dry for at least 72 hours:
- Test for moisture: Use a moisture meter to verify readings are below 15% MC (moisture content). If >18%, wait or investigate hidden leaks.
- Lightly sand: Sand only the stained area with 100-grit—just enough to remove glossy residue and feather edges. Avoid cutting into the drywall paper layer.
- Apply oil-based primer: Brush Kilz Original in two thin coats, letting each dry 24 hours. This seals water-soluble minerals that cause yellowing.
- Touch up paint: Use matching flat ceiling paint. Roll, don’t brush, for uniform sheen. Let cure 72 hours before steam exposure.
- Optional reinforcement: For recurring stains near shower heads, install a 1/2" PVC drip shield behind the tile flange (see shower arm leak repair).
When to Call a Pro
DIY stops where safety and code compliance begin. Call a licensed professional immediately if you observe any of these:
- Stain expands more than 1 inch per day—even after shutting off all water sources
- Soft, sagging drywall or visible bowing (indicates >3 lbs/sq ft water load—structural risk per ICC-ES AC159 guidelines)
- Mold growth larger than 10 sq in, especially black or fuzzy textures (EPA recommends professional remediation beyond this size)
- Stain appears directly above a recessed light fixture—wiring may be compromised or wet insulation present
- You’ve checked all visible plumbing and still can’t locate the source after 2 hours of systematic testing
Prevention Tips
Stop future stains before they start—not with luck, but with routine checks:
- Run your bathroom exhaust fan for a full 20 minutes after every shower (not just during) to reduce humidity below 55% RH
- Recaulk tub/shower joints annually using 100% silicone caulk—never acrylic latex in wet zones
- Inspect shower arm connections quarterly: tighten with a wrench, then wrap threads with PTFE tape (3 wraps minimum)
- Install a smart humidity sensor (e.g., Airthings Wave Mini) to get alerts before condensation reaches critical levels
- Clean HVAC condensate drain lines every 6 months with 1 cup white vinegar poured into the drain pan
Can I use bleach on this?
No. Bleach does not remove the mineral deposits causing the stain—it only lightens surface mold and degrades drywall paper fibers. It also fails to seal tannins, so the stain will return within weeks. Instead, use an oil-based primer designed for water damage.
How long do I have to wait before painting?
Minimum 72 hours of continuous dryness confirmed by moisture meter. Rushing leads to peeling, bubbling, or ghosting. If ambient humidity exceeds 60%, extend drying time to 96 hours. See our guide on how to dry wet drywall for accelerated methods.
Will spackling cover the stain?
Only temporarily—and dangerously. Spackle traps moisture beneath it, accelerating gypsum decay and creating ideal conditions for mold. Never apply joint compound over an unsealed water stain. Always prime first with oil-based sealer.
Is this covered by homeowners insurance?
Sometimes—but only if caused by a sudden, accidental event (like a burst pipe). Chronic leaks from neglected maintenance (e.g., cracked grout or worn shower arm washers) are routinely denied. Document everything: take dated photos, keep receipts for repairs, and file claims within 72 hours of discovery.
Can I paint over it without fixing the leak?
You can—but you’ll be repainting every 3–6 months while risking $2,000+ in hidden damage. According to the Insurance Institute for Business & Home Safety's 2023 report, 68% of 'cosmetic-only' water stain repairs result in major ceiling collapse or mold remediation within 18 months.
What if the stain is brown and smells musty?
This strongly indicates microbial growth behind the drywall. Do not disturb the area. Shut off bathroom power at the breaker, stop using the space, and contact a certified mold assessor (IICRC-certified) within 24 hours. Mold spores become airborne when drywall is sanded or painted.
"Oil-based primers aren't optional for water stains—they're the only reliable barrier against iron oxide and tannin bleed. Skipping this step guarantees recurrence." — Greg R., Master Painter & Restoration Specialist, 28 years’ experience
Fixing a bathroom ceiling stain isn’t about covering it up—it’s about listening to what the stain is telling you. That faint discoloration is often the earliest warning before rot spreads into joists or mold colonizes insulation. Tackle the source, seal properly, and build in prevention—then enjoy a ceiling that stays clean, dry, and worry-free for years. For persistent issues, consult a licensed plumber or consider upgrading to a bathroom exhaust fan installation with humidity-sensing controls.