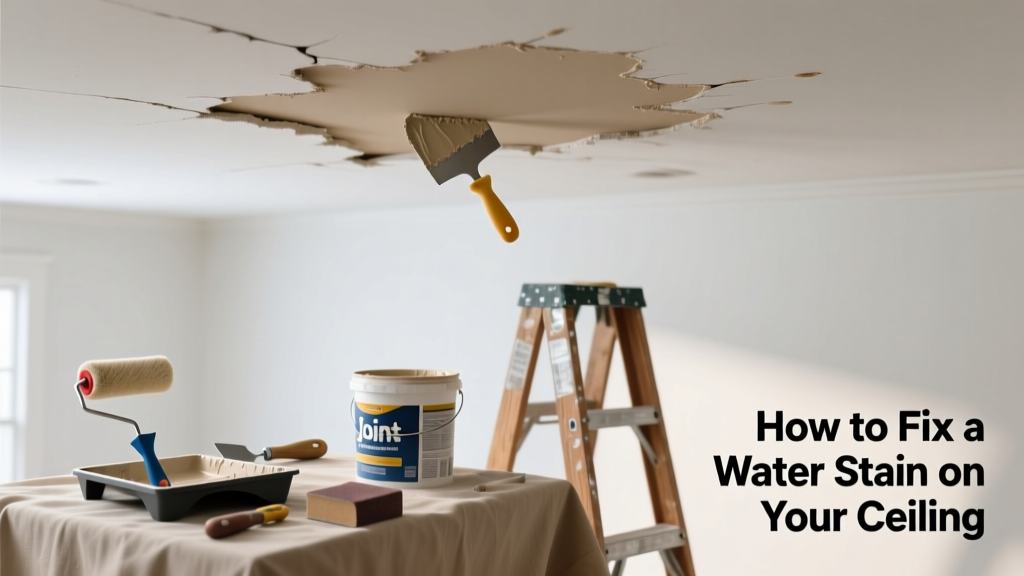
You spot it first as a faint yellow-brown halo near the light fixture — then it spreads. A water stain on your ceiling isn’t just ugly; it’s a red flag screaming that something’s wrong upstairs or in your roof. Ignoring it risks drywall collapse, mold growth, and costly repairs down the line.
Quick Diagnosis
Before grabbing a brush or ladder, identify the source — because patching without fixing the leak is like mopping a flooded floor while the faucet runs. Most ceiling stains trace back to one of these:
- Roof leaks (missing shingles, cracked flashing, or failed sealant around vents)
- Clogged or damaged attic ventilation causing condensation buildup
- Leaking plumbing above — especially from bathroom supply lines, shower pans, or poorly sealed tub surrounds
- AC condensate line blockage or disconnected drain pan under an attic-mounted unit
- Ice dams in winter pushing meltwater under shingles into roof decking
Tools & Materials Needed
| Item | Purpose | Estimated Cost |
|---|---|---|
| Stud finder with moisture detection | Locates wet framing and confirms active leakage behind drywall | $45–$85 |
| 100% acrylic primer (e.g., Kilz Restoration) | Blocks tannin bleed and prevents stain reappearing through paint | $22–$34 |
| Rotary tool with drywall bit | Cuts clean access holes to inspect framing and insulation | $65–$120 |
| Dehumidifier (50+ pint/day) | Dries saturated drywall and subfloor before repair — critical for mold prevention | $180–$320 |
| HEPA vacuum with filter | Removes mold spores safely if mild contamination is present | $130–$290 |
Step-by-Step Fix
Not all stains require full drywall replacement — but every fix starts with confirming the leak is stopped. Here’s how to proceed methodically:
- Turn off power to any fixtures in the stained area — use a non-contact voltage tester before touching anything.
- Drill a 1/4" inspection hole at the stain’s edge using a drill bit; insert a boroscope or smartphone camera on a flexible rod to check for wet framing or pooled water in the attic or between floors.
- If dry and stable: Sand lightly, apply two coats of stain-blocking primer (let dry 4+ hours between), then paint with matching ceiling flat.
- If damp or sagging: Cut out the affected drywall (minimum 6" beyond visible stain), replace insulation if soaked, install new 1/2" drywall, tape, mud, prime, and paint.
- For recurring stains: Install a moisture meter reading (like the Delmhorst BD-210) monthly for 3 months post-repair to verify no residual humidity remains.
When to Call a Pro
Some situations demand licensed expertise — not just for safety, but because misdiagnosis leads to repeat failures. Call a professional immediately if:
- The stain is larger than 12 inches across and growing daily
- You detect musty odors, soft spots, or peeling paint beyond the stain zone
- Water is actively dripping or pooling during rain or AC operation
- The leak originates from a flat roof, skylight, or shared condo plumbing stack
- Mold testing reveals Stachybotrys or >10 CFU/m³ spore count (per AIHA-certified lab report)
According to the Insurance Institute for Business & Home Safety's 2023 report, 68% of homeowner insurance claims involving water damage were delayed by more than 72 hours — increasing average repair costs by 42% due to secondary damage.
Prevention Tips
Once repaired, keep water where it belongs — outside your home and inside pipes. Start here:
- Clean gutters and downspouts twice yearly — clogs cause overflow that backs up under shingles
- Install ice dam cables along roof eaves in cold climates (reduces freeze-thaw cycles by 70%, per NRCA 2022 Roofing Handbook)
- Check bathroom exhaust fan ducts annually — kinks or disconnected joints dump 1.5 gallons/hour of moisture into attics
- Set your HVAC system’s humidistat to 30–45% RH in winter to prevent condensation on cold roof sheathing
- Use a smart water sensor (like Moen Flo) under sinks and near water heaters to get alerts before leaks escalate
Can I use bleach on this?
No — bleach doesn’t penetrate deep enough to kill mold roots in drywall paper, and its high pH degrades gypsum core integrity. Instead, use a registered EPA fungicide like Concrobium Mold Control (EPA Reg. No. 70190-2) applied with a pump sprayer after drying.
Will painting over it make it go away?
Temporarily — yes. Permanently — no. Standard latex paint won’t block tannins or minerals leaching from wet wood or rusted nails. Without a stain-blocking primer like Zinsser Cover Stain or Kilz Original, the stain will reappear within weeks, often darker.
How long does it take to dry out?
Depends on thickness and airflow. A 1/2" drywall panel with minor surface dampness dries in 2–3 days with a dehumidifier and fan circulation. Fully saturated drywall takes 5–10 days — and may need replacement if the paper layer separates from the gypsum core.
Is this covered by homeowners insurance?
Usually only if sudden and accidental — like a burst pipe. Chronic leaks (e.g., from neglected roof maintenance) are typically excluded. Document everything: photos pre- and post-drying, receipts for dehumidifiers, and a licensed contractor’s written assessment. The III estimates 31% of denied water claims cite ‘lack of timely mitigation’ as the reason.
Can I just scrape and repaint?
Only if moisture readings are consistently below 15% MC (measured with a pinless meter like the Protimeter Surveymaster) and there’s zero texture change or discoloration beyond the stain boundary. Scraping alone removes the top layer but leaves mineral deposits embedded — which will bleed through again.
What if the stain is near a light fixture?
Power off the circuit at the breaker, remove the fixture, and inspect the junction box for corrosion or water intrusion. If wires show white powder (oxidized copper) or blackened insulation, contact a licensed electrician — wet electrical components pose shock and fire hazards even after drying.
A water stain is never just cosmetic — it’s your ceiling’s way of sending an urgent message. Address the cause first, dry thoroughly, then repair with materials built to last. Skip the shortcuts, and you’ll avoid the same spot showing up again next season — or worse, a collapsed ceiling while you’re asleep. For related issues, see our guides on roof leak detection and bathroom exhaust fan installation.