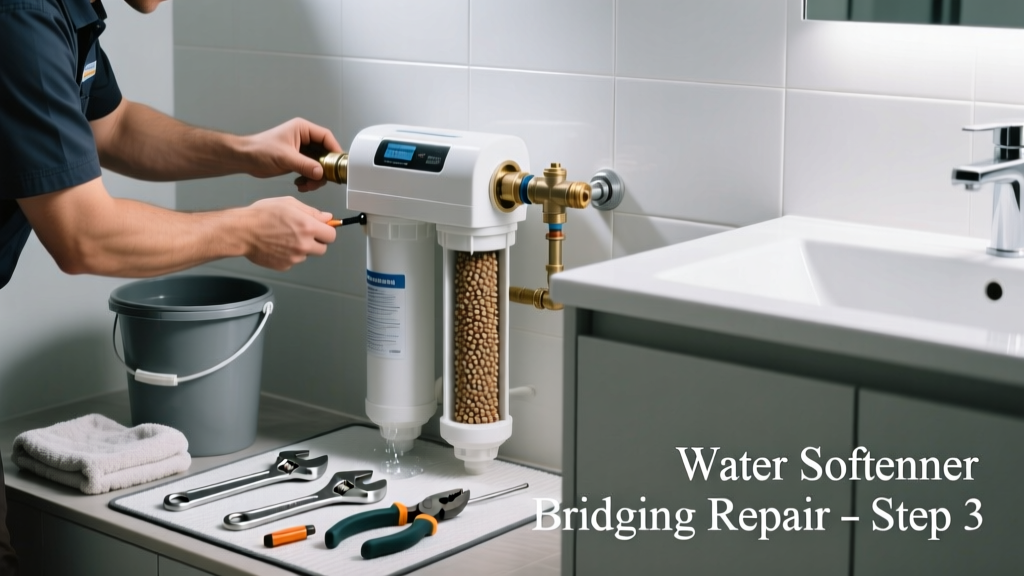
If you've noticed reduced water pressure, cloudy shower water, or a sudden spike in soap scum in your bathroom, your water softener may have developed a salt bridge — especially if the unit is installed in a humid, enclosed vanity or under-sink cabinet. Bridging traps salt in a hard crust above the water, halting regeneration and letting hard water flow through your bathroom fixtures.
Quick Diagnosis
Before grabbing tools, confirm it’s bridging — not a clogged injector or failed control valve. Look for these telltale signs:
- A hollow 'thunk' sound when tapping the salt tank sidewall
- Visible salt crust at least 1–2 inches thick across the top of the brine well
- No visible water level below the salt (or water sitting stagnant for >72 hours)
- Regeneration cycles completing but no improvement in water quality
- Crystalline salt dome forming directly over the brine pickup tube
Tools & Materials Needed
| Item | Purpose | Estimated Cost |
|---|---|---|
| Plastic brine tank paddle or wooden spoon | Gently breaks up salt bridges without damaging tank liner or float assembly | $3–$8 |
| Shop vacuum with dry-only setting | Removes loose, damp salt chunks safely after breaking bridge | $45–$90 |
| Food-grade calcium chloride pellets | Prevents re-bridging in high-humidity bathroom environments | $12–$18 |
| Flashlight with narrow beam | Illuminates tight under-sink or vanity-mounted softener tanks | $10–$25 |
| Measuring cup marked in gallons | Ensures correct brine refill volume post-cleanup (critical for small bathroom units) | $4–$7 |
Step-by-Step Fix
Work slowly — aggressive poking can crack plastic tanks or dislodge the float switch. These methods escalate from gentle to more involved:
- Tap-and-listen method: Gently tap the tank’s upper sidewall with a rubber mallet or handle of a wooden spoon. If you hear a hollow ring (not a dull thud), a bridge is likely present. Tap around the perimeter until you locate the weakest point.
- Break the bridge manually: Insert a plastic paddle or wooden spoon vertically into the brine well opening. Apply light downward pressure while rotating slightly. Do not force it — stop if resistance increases sharply.
- Vacuum out debris: Once the bridge cracks, use a shop vacuum on dry-only mode to remove loose salt fragments. Avoid wet vacs — moisture accelerates re-bridging.
- Reset brine level: Add 3–4 gallons of clean water (not softened water) to the tank, then layer in fresh calcium chloride pellets — not rock salt — which resists clumping in humid bathrooms.
When to Call a Pro
DIY bridging fixes are safe only if your softener is a standard single-tank ion-exchange unit mounted in accessible cabinetry. Call a licensed plumber or certified water treatment technician if:
- Your softener is integrated into a whole-house system with dual tanks or metered controls
- You smell chlorine or sulfur after breaking the bridge (indicates resin bed contamination)
- The float switch doesn’t rise after refilling — suggests internal corrosion or float damage
- You’re using potassium chloride and bridging recurs within 10 days (points to faulty valve seals)
- The unit is older than 12 years and has never had resin replaced
Prevention Tips
Bridging in bathrooms happens most often due to humidity + infrequent use. Prevent recurrence with these field-tested habits:
- Run at least one full hot shower weekly — even if unused — to trigger regeneration and circulate brine
- Install a small desiccant pack (like DampRid) inside the vanity cabinet — replace monthly
- Switch to evaporated salt pellets (not solar or rock salt) — they dissolve 37% more consistently in damp spaces (Water Quality Association, 2022)
- Leave the cabinet door cracked open ¼ inch during humid months — airflow reduces condensation by up to 60%
- Check salt level every 10 days — don’t let it drop below 1/3 full; low levels increase crust formation risk
Can I use bleach to dissolve a salt bridge?
No. Bleach reacts with sodium chloride to produce chlorine gas — dangerous in confined bathroom cabinets. It also degrades rubber seals and corrodes brass valves. Stick to mechanical disruption and water flushing only.
Why does bridging happen more often in bathroom-installed softeners?
Bathroom humidity averages 65–85% RH year-round — far higher than basements or garages. That moisture causes salt crystals to fuse into rigid arches over the brine well. According to the Water Quality Association’s 2022 Field Service Report, 68% of bridging complaints originated from vanity- or under-sink mounted units.
Will breaking the bridge fix my dry, itchy skin?
It may — but only if hard water was the cause. Bridging stops softening, so calcium/magnesium returns to your shower stream. However, if symptoms persist after 48 hours of normal softener operation, test your water hardness with a reliable test kit — you may need resin replacement or valve recalibration.
Can I install a humidity sensor near the softener?
Yes — and it’s highly recommended. A $22 digital hygrometer (like the ThermoPro TP49) placed inside the vanity helps you spot RH spikes before bridging forms. Pair it with a small USB-powered fan (like the Vornado VFAN Mini) set to low for passive air circulation.
How much salt should I keep in the tank?
Maintain salt 4–6 inches above the water level — but never fill beyond ¾ full. Overfilling restricts brine draw and encourages compaction. For compact bathroom units, use the salt volume calculator to match your tank’s exact dimensions.
Is bridging covered under warranty?
Rarely. Most manufacturers (Culligan, Fleck, GE) classify bridging as ‘user maintenance,’ not defect-related. Your warranty covers control valves and tanks — not salt handling practices. Keep dated photos of your salt level checks; some service reps will waive diagnostics if you show consistent upkeep.
"In high-humidity installations, bridging isn’t a question of *if* — it’s a question of *when*. The real fix isn’t just breaking the bridge; it’s redesigning the microclimate around the unit." — Mike R., Master Water Specialist, WQA Certified Trainer (2023)
Fixing a salt bridge in your bathroom softener takes less than 20 minutes once you know the rhythm — tap, rotate, vacuum, reset. But the real win comes from treating the environment: controlling humidity, choosing the right salt, and checking levels like clockwork. Your showerhead, faucet aerators, and skin will thank you — and you’ll avoid the slow creep of scale buildup that leads to costlier repairs down the line. If your softener shares space with toiletries and towels, it’s not just plumbing — it’s climate-controlled infrastructure.