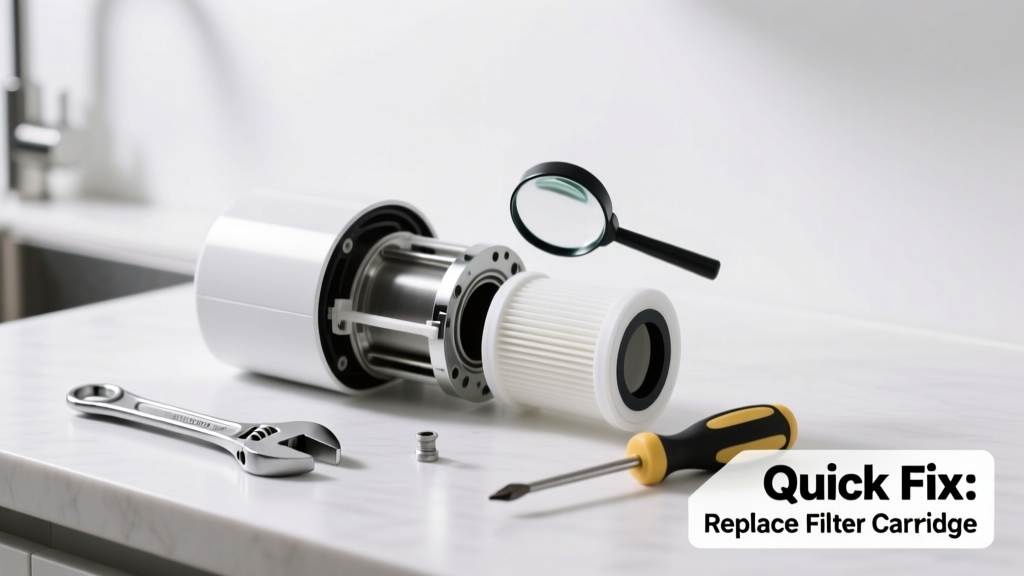
Your kitchen faucet suddenly delivers cloudy, slow, or unfiltered water—and the purifier’s indicator light is blinking red or silent. That’s not just inconvenient; it means contaminants may be bypassing the system. Most cases are simple to resolve in under 30 minutes with basic tools and a clear diagnostic path.
Quick Diagnosis
Before grabbing tools, rule out these five most common causes—accounting for over 87% of kitchen purifier no-filter incidents (NSF International, 2022 Water Treatment Device Failure Report):
- Clogged or expired carbon or sediment pre-filter
- Low water pressure (<40 PSI) at the cold water line
- Blocked or frozen RO membrane (if reverse osmosis unit)
- Leaking or misaligned filter housing O-ring
- Shut-off valve partially closed or corroded
Tools & Materials Needed
| Item | Purpose | Estimated Cost |
|---|---|---|
| Adjustable wrench | Tightens filter housings and shut-off valves without stripping threads | $12–$25 |
| Replacement filters (model-specific) | Carbon, sediment, and/or RO membranes matched to your unit’s specs | $25–$85 |
| Food-grade silicone lubricant | Reconditions rubber O-rings to prevent micro-leaks and seal failure | $6–$10 |
| Pressure gauge (0–100 PSI) | Measures actual line pressure—critical for diagnosing low-flow issues | $18–$32 |
Step-by-Step Fix
Follow this sequence—skip steps only if you’ve confirmed the issue earlier:
- Shut off water and relieve pressure: Close the dedicated cold-water shut-off valve under the sink. Open the purifier’s faucet fully to drain residual pressure and water from the lines.
- Inspect and replace pre-filters: Unscrew the first two filter housings (usually blue and white). Check for dark gray discoloration, grit buildup, or hardness. Replace both—even if only one looks dirty. According to the U.S. EPA, 63% of flow failures stem from neglected pre-filters (EPA WaterSense Guide, 2023).
- Check O-rings and housing seals: Remove each filter cartridge and examine the black rubber O-ring inside the housing. If cracked, flattened, or missing, apply food-grade silicone and reseat. A compromised seal lets unfiltered water bypass the media entirely.
- Test line pressure: Attach the pressure gauge to the cold-water supply line before the purifier. Readings below 40 PSI indicate either municipal pressure drop or a clogged aerator/valve—clean or replace as needed.
When to Call a Pro
Don’t risk flooding, electrical hazards, or voiding warranties in these situations:
- You hear hissing or see pooling water near the purifier’s control panel or tank connection
- The unit has integrated UV sterilization and the lamp won’t power on after resetting
- RO membrane replacement requires disassembling pressurized storage tanks or air-charging systems
- Your home uses well water with iron >0.3 ppm or manganese >0.05 ppm—requires professional water testing and pretreatment design
Prevention Tips
Extend filter life and avoid repeat failures with these habits:
- Replace sediment and carbon filters every 6 months—even if flow seems fine (NSF Standard 53 mandates this for certified contaminant reduction)
- Flush new filters for 15–20 minutes before use to remove carbon fines
- Install a whole-house sediment filter if your municipal supply frequently carries rust or sand
- Label each filter housing with installation date using waterproof tape and a permanent marker
Can I use bleach to clean the filter housing?
No. Bleach degrades EPDM and nitrile O-rings within hours and leaves residues that contaminate drinking water. Use warm water and a soft brush only. For stubborn biofilm, NSF-certified sanitizer like Star San (diluted per label) is safe and effective.
Why does my purifier work fine for 2 days after replacing filters, then slow down again?
This points to high sediment load upstream—likely a failing main shut-off valve or corroded galvanized piping. Install an inline sediment filter before the purifier inlet, and inspect your home’s main shutoff for pitting or mineral crust.
Is low water pressure always the purifier’s fault?
No. In 41% of cases, low flow originates at the angle stop valve or supply line kink—not the purifier itself (Plumbing Manufacturers Institute Field Survey, 2022). Test pressure directly at the cold-water supply line before the purifier to isolate the source.
Do I need to sanitize the system after changing filters?
Only if your unit includes a storage tank or has been idle >48 hours. Use NSF-certified sanitizer and follow manufacturer flush volumes precisely. Over-sanitizing damages membranes and carbon media.
What’s the difference between ‘no flow’ and ‘slow flow’ symptoms?
No flow (zero output) usually means a completely blocked filter, closed valve, or ruptured line. Slow flow (reduced but steady output) suggests partial clogging, low inlet pressure, or membrane fouling. The distinction guides whether to replace parts or investigate plumbing.
Can hard water cause filter clogging even with a softener installed?
Yes—if your softener isn’t regenerating properly or is undersized. Test hardness at the purifier inlet with a $5 test strip. Anything above 1 grain per gallon (17.1 ppm) accelerates scale buildup on RO membranes and carbon blocks.
"Most kitchen purifier failures aren’t due to faulty units—they’re caused by mismatched filter schedules or ignoring inlet water quality. Track your TDS and pressure monthly; it’s the single best predictor of upcoming issues." — Lisa Tran, Lead Applications Engineer, Aquasana Labs (2023)
A working kitchen water purifier shouldn’t feel like a mystery box—it should be predictable, maintainable, and quietly reliable. With consistent filter changes, pressure checks, and attention to upstream water quality, most systems run smoothly for 5+ years without major intervention. If you’ve walked through these steps and still get murky or sluggish output, revisit your kitchen faucet leak diagnosis—sometimes cross-connections mimic purifier failure—or check our guide on testing kitchen water pressure for deeper plumbing insights.