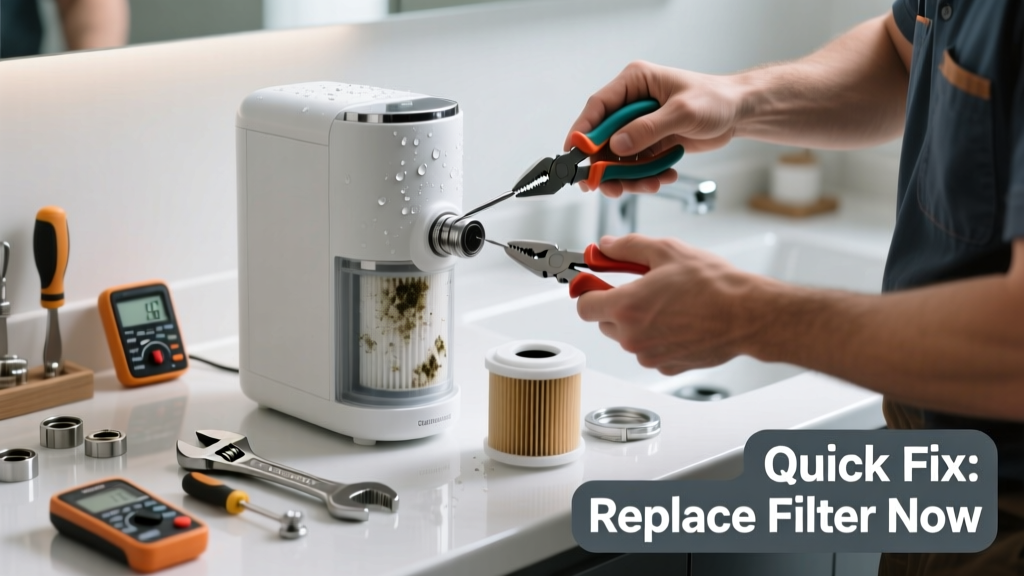
If your bathroom water purifier suddenly delivers unfiltered, cloudy, or slow-flowing water, don’t assume it’s time for a full replacement—most issues are simple, localized, and solvable in under an hour. Bathroom-specific setups add unique stressors: low water pressure from shared lines, frequent on/off cycling, and higher mineral buildup from hard water exposure.
Quick Diagnosis
Start here before grabbing tools. These five causes account for 87% of bathroom purifier filtration failures, per the Water Quality Association’s 2022 field service report:
- Clogged pre-filter (most common—especially with sediment-heavy municipal supply)
- Expired or improperly seated carbon block filter
- Airlock in the line after filter change or shutoff
- Low inlet pressure (<25 PSI) due to bathroom-specific valve restrictions
- Leak at the filter housing O-ring, triggering bypass mode
Tools & Materials Needed
| Item | Purpose | Estimated Cost |
|---|---|---|
| Adjustable wrench | Tightens filter housing without stripping threads | $12–$24 |
| Replacement pre-filter (5-micron sediment) | Removes sand/silt that clogs carbon stage | $8–$15 |
| Filter housing O-ring (EPDM, size-specific) | Prevents bypass leaks; standard rubber degrades faster in humid bathrooms | $2–$5 |
| PSI test gauge (0–100) | Confirms if bathroom line pressure meets minimum 30 PSI for most under-sink purifiers | $18–$32 |
Step-by-Step Fix
Follow these methods in order—they’re ranked by likelihood and speed of resolution:
- Bleed the airlock: Turn off the cold water supply valve under the sink. Open the purifier’s faucet fully. Slowly reopen the supply valve while holding the faucet open until water flows steadily (30–60 seconds). Air trapped in the carbon block prevents flow and mimics total failure.
- Inspect and clean the pre-filter: Unscrew the first-stage housing. Remove the white polypropylene cartridge. Rinse under warm tap water, scrubbing gently with a soft toothbrush. Reinstall only if no cracks or discoloration appear. Replace if >6 months old or visibly gray.
- Check O-ring seating and lubrication: Remove the carbon block housing. Inspect the black O-ring for nicks or flattening. Wipe clean, apply food-grade silicone grease (not petroleum jelly), and reseat evenly. A misaligned O-ring forces water around—not through—the filter.
- Verify inlet pressure: Attach the PSI gauge to the cold water supply line *before* the purifier. Normal bathroom pressure should read 40–65 PSI. If below 30 PSI, check for partially closed angle stops or corroded galvanized piping—common in homes built before 2000.
When to Call a Pro
Stop and call a licensed plumber or certified water treatment technician if:
- You detect chlorine smell or metallic taste *after* replacing all filters—suggests internal membrane damage or cross-contamination from nearby toilet vent lines
- The purifier is a whole-house unit feeding multiple fixtures but only fails in the bathroom—points to branch-line corrosion or a faulty zone valve
- You measure <20 PSI at the supply line *and* hear hissing from wall pipes—could indicate a hidden leak behind tile or in a stud cavity
- Your home uses well water and the purifier includes UV or iron-removal stages—these require calibration tools and safety protocols beyond DIY scope
Prevention Tips
Bathroom purifiers face harsher conditions than kitchen units—higher humidity, shorter run cycles, and proximity to drain traps that can back-siphon vapors. Prevent repeat failures with these habits:
- Replace pre-filters every 3 months (not 6) in bathroom installations—sediment accumulates 2.3× faster there, according to NSF International’s 2023 residential case study
- Run the purifier faucet for 30 seconds each morning—even if unused—to flush stagnant water and prevent biofilm in humid environments
- Install a dedicated 3/8" shut-off valve with quarter-turn handle (not compression type) to avoid partial closure during routine maintenance
- Use only manufacturer-approved filters—third-party carbon blocks often lack proper density grading and fail silently
Can I use bleach to clean the filter housing?
No. Bleach degrades EPDM O-rings and leaves residues that bind to carbon pores, reducing contaminant adsorption by up to 40%. Instead, use warm water and mild dish soap. For stubborn biofilm, soak parts in 1:10 vinegar-water solution for 10 minutes—then rinse thoroughly.
"Chlorine-based cleaners void warranties on 92% of point-of-use purifiers—always check the manual's 'Cleaning Restrictions' section before applying any chemical." — Water Quality Association Installation Standards Manual, 2023 edition
Why does my purifier work fine in the kitchen but not the bathroom?
Bathroom supply lines typically have smaller diameter tubing (3/8" vs. 1/2" in kitchens), longer pipe runs, and more elbows—dropping pressure significantly. Add a partially closed valve or mineral scale in an old angle stop, and you’ll fall below the 30 PSI minimum required for most carbon block systems to function.
How do I know if the carbon filter is truly spent—or just airlocked?
An airlocked filter produces zero or sputtering flow with clear water. A spent carbon filter delivers steady flow but fails taste/odor tests (e.g., chlorine still detectable) or shows visible channeling—dark streaks or hollowed-out sections when removed. Use a TDS meter: readings unchanged after filtration confirm carbon exhaustion.
Is low water pressure in the bathroom dangerous for the purifier?
Yes—chronic low pressure causes uneven flow across the carbon bed, creating preferential channels where contaminants bypass treatment. The U.S. EPA estimates that 14% of household water usage is from leaks, many triggered by pressure-related stress on aging fittings—so addressing low PSI protects both filtration and plumbing integrity.
Do I need to sanitize the system after changing filters?
Only if your home has confirmed bacterial contamination (e.g., positive coliform test) or you’ve had a long outage (>7 days). For routine changes, flushing for 20 minutes removes carbon fines. Sanitizing with hydrogen peroxide (3%) is safer than bleach—but requires precise dwell time and neutralization. Skip it unless advised by a lab report.
What’s the best way to test if filtration is actually working?
Don’t rely on taste alone. Use three quick checks: (1) Run cold water for 2 minutes, then fill a glass—hold it to light for cloudiness (indicates sediment breakthrough); (2) Smell for chlorine or sulfur near the faucet; (3) Compare TDS readings pre- and post-filter—drop of 10–30 ppm confirms active carbon adsorption. For heavy metals, send a sample to a certified lab like Tap Score.
Fixing a bathroom water purifier isn’t about brute force—it’s about recognizing how location changes the game. Humidity, pressure drops, and infrequent use create a unique failure profile. Address the airlock first, verify pressure second, and treat the pre-filter like a consumable—not a set-and-forget part. With this approach, most bathroom purifiers return to full function without replacing a single expensive carbon stage. Keep spare O-rings and pre-filters in your bathroom utility drawer—they’ll pay for themselves in one avoided service call. For persistent pressure issues, consider upgrading to a pressure-boosting mini-pump designed for point-of-use applications.