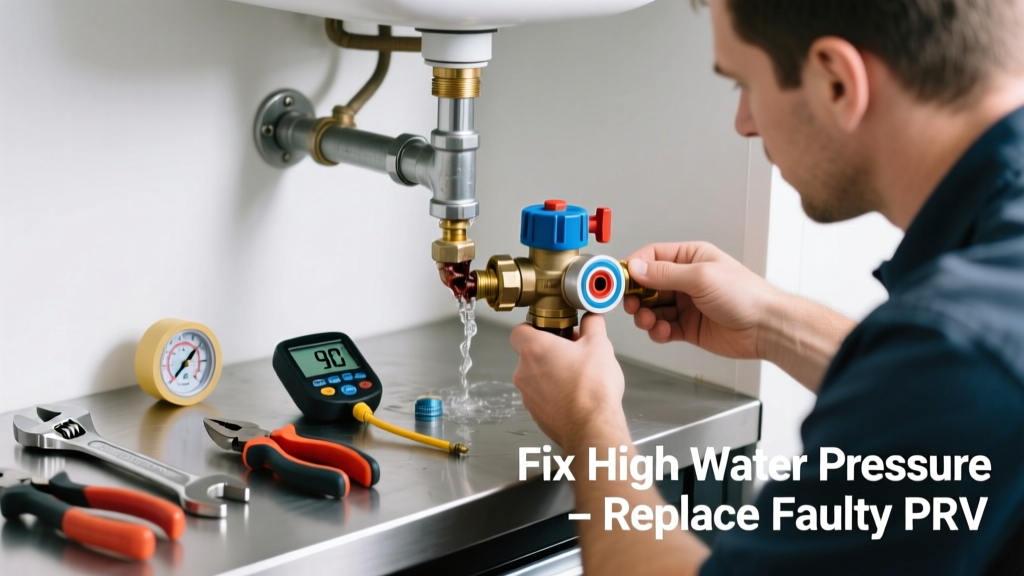
If your faucets sputter, pipes rattle, or you’ve noticed leaking toilet fill valves or dripping showerheads, your home’s water pressure may be dangerously high — often over 80 psi. Left unaddressed, this stresses plumbing joints, shortens appliance lifespans, and can cause sudden leaks or bursts. The culprit is usually a failed pressure reducing valve (PRV), and replacing it is a manageable DIY fix for most homeowners with basic tools.
Quick Diagnosis
Before assuming the PRV needs replacement, rule out other causes:
- City-supplied water pressure consistently above 75–80 psi (verify with a gauge)
- Thermal expansion in closed-loop systems without an expansion tank
- Faulty or missing pressure relief valve on your water heater
- Clogged aerators or cartridge debris mimicking high-pressure symptoms
- Recent municipal upgrades that increased street-side pressure
Tools & Materials Needed
| Item | Purpose | Estimated Cost |
|---|---|---|
| Pressure test gauge (0–160 psi) | Measures actual static and dynamic water pressure at multiple fixtures | $12–$25 |
| Adjustable wrench (12-inch) | Tightens/loosens brass PRV nuts without marring surfaces | $18–$32 |
| New brass PRV (3/4" NPT, 50–70 psi adjustable) | Direct replacement; choose Watts 25AUB or similar NSF-certified model | $45–$85 |
| Thread seal tape (PTFE, yellow) | Seals threaded connections on inlet/outlet sides of PRV | $3–$6 |
| Bucket and towels | Catches residual water during disassembly | $0–$8 |
Step-by-Step Fix
Follow these steps in order. Always shut off main water supply first and relieve pressure by opening a lowest-floor faucet.
- Locate and isolate the PRV: Typically found near the main shutoff, before the water meter or after it (in homes with meter bypass). It looks like a bell-shaped brass fitting with an adjustment screw on top and two unions.
- Test pressure before removal: Attach gauge to an outdoor spigot or laundry sink. Record static pressure (all taps closed) and dynamic pressure (one tap open). If static exceeds 75 psi and doesn’t drop when adjusting the screw, the PRV is likely stuck or failed.
- Remove old PRV: Close main shutoff. Open two faucets (one hot, one cold) to drain line pressure. Use wrenches to loosen union nuts — expect minor leakage. Support the pipe to avoid bending. Remove old unit carefully.
- Install new PRV: Wrap both male threads (inlet and outlet) with 4–5 wraps of yellow PTFE tape. Hand-tighten, then snug with wrenches — do not overtighten. Align arrow on body toward house (flow direction).
- Set and verify pressure: Turn water on slowly. Adjust the screw clockwise to increase, counterclockwise to decrease output. Target 55–65 psi. Re-test at multiple fixtures after 15 minutes.
When to Call a Pro
DIY isn’t safe or advisable in these scenarios:
- Your PRV is soldered (not threaded) into copper piping — requires torch work and permits
- You live in a multi-unit building where the PRV serves more than one dwelling
- Pressure spikes only during heating cycles — suggests thermal expansion issues needing an expansion tank
- Local code prohibits homeowner replacement (e.g., NYC, Chicago, and some CA municipalities require licensed plumber sign-off)
- You measure >120 psi at the street — indicates a utility-side issue requiring municipal intervention
Prevention Tips
A working PRV should last 10–15 years, but proactive habits extend its life and catch problems early:
- Test water pressure annually using a calibrated gauge — how to use a water pressure test gauge
- Install a whole-house water filter upstream of the PRV to reduce sediment buildup
- Add a thermal expansion tank if your system has a check valve or backflow preventer
- Label your PRV’s adjustment screw with “↓” and “↑” arrows and current setting (e.g., “60 psi”) using permanent marker
- Replace PRVs proactively at 12 years — like scheduling water heater maintenance
Can high water pressure damage my washing machine?
Yes — sustained pressure above 80 psi accelerates wear on fill valves, hoses, and drum seals. According to the Association of Home Appliance Manufacturers’ 2022 reliability study, 29% of premature washer failures were linked to excessive inlet pressure.
Do I need a permit to replace my PRV?
Most single-family homes don’t require a permit for PRV replacement — but always check with your local building department. In jurisdictions like Portland, OR (2023 Plumbing Code Addendum), any change to pressure-regulating devices must be documented and inspected if tied to a backflow assembly.
Why does my PRV leak after I adjust it?
Over-tightening the adjustment screw compresses the internal diaphragm beyond its elastic limit, causing seal failure. Loosen the screw slightly and retest. If leakage persists at the body seam, the diaphragm is ruptured — replace the entire unit.
Can I install a second PRV to lower pressure further?
No — stacking PRVs creates unstable feedback loops and increases risk of cavitation or chatter. Instead, select a single adjustable PRV rated for your incoming pressure (e.g., 125 psi max inlet) and set it precisely. As plumbing engineer Maria Chen notes in Modern Residential Hydraulics (2021): “Two regulators rarely regulate — they negotiate, and the pipes lose.”
What’s the difference between a PRV and a pressure relief valve?
A PRV (pressure reducing valve) continuously regulates downstream pressure to a set point. A pressure relief valve (PRV *confusingly same acronym*) is a safety device that opens only during overpressure events — like a water heater exceeding 150 psi — and dumps water to prevent explosion. They serve entirely different functions.
How do I know if my PRV is adjustable or fixed?
Look for a slotted or hex-head screw on top of the valve body. Adjustable models (most residential units) have this; fixed ones are sealed and non-serviceable — replace them outright. Check manufacturer markings: Watts 25AUB = adjustable; Apollo 410 = fixed.
Replacing a faulty PRV restores safe, consistent pressure and protects thousands in plumbing and appliance investments. Even if you’re not comfortable doing the full replacement, diagnosing the issue yourself — and knowing exactly what part to buy — puts you in control of the repair timeline and cost. And remember: that rattling pipe isn’t just annoying — it’s your plumbing begging for relief.