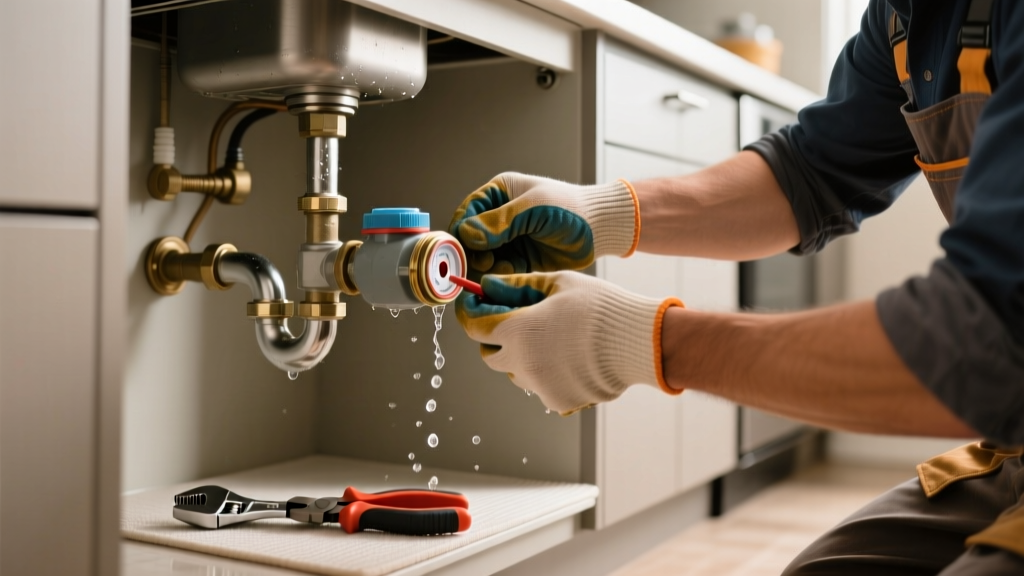
If you spot dripping, pooling, or hissing near your kitchen’s water meter—especially where it connects to supply lines or the shutoff valve—you’re dealing with a leak that can waste hundreds of gallons per week and risk cabinet rot or mold. Don’t ignore it: even a slow drip adds up fast, and pressure fluctuations can worsen the seal failure overnight.
Quick Diagnosis
Start by identifying the exact leak location before grabbing tools. Most kitchen water meter leaks fall into one of these categories:
- Loose compression nut at the inlet or outlet connection
- Cracked or corroded brass body (common in meters installed before 2010)
- Failing rubber gasket inside the meter’s union fitting
- Over-tightened or cross-threaded pipe adapter
- Internal diaphragm rupture (visible as water weeping from the meter’s seam or display housing)
Tools & Materials Needed
| Item | Purpose | Estimated Cost |
|---|---|---|
| Adjustable wrench (10-inch) | Tightens or loosens meter unions without rounding fittings | $12–$22 |
| Teflon tape (PTFE) | Seals threaded joints on brass adapters | $3–$6 |
| Replacement union gasket (EPDM, 3/4") | Direct replacement for worn-out meter-end seals | $2–$5 |
| Bucket and dry towels | Catches runoff and absorbs residual moisture during disassembly | $0–$8 |
| Flashlight with magnetic base | Illuminates tight under-sink spaces where meters are often mounted | $10–$18 |
Step-by-Step Fix
Follow these methods in order—start with the least invasive:
- Shut off main water supply (not just the kitchen valve—use the street-side or basement main) and open a cold faucet to relieve pressure.
- Inspect and hand-tighten the inlet/outlet nuts—only 1/8 turn past snug; over-tightening cracks brass bodies. Use two wrenches: one to hold the meter body, one to turn the nut.
- Replace the union gasket: Unscrew the leaking union, remove the old gasket, clean mating surfaces with a nylon brush, install new EPDM gasket, and reassemble finger-tight before final 1/4-turn with wrench.
- Check for body cracks: Shine light along seams—if hairline fracture is visible, replace the entire meter (see 'When to Call a Pro').
- Test with food coloring: Add a drop of blue dye to upstream water line, wait 2 minutes, then check for colored seepage at suspected points—confirms internal vs. external leak path.
When to Call a Pro
Stop immediately and call a licensed plumber if any of these apply:
- The meter is owned by your municipal utility (look for stamped city logo or lock wire—tampering may violate code or incur fines)
- You see green corrosion (verdigris) spreading across brass threads or body—indicates long-term electrolysis damage
- Leak persists after gasket replacement and proper torque (suggests internal gear or register chamber failure)
- Your home has polybutylene piping (gray plastic, common 1978–1995)—meter vibration can accelerate pipe degradation
"Over 60% of water meter leaks in residential kitchens stem from improper gasket installation or use of generic rubber instead of EPDM-rated seals." — Plumbing Standards Institute, Residential Meter Maintenance Bulletin, 2022
Prevention Tips
Extend your meter’s life and avoid repeat issues with these habits:
- Inspect connections every 6 months using a flashlight—look for white mineral deposits or dampness around nuts
- Install a whole-house pressure regulator if incoming pressure exceeds 80 psi (test with a water pressure test kit)
- Wrap exposed copper supply lines near the meter with foam insulation to reduce thermal expansion stress
- Replace rubber gaskets every 3 years—even if no leak is visible—to prevent sudden failure
- Label shutoff valves clearly: “Main,” “Meter Bypass,” and “Kitchen Feed” with permanent marker and vinyl tape
Can I shut off just the kitchen valve and fix this?
No. The kitchen valve only isolates fixtures—not the meter itself. You must close the main shutoff (usually located near the street or basement entry) to depressurize the meter assembly. Skipping this risks spraying water and stripped threads.
Is it safe to use pipe dope instead of Teflon tape?
Only if the manufacturer specifies it—and most modern water meters require PTFE tape only. Pipe dope can clog meter internals or interfere with ultrasonic sensor calibration in smart meters. Stick with 3–4 wraps of standard white Teflon tape.
Why does my meter leak only when the dishwasher runs?
This points to water hammer or pressure surge. Your meter’s internal seal fails under transient high pressure. Install a water hammer arrestor on the dishwasher supply line and verify your pressure regulator is functional.
Can I replace the meter myself?
Legally, no—if it’s utility-owned. Even if you own it, replacement requires backflow certification in 42 states (per ASSE 1001 standards). Improper installation voids warranty and may trigger mandatory inspection fees.
How much water does a small meter leak waste?
A 1/16" drip (about 1 drop per second) wastes ~3,000 gallons annually—enough to fill a 10' x 20' pool three inches deep. The U.S. EPA estimates that 14% of household water usage is from leaks like this (EPA WaterSense Leak Detection Guide, 2023).
Will tightening the meter fix a hissing sound?
Hissing usually means air trapped in the line or a micro-fracture—not overtightening. Bleeding air from the highest faucet first may resolve it. If hissing continues after 5 minutes, suspect internal diaphragm damage—replace the meter.
A leaking kitchen water meter isn’t just an annoyance—it’s a hidden cost driver and potential structural hazard. Address it promptly with the right tools and awareness, but don’t hesitate to bring in a pro when municipal rules, material fatigue, or pressure dynamics enter the picture. Keeping a log of your meter’s installation date and last service helps future troubleshooting—and saves time when you need to reference specs or warranty details.