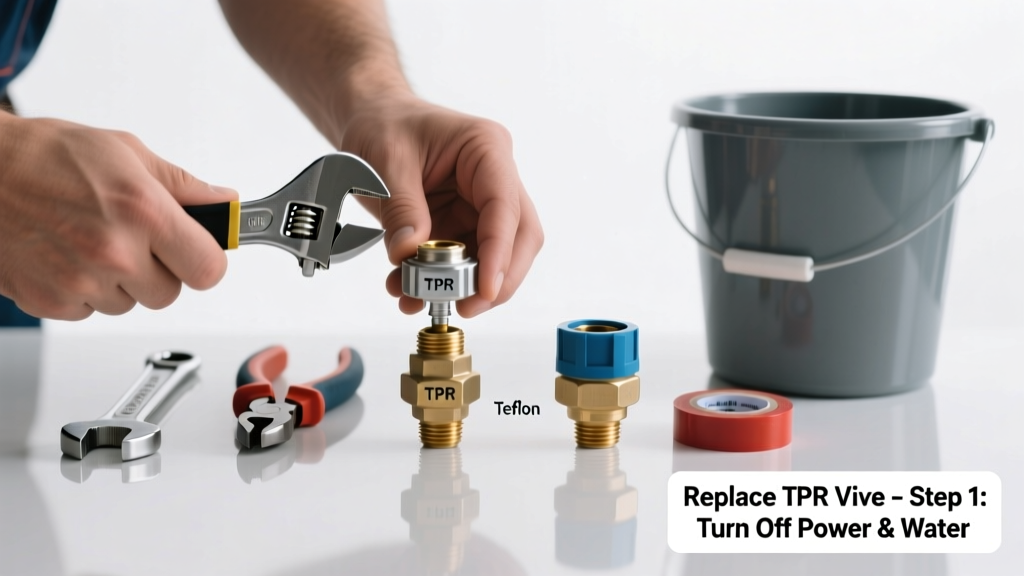
If your water heater’s TPR valve is dripping or gushing water, it’s not just an annoyance—it’s a critical safety warning. This valve exists solely to prevent explosion by releasing excess pressure or heat, and when it leaks, it’s often signaling internal failure or system stress. Ignoring it risks tank rupture, property damage, or serious injury.
Quick Diagnosis
A leaking TPR valve isn’t always the valve’s fault—sometimes it’s a symptom of deeper issues. Before replacing the part, rule out these common causes:
- Water pressure exceeding 80 psi (test with a pressure gauge at a hose bib)
- Thermostat set too high (above 140°F), causing excessive thermal expansion
- Failed expansion tank or missing one in closed-loop plumbing systems
- Mineral buildup inside the valve seat from hard water (common in areas with >12 gpg hardness)
- Age-related wear: most TPR valves last 3–5 years before internal springs fatigue
Tools & Materials Needed
| Item | Purpose | Estimated Cost |
|---|---|---|
| 3/4-inch pipe wrench | Grips and turns the valve body without stripping threads | $12–$25 |
| New ASME-certified TPR valve (3/4" NPT) | Must match your heater’s max temp/pressure rating (e.g., 210°F/150 psi) | $14–$28 |
| Thread sealant (non-petroleum, pipe dope rated for potable water) | Prevents leaks at threaded joints; avoids contamination of drinking water | $6–$12 |
| Bucket and towels | Catches residual water during removal; prevents floor damage | $3–$8 |
| Flashlight and mirror | Helps inspect valve orientation and hidden corrosion behind the heater | $5–$15 |
Step-by-Step Fix
Replacing the TPR valve requires shutting down the heater safely and working with pressurized components. Follow these steps precisely:
- Turn off power and water supply: For electric heaters, shut off the double-pole breaker. For gas units, switch the control knob to "Pilot" and close the cold-water inlet valve.
- Drain 2–3 gallons: Attach a garden hose to the drain valve, run it to a floor drain or bucket, and open the valve until water stops flowing vigorously—this relieves backpressure on the TPR line.
- Remove the old valve: Use the pipe wrench to grip the valve body (not the lever or discharge tube). Turn counterclockwise firmly—but don’t force it. If corroded, apply penetrating oil and wait 10 minutes before retrying.
- Prepare and install the new valve: Wrap threads with pipe dope (3–4 wraps clockwise), hand-thread it in fully, then tighten with the wrench—no more than 1/4 turn past hand-tight to avoid cracking the tank’s nipple.
- Test the repair: Restore water, open a hot faucet to bleed air, then restore power. After 15 minutes, lift the test lever briefly: it should release water smoothly and snap shut when released. If it drips afterward, re-torque or replace again.
When to Call a Pro
Some situations demand licensed expertise—not DIY risk:
- Your water heater is over 10 years old and shows rust or bulging near the TPR port
- The discharge pipe is capped, crimped, or routed into a wall cavity (violates IRC P2904.4 and creates scald hazard)
- You measure >120 psi static pressure or notice frequent pressure spikes after water use
- The tank’s anode rod is fully consumed (visible as bare steel wire)—indicating advanced corrosion that may compromise the TPR thread integrity
According to the Insurance Institute for Business & Home Safety's 2023 report, 68% of water heater explosions involved improperly installed or obstructed TPR valves—most tied to homeowner modifications.
Prevention Tips
Extend your TPR valve’s life and avoid repeat failures with these proven habits:
- Test the valve every 6 months by lifting the lever until water flows—then release. Don’t let it hang open.
- Install a whole-house water softener if hardness exceeds 7 gpg (reduces scale buildup by up to 90%, per Water Quality Association 2022 data)
- Add a thermal expansion tank if your home has a check valve or pressure-reducing valve—required by IPC 608.3 for closed systems
- Set thermostat to 120°F (U.S. Department of Energy recommends this for safety and efficiency)
Can I reuse the old discharge pipe with the new TPR valve?
No—inspect the copper or CPVC discharge tube closely. If it’s kinked, corroded, or shows mineral deposits inside, replace it. The IRC mandates the pipe slope downward without traps or valves and terminate within 6 inches of the floor. Reusing compromised tubing risks steam burns or flooding during activation.
Why does my new TPR valve leak immediately after installation?
Most often, it’s due to over-tightening (cracking the tank’s threaded boss) or using Teflon tape instead of approved pipe dope—tape can shred into the valve mechanism. Also verify the valve’s rating matches your heater’s specs; installing a 120°F/125 psi valve on a 210°F unit will cause premature opening.
Is it safe to plug or cap a leaking TPR valve?
Never. Doing so disables the only safety device preventing catastrophic tank failure. The U.S. Consumer Product Safety Commission reports an average of 12 water heater explosions annually linked to blocked or tampered TPR valves.
Do electric and gas water heaters use the same TPR valve?
Yes—the valve itself is identical and governed by ASME BPVC Section IV standards. However, gas units often have tighter access constraints; you may need a compact offset wrench or deep socket to reach the valve behind the combustion chamber.
How tight should the new TPR valve be?
Tighten until snug, then give one-quarter additional turn with a wrench. Over-torquing stresses cast iron or steel nipples and can fracture the tank’s mounting point. A torque of 25–30 ft-lbs is ideal—use a beam-style torque wrench if uncertain.
What’s the difference between a TPR valve and a pressure relief valve?
A true TPR valve responds to both temperature and pressure—critical for water heaters. A pressure-only valve lacks the thermal-sensing element and is illegal for residential water heater use per UPC 507.3. Always confirm “T&P” or “TPR” is stamped on the valve body.
A properly functioning TPR valve is silent and invisible—until it’s not. Replacing it promptly doesn’t just fix a drip; it restores a vital layer of protection for your home and family. Pair this repair with regular tank flushing and annual anode rod inspection to maximize system longevity and safety. And if you spot white crust around the valve base or hear hissing when the heater cycles, don’t wait—act before the next pressure spike.