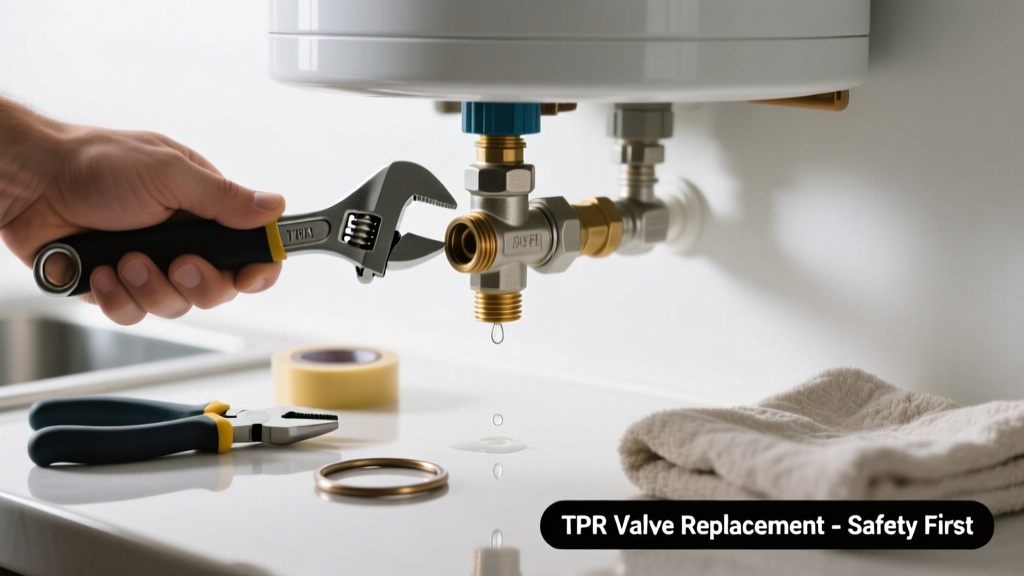
A leaking TPR (temperature and pressure relief) valve on a kitchen water heater isn’t just annoying — it’s a red flag that something’s wrong with pressure buildup, temperature control, or the valve itself. Since kitchen units are often compact, wall-mounted, or under cabinets, leaks can quickly damage countertops, flooring, or cabinetry. Don’t ignore dripping — even small leaks signal potential failure or unsafe conditions.
Quick Diagnosis
Before grabbing tools, confirm what’s really happening. A TPR valve leak isn’t always about the valve — sometimes it’s a symptom:
- Water dripping only when the heater cycles on → likely thermal expansion or high tank pressure
- Constant dripping or spraying → failed valve seat, corrosion, or debris jamming the seal
- Leak only after recent water heater servicing → possible over-pressurization during refill or faulty pressure regulator
- Steam or hot water spraying intermittently → valve opening due to actual overheating or pressure spike
Tools & Materials Needed
| Item | Purpose | Estimated Cost |
|---|---|---|
| Adjustable wrench (10-inch) | Tightens or removes valve without stripping brass threads | $12–$22 |
| Bucket and towels | Catches discharge water; prevents slips and floor damage | $5–$15 |
| New TPR valve (ASME-certified, 150 psi/210°F) | Required replacement — never reuse or repair old valves | $18–$32 |
| Thread sealant (non-petroleum, pipe dope rated for potable water) | Prevents leaks at threaded connections; avoids contamination risk | $6–$10 |
| Pressure test gauge (0–300 psi) | Verifies actual tank pressure — critical if leak is intermittent | $24–$45 |
Step-by-Step Fix
Follow these methods in order — start simple, escalate only as needed:
- Test the valve manually: Lift the lever fully for 5 seconds, then release. If it stops leaking afterward, mineral deposits were holding it open — flush the discharge pipe and monitor for 48 hours.
- Check cold-water inlet pressure: Attach a pressure gauge to a nearby kitchen faucet. If reading exceeds 80 psi consistently, install a pressure-reducing valve upstream — per the Uniform Plumbing Code, sustained pressure above 80 psi requires mitigation.
- Replace the TPR valve: Shut off power/gas and cold water supply. Drain 2–3 gallons from the drain valve to relieve pressure. Unscrew old valve with wrench, clean threads, apply sealant, and install new ASME-certified valve hand-tight plus ¼ turn with wrench. Never overtighten — brass threads strip easily.
When to Call a Pro
Some situations demand licensed help — not because they’re hard, but because they’re hazardous or code-mandated:
- Your water heater is gas-fired and you’re uncomfortable shutting off the gas line or relighting the pilot
- You measure >150 psi at the tank or detect scalding temperatures (>140°F) at the tap
- The leak persists after valve replacement — indicating possible tank corrosion or failed anode rod
- Your kitchen unit is a point-of-use electric model mounted inside a cabinet with no service access panel
"Over 70% of premature TPR valve failures stem from thermal expansion in closed-loop systems — not valve defects." — Plumbing Standards Institute, Residential Water Heating Safety Report, 2022
Prevention Tips
Stop future leaks before they start:
- Install a thermal expansion tank on the cold-water line if your home has a check valve or pressure-reducing valve — required by IPC Section 608.3 for closed systems
- Flush sediment annually — especially important for kitchen heaters serving high-mineral water
- Test the TPR valve every 6 months by lifting the lever (do this over a bucket)
- Keep the discharge pipe unobstructed, sloped downward, and terminated within 6 inches of the floor — never capped or routed to a drain pan alone
Can I use vinegar to clean the TPR valve?
No — vinegar corrodes brass and rubber components inside the valve. It may dissolve scale temporarily but accelerates internal degradation. Instead, flush the discharge pipe with clean water while the valve is manually opened. For stubborn mineral buildup in the pipe, use a nylon brush — never metal.
Why does my kitchen water heater’s TPR valve leak only in summer?
Higher incoming municipal water temperatures reduce the margin between operating temp and the valve’s 210°F trip point. Add thermal expansion from hotter ambient air in enclosed cabinets, and you get more frequent cycling and minor weeping. An expansion tank and lowering thermostat to 120°F often resolves this.
Is it safe to cap or plug a leaking TPR valve?
Never. Capping a TPR valve violates the International Residential Code (IRC P2803.6) and creates explosion risk. Even brief plugging can cause catastrophic tank rupture. If the valve is leaking, it’s doing its job — or failing. Either way, it must be addressed, not silenced.
How tight should the new TPR valve be?
Hand-tighten first, then snug with a wrench — no more than ¼ turn past finger-tight. Over-torquing cracks the valve body or strips threads in the tank’s outlet nipple. Use only non-petroleum pipe dope — Teflon tape alone isn’t sufficient for high-temp/pressure joints on water heaters.
Does a leaking TPR valve mean my water heater is about to fail?
Not necessarily — but it’s a warning sign worth investigating. According to the U.S. Department of Energy, 42% of premature water heater replacements are linked to undiagnosed pressure or temperature regulation issues. A leaking valve could indicate aging components elsewhere: failing anode rod, sediment-induced overheating, or deteriorating dip tube.
Can I replace just the lever or spring instead of the whole valve?
No. TPR valves are single-use, non-serviceable safety devices. ASME standards prohibit field repair. Replacement parts aren’t certified or available for consumer purchase — and attempting disassembly voids compliance. Always replace the full assembly with an ASME-stamped unit.
Fixing a leaking TPR valve in your kitchen doesn’t require plumbing school — just methodical diagnosis, the right parts, and respect for what that little lever is designed to do: keep you safe. If the leak returns within 72 hours of replacement, don’t reinstall the same valve — pull the pressure gauge again and check for hidden expansion issues. And remember: testing your water heater pressure takes two minutes but prevents thousands in water damage. For tight spaces, consider upgrading to a compact point-of-use heater with built-in thermal safeguards — many newer models include digital pressure monitoring and auto-shutoff.