If your water heater isn’t heating—or delivers only lukewarm water despite power and gas being on—the thermostat is a prime suspect. A failed thermostat doesn’t always trip breakers or shut down completely; sometimes it just drifts out of calibration or loses contact internally. This repair is doable for homeowners with basic electrical safety awareness—but skipping safety steps can risk shock or fire.
Quick Diagnosis
Before assuming the thermostat failed, rule out these common culprits:
- No power at the unit (check breaker/fuse, GFCI outlets nearby)
- Tripped high-limit reset button (often red, located behind access panel)
- Faulty heating element (test with multimeter; resistance should be 10–16 Ω)
- Sediment buildup insulating the lower element (causes false 'no heat' symptoms)
- Gas supply issues (for gas units: pilot light out, thermocouple failure, or clogged orifice)
Tools & Materials Needed
| Item | Purpose | Estimated Cost |
|---|---|---|
| Non-contact voltage tester | Verifies power is OFF before opening panels—critical for safety | $12–$25 |
| Phillips & flat-head screwdrivers | Removes access panels, mounting screws, and wire terminals | $8–$15 |
| Digital multimeter | Tests continuity across thermostat terminals and verifies element function | $20–$45 |
| OEM replacement thermostat kit | Includes upper/lower thermostats + mounting hardware (match model number exactly) | $22–$38 |
| Insulated gloves & safety glasses | Protects against accidental contact with live terminals or sharp metal edges | $10–$20 |
Step-by-Step Fix
Follow this sequence for electric tank water heaters (most common thermostat failures occur here):
- Shut off power at the main panel—verify with non-contact tester at both thermostat terminals and heating elements. Tag the breaker.
- Remove access panels and insulation—carefully pull back fiberglass batting without tearing; avoid inhaling fibers.
- Test thermostat continuity—set multimeter to continuity mode; probe terminals labeled T1/T2 (upper) or L1/L2 (lower). No beep = failed unit. Also check for visible scorching or warped plastic.
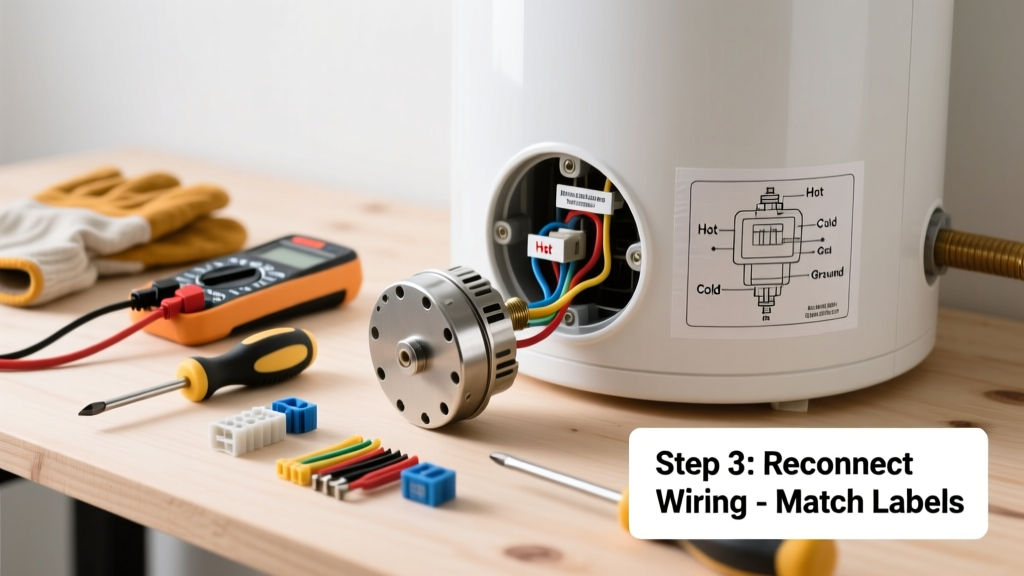
- Disconnect wires one at a time, noting position (take photos), then remove mounting screws. Install new thermostat using same orientation and torque—over-tightening cracks the housing.
- Reassemble in reverse order, restore power, and test: Wait 1 hour, then check hot water temperature at a faucet with a thermometer. Should reach 120°F ±5°F.
When to Call a Pro
Don’t attempt this repair if any of these apply:
- You smell burning plastic or see melted wiring inside the panel
- Your unit is under 2 years old and still under manufacturer warranty (DIY voids coverage)
- You own a hybrid or heat pump water heater—thermostats are integrated into control boards requiring proprietary diagnostics
- The thermostat fails repeatedly within 6 months (points to voltage surges or grounding issues best handled by an electrician)
According to the U.S. Consumer Product Safety Commission’s 2022 Electrical Incident Report, 27% of residential water heater fires involved improper thermostat replacement or bypassing safety limits.
Prevention Tips
- Flush sediment annually—reduces thermal stress on thermostats and elements
- Install a whole-house surge protector (especially in lightning-prone areas like Florida or Texas)
- Set thermostat to 120°F—not higher—to reduce cycling wear and scald risk
- Check the high-limit reset button every 6 months during routine visual inspection
Can I reuse the old thermostat mounting screws?
No. OEM kits include new screws designed for precise thermal expansion tolerance. Reusing corroded or stretched screws risks poor contact or housing fracture. Always install fresh hardware.
Do I need to drain the tank to replace the thermostat?
No—unlike element replacement, thermostat access doesn’t require draining. Just ensure power is off and water lines remain pressurized to avoid airlocks in the system.
Why does my new thermostat keep tripping the high-limit switch?
This usually signals restricted water flow (clogged dip tube or sediment) or a failing heating element drawing excess current. Test element resistance first—anything below 10 Ω or above 20 Ω means replacement is needed before reinstalling the thermostat.
Is there a difference between upper and lower thermostats?
Yes—upper thermostats control primary heating and activate the lower one only after reaching setpoint. They’re not interchangeable. Using the wrong one causes erratic heating or no lower-element activation. Match part numbers to your manufacturer’s service manual.
Can I replace just the thermostat, or do I need a full control board?
For standard residential electric tanks (Rheem, AO Smith, Bradford White), standalone thermostats are still available and cost-effective. Control boards are only used in newer smart or hybrid models—check your label for “digital control” or “Wi-Fi enabled.”
What’s the average lifespan of a water heater thermostat?
Most last 8–12 years under normal conditions, per the National Association of Home Builders’ 2023 Appliance Longevity Study. Frequent short-cycling (e.g., from undersized tanks or high-demand households) cuts that to 5–7 years.
A properly replaced thermostat restores reliable hot water—and buys you 2–3 more years before full water heater replacement becomes necessary. Keep your multimeter calibrated, label wires before disconnecting, and never skip verifying power is dead. If you’re unsure at any point, pause and consult a licensed technician—it’s cheaper than repairing water damage from a miswired unit.