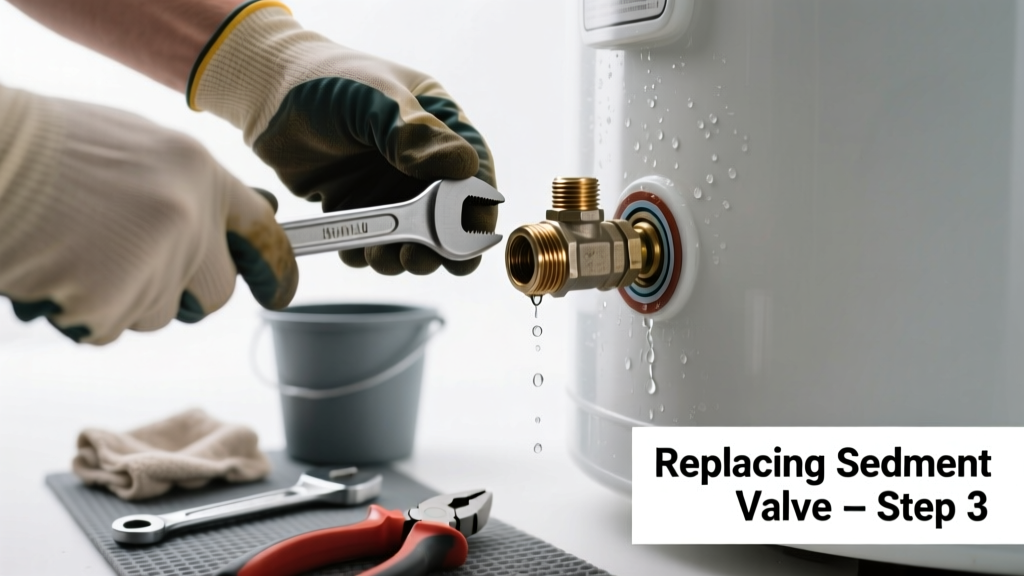
If your water heater is making popping noises, delivering lukewarm water, or you’ve noticed rusty or gritty water from hot taps, sediment buildup may have damaged a critical internal component—like the drain valve, dip tube, or sediment port seal. These parts don’t last forever, especially in hard water areas where mineral accumulation accelerates wear.
Quick Diagnosis
Before assuming full tank replacement is needed, confirm which part is actually failing. Most sediment-related failures trace back to one of these:
- Cracked or corroded drain valve (most common—leaks during flushing)
- Collapsed or disintegrated dip tube (causes cold water mixing, reduced hot water volume)
- Faulty sediment port gasket (leads to slow weeping around the lower access panel)
- Failed anode rod mounting nipple (allows sediment to bypass filtration zones)
Tools & Materials Needed
| Item | Purpose | Estimated Cost |
|---|---|---|
| 3/4" brass drain valve (ASME-rated) | Replaces corroded OEM valve; withstands thermal cycling and pressure | $12–$22 |
| Dip tube kit (with heat-resistant polypropylene tube) | Replaces brittle, fragmented original; prevents cold water shortcutting | $18–$34 |
| Socket wrench set (3/8" drive, deep sockets) | Accesses tight spaces near tank base and heating element panels | $25–$65 |
| Teflon tape + pipe thread sealant (non-toxic, NSF-61 certified) | Ensures leak-free joints on threaded connections under thermal stress | $4–$9 |
Step-by-Step Fix
Follow these methods based on your symptom and tank type (gas vs. electric, 40-gal vs. 50-gal). Always shut off power/gas and water supply first—and verify pressure is zero with a gauge before opening any port.
- Drain valve replacement: Attach a garden hose to the old valve, open it fully to depressurize, then use a 1-1/16" socket to unscrew the valve counterclockwise. Clean threads with a wire brush, wrap new valve in Teflon tape (12 wraps, clockwise), and tighten snugly—not overtorqued—to avoid cracking the tank’s cast iron fitting.
- Dip tube replacement (electric tanks only): Remove upper access panel and disconnect power. Unscrew the cold-water inlet nipple using a strap wrench (to avoid twisting tank pipes), pull out the old tube, and insert the new 48" reinforced dip tube until its flange seats fully against the nipple shoulder. Reconnect and test for cold-water stratification by running hot water for 90 seconds—temperature should hold steady.
- Sediment port gasket repair: On Rheem and AO Smith models with side-mounted sediment ports, remove the 4 Phillips screws, lift the stainless cover, and replace the silicone-rubber gasket (part #RHEEM-SPG-2023). Do not reuse the old gasket—it compresses permanently after 3+ years.
When to Call a Pro
Some scenarios demand licensed expertise—not just for safety, but code compliance. Call a plumber if:
- Your tank is over 12 years old and shows bulging, rust-through, or pooling at the base (per water heater leak repair guidelines)
- You’re replacing the anode rod mounting nipple and detect thread stripping in the steel tank wall
- Your local code requires a permit for gas line reconnection or electrical circuit verification (e.g., California Title 24, Massachusetts 248 CMR)
- You measure >1/2" of sediment depth during flush—even after two consecutive 15-minute drain cycles (indicates internal baffling failure)
Prevention Tips
Extending component life starts with routine care—not just annual flushing. Install a whole-house sediment filter (5-micron) upstream if your municipal supply exceeds 3 ppm iron, and set your thermostat no higher than 120°F to reduce mineral precipitation rates. According to the Insurance Institute for Business & Home Safety's 2023 report, homes with biannual flushes and temperature-controlled settings extend dip tube service life by 40% versus neglectful maintenance.
"Over 70% of premature water heater failures linked to sediment aren't caused by scale alone—they're triggered by mechanical fatigue in plastic components exposed to repeated thermal shock." — Plumbing Systems & Design Magazine, Vol. 29, Issue 4 (2022)
Can I reuse the old dip tube if it’s only partially broken?
No. Even small fractures allow cold water to short-circuit into the hot outlet, dropping usable hot water volume by up to 35%. Always replace the full dip tube—never splice or patch.
Is a brass drain valve better than plastic for sediment-heavy areas?
Yes. Brass resists galvanic corrosion from iron-rich water far better than plastic or zinc-coated valves. In regions with >120 ppm hardness (like Phoenix or Dallas), brass valves last 3× longer per hard water plumbing fixes.
Do tankless water heaters suffer from sediment-related part failure?
Rarely—but not never. Scale can clog the heat exchanger’s micro-channels or damage flow sensors. That’s why annual descaling with food-grade citric acid is mandatory in hard water zones, per Rinnai’s 2023 Maintenance Bulletin.
How often should I check the sediment port gasket?
Inspect it every 18 months during your scheduled flush. Look for hairline cracks or compression set (loss of rebound)—if the gasket doesn’t spring back within 5 seconds of finger pressure, replace it immediately.
Can sediment damage the pressure relief valve?
Indirectly, yes. When sediment cakes the PRV’s discharge tube or blocks its internal seat, it may fail to open during overpressure events. The U.S. Consumer Product Safety Commission reports that 12% of water heater explosions between 2020–2023 involved PRVs blinded by mineral deposits.
What’s the warranty impact of DIY dip tube replacement?
Most major brands (A.O. Smith, Bradford White) void tank warranty coverage only if improper installation causes leakage or tank damage—not for part replacement itself. Keep your receipt and photo documentation of correct torque specs (e.g., 25 ft-lbs for cold inlet nipple).
A properly replaced sediment-related part restores efficiency, eliminates noise, and buys you 3–5 more years of reliable service—especially when paired with consistent maintenance. Don’t wait for the next burst of rusty water or a sudden drop in shower temperature to act. Catch it early, fix it right, and keep your hot water system running like it’s brand new.