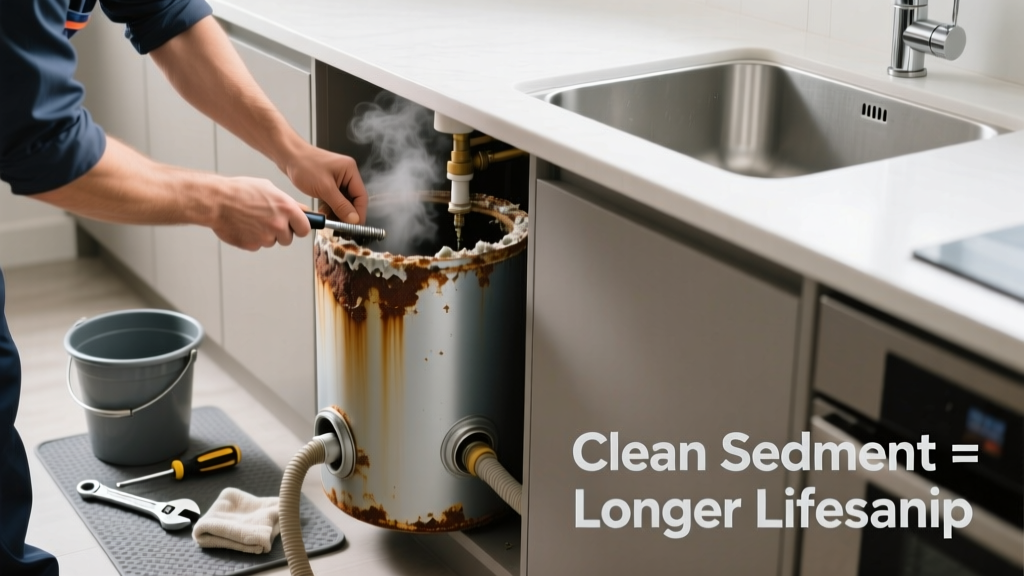
If you're hearing rumbling, popping, or banging noises from your kitchen water heater—or noticing lukewarm water despite high thermostat settings—sediment is likely accumulating at the tank bottom. This common issue hits hardest in homes with hard water and older tank-style heaters located under sinks or in utility closets near the kitchen. Left unaddressed, it can cut heater lifespan by up to 30% and raise energy bills significantly.
Quick Diagnosis
Sediment buildup rarely appears out of nowhere. Spot it early with these telltale signs:
- Rumbling or popping sounds during heating cycles
- Reduced hot water volume or temperature inconsistency
- Discolored (rusty or cloudy) water from the kitchen faucet
- Visible mineral crust around the drain valve or heating element access panel
- Increased time for water to heat after a full draw
Tools & Materials Needed
| Item | Purpose | Estimated Cost |
|---|---|---|
| 5-gallon bucket | Catches flushed sediment and water safely | $8–$12 |
| Socket wrench (3/8" drive) | Loosens standard drain valve without stripping | $14–$22 |
| Flexible garden hose (10 ft, reinforced) | Withstands hot water and resists kinking during flush | $10–$16 |
| White vinegar (1 gallon) | Dissolves calcium carbonate and magnesium deposits | $5–$7 |
| Shop vacuum with wet/dry capability | Removes thick sludge if drain valve clogs | $45–$85 |
Step-by-Step Fix
Choose the method that matches your heater type, age, and sediment severity:
- Basic Flushing (for tanks under 5 years old): Turn off power/gas and cold water supply. Attach hose to drain valve, route to floor drain or bucket. Open T&P valve, then drain valve. Let run 15–20 minutes until water runs clear.
- Vinegar Soak (for moderate scale): After basic flush, close drain valve. Fill tank halfway with 1:1 vinegar/water mix. Let sit 2–4 hours (never overnight). Drain completely, then refill and flush again with fresh water.
- Element Cleaning (electric units only): Shut off power, remove lower access panel, disconnect wires, unscrew heating element. Soak element in vinegar for 30 minutes, scrub with nylon brush, reinstall with new gasket.
- Shop Vacuum Sludge Extraction (for stubborn clogs): If drain valve won’t open or emits thick mud, use wet/dry vac on low suction at valve outlet while gently tapping valve housing with rubber mallet.
When to Call a Pro
Don’t risk scalding, electrical shock, or tank rupture. Call a licensed plumber or HVAC tech immediately if:
- Your heater is over 10 years old and shows visible rust or bulging on the tank exterior
- The drain valve is frozen, cracked, or leaks uncontrollably when opened
- You smell gas near a gas-fired unit or hear hissing from the burner compartment
- Water pressure drops below 40 psi after flushing, indicating possible dip tube failure
Prevention Tips
Consistent maintenance beats emergency repairs every time:
- Flush the tank every 6 months if your home’s water hardness exceeds 7 grains per gallon (test with water hardness test kit)
- Install a whole-house sediment filter rated for 5 microns or less upstream of the heater
- Replace the anode rod every 3–5 years—especially in areas served by municipal chloramine-treated water
- Keep kitchen faucet aerators cleaned quarterly; they’re early indicators of scaling elsewhere in the system
Can I use bleach to clean sediment?
No. Bleach does not dissolve mineral deposits and reacts dangerously with copper pipes and anode rods. It also degrades rubber gaskets and creates toxic chlorine gas if mixed with vinegar or other cleaners. Stick to food-grade white vinegar or citric acid solutions.
Why does sediment build up faster in kitchen-installed heaters?
Kitchen water heaters often serve point-of-use demands with frequent short draws—like dishwashing or handwashing—which don’t fully cycle the tank. This allows minerals to settle instead of staying suspended. According to the Water Quality Association’s 2022 Residential Water Treatment Report, undersink heaters see 2.3× more sediment accumulation per year than whole-house units due to thermal stratification and low flow velocity.
How do I know if my drain valve is bad?
A failing valve may leak around the handle stem, refuse to turn fully open/closed, or emit a gritty grinding sound. If water trickles but won’t flow freely—even after loosening the valve with penetrating oil—it’s likely corroded internally and needs replacement before your next flush.
Will flushing fix low water pressure at the kitchen sink?
Not directly—but it helps. Low pressure is usually caused by clogged aerators or supply line debris. However, sediment-induced overheating can warp internal dip tubes, causing cold water to mix improperly. Flush first, then check the kitchen faucet aerator and shutoff valves.
Is tankless better for preventing sediment?
Tankless units avoid tank-bottom sediment, but they’re vulnerable to scale buildup inside heat exchangers. They require annual descaling with vinegar or specialized descaling solution—especially in hard water areas. The U.S. Department of Energy estimates that neglected descaling reduces tankless efficiency by up to 25% within two years.
What’s the safest way to dispose of flushed sediment?
Let sediment settle in the bucket for 10 minutes, then pour off clear water down a floor drain. Scoop remaining sludge into a sealed plastic bag and discard with regular trash. Never pour undiluted vinegar or slurry into septic systems—neutralize with baking soda first.
"Sediment thickness exceeding 1 inch at the tank bottom reduces thermal efficiency by 15–20% and increases strain on both heating elements and gas burners." — ASHRAE Handbook – HVAC Applications, 2023 Edition, Section 52.4
Regular sediment management isn’t glamorous—but it’s one of the highest-ROI tasks you can do for your kitchen water heater. A 15-minute flush every six months extends service life, keeps recovery times snappy, and prevents that unsettling ‘kettle-on-the-stove’ sound from under your sink. Pair it with a simple water softener or phosphate feeder, and you’ll rarely hear a rumble again.