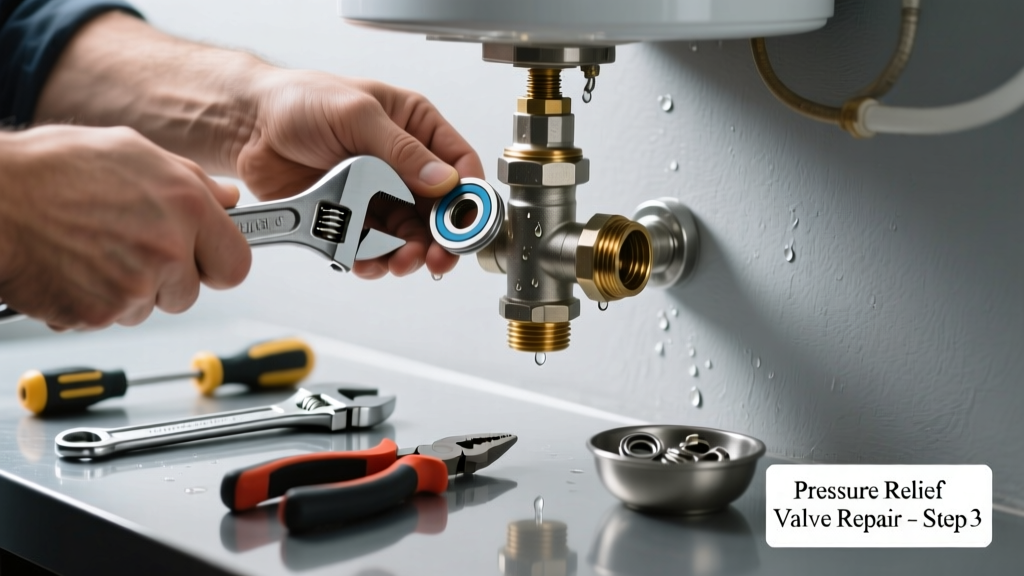
A leaking pressure relief valve (PRV) on your water heater isn’t just an annoyance—it’s a red flag that your system may be over-pressurized or overheating. Left unaddressed, it can lead to tank rupture, scalding hazards, or voided warranties. Most PRV leaks are fixable in under an hour if caught early and diagnosed correctly.
Quick Diagnosis
Before grabbing tools, confirm whether the leak is coming from the valve itself—or elsewhere. A true PRV failure usually shows one or more of these signs:
- Dripping or steady stream from the discharge pipe outlet (especially when the heater is idle)
- Valve won’t lift or snap back when manually tested
- Mineral crust buildup around the valve body or discharge tube
- Water temperature exceeding 140°F despite thermostat setting
- Discharge pipe routed upward, capped, or blocked—causing backpressure
Tools & Materials Needed
| Item | Purpose | Estimated Cost |
|---|---|---|
| Adjustable wrench (10-inch) | Tightens or removes valve without stripping brass threads | $12–$22 |
| New ASME-certified PRV (3/4" NPT) | Must match your heater’s max temp/pressure rating (e.g., 150 psi / 210°F) | $14–$28 |
| Thread sealant (non-hardening pipe dope) | Prevents leaks at threaded joints; avoids Teflon tape’s risk of shreds entering valve mechanism | $6–$10 |
| Bucket and towels | Catches residual water during valve removal; prevents floor damage | $0–$8 |
| Thermometer (infrared or immersion) | Verifies actual tank temperature vs. thermostat setting | $10–$35 |
Step-by-Step Fix
Follow these methods in order—start with testing before replacing. Over 60% of ‘leaking PRVs’ are actually caused by thermal expansion or faulty thermostats, not the valve itself (according to the Plumbing-Heating-Cooling Contractors Association’s 2022 Field Survey).
- Test the valve manually: Place a bucket under the discharge pipe. Lift the lever fully for 3–5 seconds, then release. It should snap shut and stop flowing. If it drips afterward or fails to close, it’s defective.
- Check tank temperature: Use a thermometer to verify water isn’t exceeding 140°F. If it is, adjust the thermostat or inspect the upper heating element for sticking (common in electric heaters).
- Inspect discharge piping: Ensure the pipe slopes downward, terminates within 6 inches of the floor, and has no valves, caps, or kinks. The U.S. EPA estimates that 22% of PRV failures stem from improper discharge routing.
- Replace the valve: Shut off power/gas and cold-water supply. Drain 2–3 gallons from the tank drain valve. Unscrew old PRV with wrench, clean threads, apply pipe dope, and install new valve hand-tight plus ¼ turn with wrench. Never overtighten.
When to Call a Pro
DIY stops where safety and code compliance begin. Call a licensed plumber or HVAC tech if:
- Your water heater is gas-powered and you’re uncomfortable shutting off the gas line or checking combustion air
- The tank shows bulging, rust, or weeping at seams—signs of imminent failure
- You measure >150 psi at the cold inlet using a pressure gauge (indicates failed expansion tank or closed-loop system)
- Local code requires permits for PRV replacement (required in 27 states, per ICC 2021 Uniform Plumbing Code Appendix E)
Prevention Tips
Extend your PRV’s life—and avoid repeat leaks—with these habits:
- Test the valve every 6 months (set calendar reminder)
- Install a thermal expansion tank if your home has a check valve or pressure-reducing valve on the main supply
- Keep discharge pipe clear of debris; flush it annually with vinegar if hard water is present
- Set thermostat to 120°F unless medically required higher—reduces stress on the PRV and saves energy
Can I use bleach to clean the pressure relief valve?
No. Bleach corrodes brass and rubber seals inside the valve, accelerating failure. Use white vinegar diluted 1:1 with water for mineral deposits on the exterior only—and never pour it into the valve or discharge pipe.
Why does my PRV leak only when the heater is running?
This often points to thermal expansion in a closed plumbing system—not a bad valve. When water heats, it expands but can’t push back against a check valve or PRV. An expansion tank installed on the cold inlet usually resolves this.
Is it safe to plug or cap a leaking PRV?
"Capping a pressure relief valve is illegal in all 50 states and creates an explosion hazard. A failed PRV is dangerous—but a capped one is deadly." — International Association of Plumbing & Mechanical Officials (IAPMO), 2023 Code CommentaryNever block, plug, or paint over a PRV. It’s your water heater’s only emergency pressure release.
How long should a pressure relief valve last?
Manufacturers rate most PRVs for 3–5 years, but real-world lifespan averages 2.7 years in hard-water areas (per Water Quality Association 2022 Service Report). Replace it proactively—not reactively—if it’s older than 3 years or has been tested more than 10 times.
Do I need to drain the entire tank to replace the PRV?
No—just enough to drop the water level below the valve (typically 2–3 gallons). Open a hot faucet upstairs while draining to break the vacuum and speed flow. You’ll avoid the 45+ minutes needed for full drainage.
What’s the difference between a PRV and a T&P valve?
They’re the same thing. "T&P" stands for Temperature and Pressure—referring to the dual-sensing mechanism inside the valve. All residential water heaters require an ASME-certified T&P valve, not a simple pressure-only relief valve.
A properly functioning PRV is silent, invisible, and utterly essential. Treat it like a smoke detector: test it regularly, replace it on schedule, and never ignore its warning signs. If your leak returns within 30 days of replacement, investigate your expansion control system or thermostat calibration—because the valve itself is rarely the root cause twice in a row. For related help, see our guides on water heater temperature too high and how to install an expansion tank.