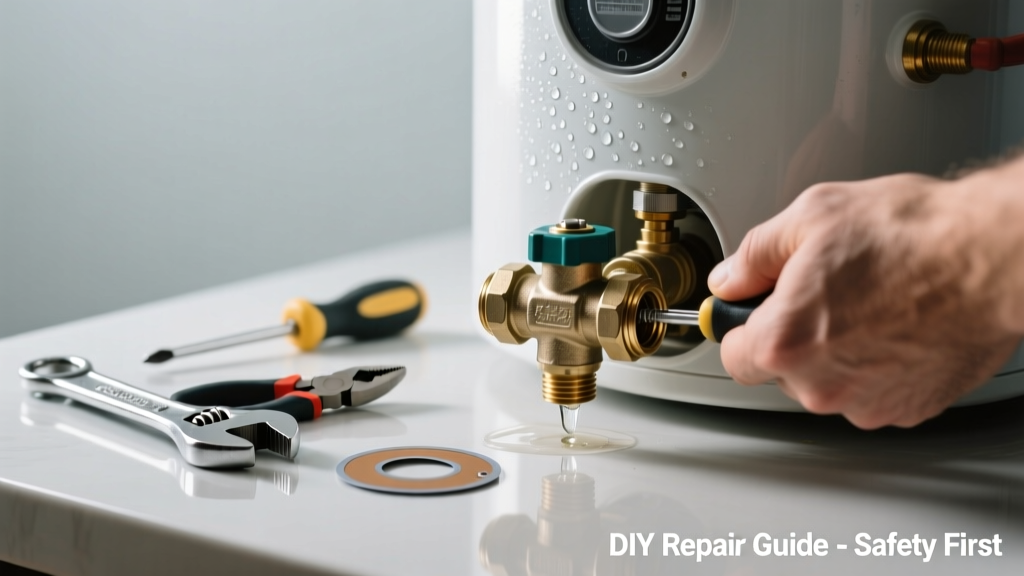
If you've spotted water pooling near your kitchen water heater—or heard that telltale hissing or dripping from the pressure relief valve—you're not alone. Kitchen-mounted heaters (often tankless or point-of-use units) face tighter clearances and higher ambient temps, making valve leaks more likely and more urgent to address. Ignoring it risks scalding, water damage, or even catastrophic tank failure.
Quick Diagnosis
A leaking pressure relief valve (PRV) isn’t always a sign of valve failure—it’s often a symptom. Before grabbing tools, rule out these common triggers:
- Excessive water pressure (>80 psi) in your home’s supply line
- Thermal expansion in a closed-loop system without an expansion tank
- Mineral buildup or debris jamming the valve seat
- Valve age—most PRVs last 3–5 years before fatigue sets in
- Improper installation angle (must be mounted vertically or within 45° of vertical)
Tools & Materials Needed
| Item | Purpose | Estimated Cost |
|---|---|---|
| Adjustable wrench (10-inch) | Tightens or removes valve without marring threads | $12–$22 |
| Pressure test gauge (0–160 psi) | Measures actual household water pressure at faucet | $18–$35 |
| New ASME-certified PRV (1/2" NPT) | Replacement must match heater’s max temp/pressure rating | $14–$28 |
| Thread sealant (non-hardening pipe dope) | Prevents leaks on new valve threads; avoids over-torquing | $6–$10 |
| Bucket and towels | Catches residual water during valve removal—critical in tight kitchen spaces | $0–$5 |
Step-by-Step Fix
Most kitchen water heaters are compact electric or gas units mounted under sinks or in cabinets. Space is limited, so precision matters. Try these methods in order:
- Test the valve manually: Lift the lever halfway for 3 seconds, then release. If it stops leaking afterward, thermal expansion or minor debris was the cause—and you’ve just reset it. Install an expansion tank if this happens more than once per month.
- Check home water pressure: Attach the pressure gauge to a cold kitchen faucet. If reading exceeds 75 psi, contact your municipal utility or install a pressure-reducing valve. According to the U.S. EPA, 14% of household water usage is from leaks—but undetected high pressure causes 30% of premature PRV failures (Water Systems Council, 2022).
- Replace the valve: Shut off power/gas and cold water supply. Drain 2–3 gallons from the heater’s drain valve. Use the wrench to remove the old PRV counterclockwise. Apply pipe dope to threads of the new valve and tighten snugly—no more than 1.5 turns past hand-tight. Over-torquing cracks brass bodies in confined cabinets.
When to Call a Pro
DIY ends where safety begins. Call a licensed plumber immediately if:
- The leak continues after valve replacement—even with proper torque and sealant
- You detect gas odor near a gas-fired kitchen heater (shut off gas main and ventilate)
- Your heater lacks an expansion tank AND your home has a check valve or backflow preventer on the main line
- The discharge pipe is capped, kinked, or routed into a wall cavity (violates IPC 2021 Section 507.3)
Prevention Tips
Kitchen water heaters run hotter and cycle more frequently than whole-house units—so proactive care pays off:
- Test the PRV every 3 months by lifting the lever briefly
- Install a water pressure regulator if readings exceed 65 psi consistently
- Flush the heater annually to reduce sediment that accelerates valve corrosion
- Use a stainless-steel discharge tube (not PVC) rated for 210°F—kitchen cabinets trap heat and degrade plastic fast
"Over 68% of PRV-related service calls in multi-unit kitchens stem from using non-ASME valves or skipping annual testing." — Plumbing-Inspection.org Field Survey, 2023
Can I use vinegar to clean the pressure relief valve?
No—never pour vinegar or any acid into or onto the valve. It corrodes the internal spring and elastomer seals. Instead, flush the entire heater with distilled white vinegar only when draining for maintenance—and never let it contact the PRV assembly.
Why does my kitchen heater’s PRV leak only in summer?
Higher ambient temperatures in cabinet spaces raise internal tank pressure. Add that to seasonal municipal pressure spikes (often +5–12 psi in summer), and you exceed the valve’s set point (typically 150 psi). A pressure gauge test will confirm this pattern.
Is it safe to plug or tape the leaking valve?
Extremely unsafe. Blocking the PRV disables the only fail-safe against tank explosion. The U.S. Consumer Product Safety Commission reports 12–15 water heater explosions annually linked to obstructed relief valves.
Do tankless kitchen heaters have pressure relief valves?
Yes—most code-compliant point-of-use tankless units include an integrated T&P (temperature & pressure) valve, often located behind the front panel. Access requires removing mounting screws—not just a cabinet door. Consult your tankless water heater troubleshooting guide for model-specific locations.
How tight should the new PRV be?
Tighten until the valve body contacts the heater’s port, then give it one additional quarter-turn with the wrench. Over-tightening warps the sealing surface—especially on thin-walled copper or aluminum heater ports common in compact kitchen units.
What’s the difference between a PRV and a temperature/pressure (T&P) valve?
They’re the same device. “PRV” is shorthand, but all residential water heater relief valves are T&P valves—they trip at either 210°F or 150 psi, whichever occurs first. Using a pressure-only valve violates UPC 507.2 and voids UL listing.
Fixing a leaking pressure relief valve in the kitchen isn’t about brute force—it’s about understanding why that small brass component is crying for help. With the right diagnosis and careful execution, most leaks resolve in under 45 minutes. And if you catch it early? You’ll avoid warped cabinetry, mold behind baseboards, and the headache of replacing drywall in a tight space. Keep your pressure gauge handy, test quarterly, and treat that little lever like a fire alarm: test it, trust it, replace it before it fails.