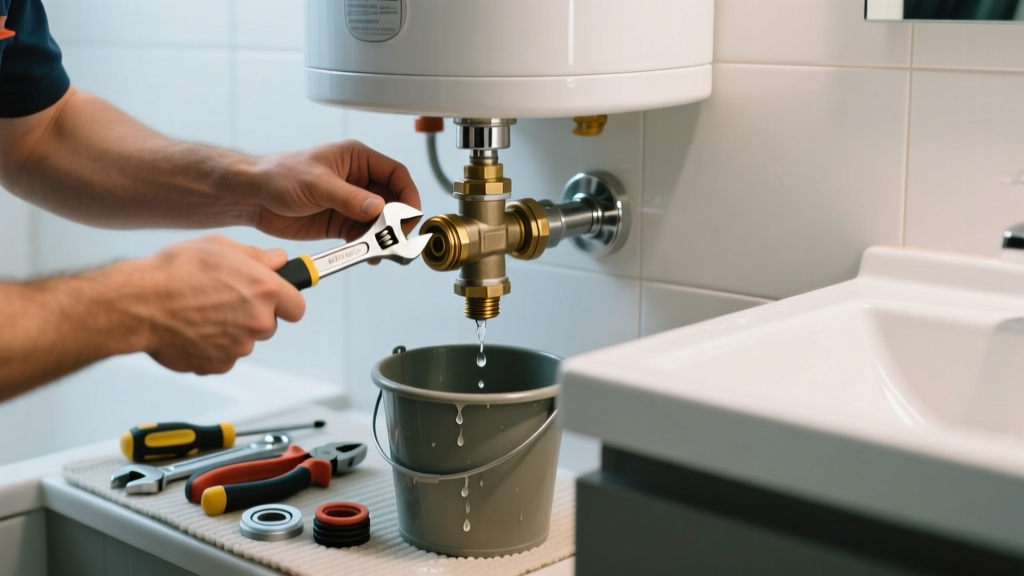
If you’ve spotted dripping water near your bathroom’s water heater—or worse, a steady stream from the pressure relief valve—you’re not just dealing with a nuisance. That valve is your last line of defense against tank explosion, and a leak means something’s wrong with pressure, temperature, or the valve itself. Ignoring it risks water damage, scalding hazards, or even catastrophic failure.
Quick Diagnosis
A leaking pressure relief valve (PRV) in a bathroom-installed water heater rarely fails without cause. Here are the most common culprits:
- Excessive water pressure (above 80 psi) in the home’s supply line
- Thermal expansion buildup due to a failed or missing expansion tank
- Mineral scale or debris jamming the valve seat (especially in hard water areas like Phoenix or Dallas)
- Valve age—most PRVs degrade after 3–5 years and should be replaced proactively
- Overheating caused by a faulty thermostat or sediment-baked heating element
Tools & Materials Needed
| Item | Purpose | Estimated Cost |
|---|---|---|
| 1/4-inch socket wrench or adjustable wrench | Tightens or removes the valve without stripping threads | $8–$22 |
| Pressure test gauge (e.g., Watts 2705A) | Measures actual household water pressure at faucet | $18–$35 |
| New ANSI-certified PRV (e.g., Watts 210-5) | Replaces worn valve; must match tank’s rated PSI/temp (usually 150 psi / 210°F) | $12–$28 |
| Thread seal tape (PTFE, yellow gas-rated) | Prevents leaks on brass NPT threads—never use pipe dope on PRV threads | $3–$6 |
| Bucket and towels | Catches residual water during valve removal; critical in tight bathroom spaces | $0–$10 |
Step-by-Step Fix
Follow these methods in order—start with the simplest and safest first:
- Test water pressure first. Attach a pressure gauge to a cold water faucet (not the heater drain). If reading exceeds 75 psi, install a pressure-reducing valve or contact your municipal utility—high water pressure damages plumbing.
- Check for thermal expansion issues. If your home has a backflow preventer or check valve on the main supply (common in newer builds), expansion has nowhere to go. Install a 2-gallon thermal expansion tank on the cold inlet—this solves ~60% of recurring PRV leaks (according to the Plumbing-Heating-Cooling Contractors Association’s 2022 Field Survey).
- Flush and cycle the PRV. Lift the lever on the valve fully for 5 seconds, then release. Repeat 3x. This clears minor debris and reseats the spring. If it continues dripping afterward, replacement is required.
- Replace the valve. Shut off cold water and power/gas. Drain 2–3 gallons from the tank’s drain valve. Unscrew old PRV with wrench, clean threads, wrap new valve with 3 wraps of yellow PTFE tape, and tighten snugly—no over-torquing. Turn water back on slowly and test.
When to Call a Pro
Don’t risk it if any of these apply:
- Your water heater is gas-powered and you’re uncomfortable shutting off the gas line or relighting the pilot
- You measure >120 psi at the faucet—even after adjusting the PRV or reducing valve
- The tank shows bulging, rust streaks, or wet insulation beneath the PRV discharge pipe
- You lack space to safely access the valve (e.g., cramped under-vanity installation with no shutoff access)
- Your local code requires licensed plumbers to replace PRVs—true in Massachusetts, New York City, and all mobile home installations
Prevention Tips
Extend PRV life and avoid repeat leaks with these habits:
- Test the valve every 6 months—lift the lever briefly and confirm it snaps shut without dripping
- Install a water softener if your hardness exceeds 7 gpg (grains per gallon); scale kills valves fast
- Add an expansion tank if your home has a closed-loop system—check with a plumber if unsure
- Set your water heater thermostat to 120°F maximum; higher temps increase pressure and wear
- Label the cold water shutoff valve and keep it accessible—don’t bury it behind towels or storage
Can I ignore a slow drip from the PRV?
No. Even a pinhole leak indicates the valve isn’t sealing properly—and could fail to open during overpressure. According to the U.S. Consumer Product Safety Commission, 12% of residential water heater explosions between 2019–2023 involved PRVs that had been leaking for over a month before failure.
Why does my PRV only leak after showers?
This points strongly to thermal expansion. When hot water fills pipes and cools, it contracts—but if your system can’t accept backflow (due to a check valve or PRV), pressure spikes each time hot water is used. The valve opens just enough to relieve it. Adding an expansion tank resolves this reliably.
Is it safe to replace the PRV myself on a gas water heater?
Yes—if you know how to shut off the gas supply valve, turn off the burner control, and verify no gas odor is present before working. But if your unit uses electronic ignition or has a sealed combustion chamber, call a licensed technician. Gas leaks near a hot surface are extremely dangerous.
What’s the right torque for tightening a new PRV?
Hand-tight plus ¼ to ½ turn with a wrench—no more. Over-tightening cracks the valve body or strips brass threads. Use a torque wrench set to 25–30 ft-lbs if available. As master plumber Carlos Mendez advises in Modern Residential Plumbing Handbook (2021): “If you hear metal creaking or see thread deformation, you’ve gone too far.”
Can I use a generic valve from the hardware store?
Only if it’s ANSI Z21.22–certified and matches your heater’s rated pressure and temperature. A 125 psi valve on a 150 psi tank creates a false sense of security. Look for the certification mark stamped on the valve body—not just packaging claims.
Does the discharge pipe need special routing?
Yes. Per IPC Section 507.3, it must terminate within 6 inches of the floor, point downward, have no valves or tees, and avoid traps or caps. In bathrooms, route it into a floor drain or pan—not behind the toilet where moisture hides. Improper discharge causes steam burns or hidden rot.
A leaking pressure relief valve isn’t just an annoyance—it’s your water heater shouting for attention. Address it promptly with the right tools and knowledge, and you’ll protect both your bathroom and your home’s structural safety. Most fixes take under 45 minutes, cost less than $40, and prevent thousands in potential water damage. Keep a spare PRV in your utility drawer—it’s cheaper than an emergency call at midnight.