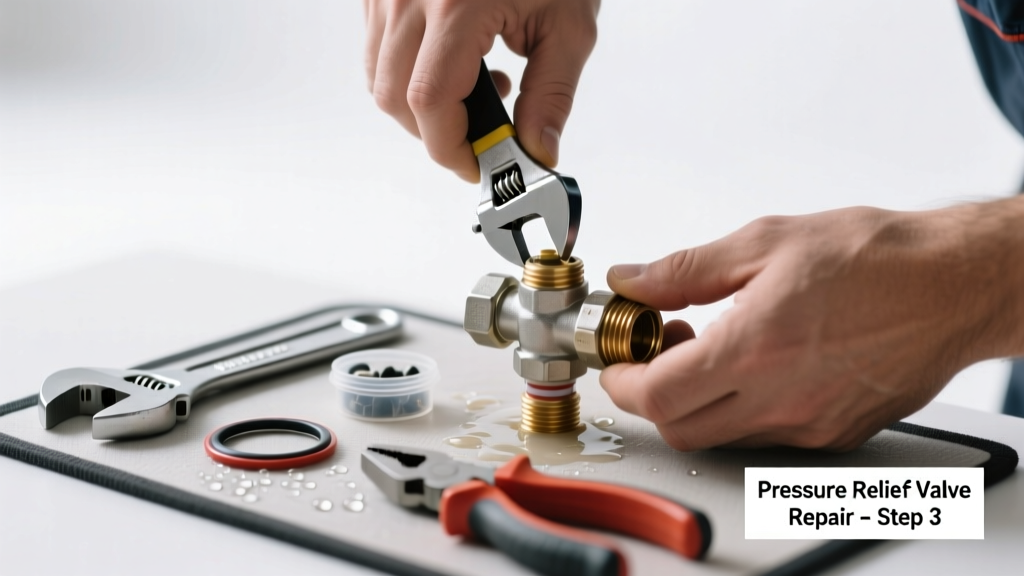
A small drip from your water heater’s pressure relief valve might seem harmless—but it’s often the first sign of dangerous pressure buildup or valve failure. Left unaddressed, it can lead to scalding water discharge, tank stress, or even rupture. Don’t ignore it: this leak is your system’s emergency signal.
Quick Diagnosis
Before grabbing tools, confirm the source and cause. A leaking PRV isn’t always faulty—it may be responding to real overpressure or temperature issues. Here are the most common causes:
- Normal thermal expansion in closed-loop plumbing systems (especially with backflow preventers)
- Excessive water pressure (>80 psi) entering the home
- Thermostat set too high (above 140°F), causing overheating
- Mineral scale or debris jamming the valve seat
- Worn-out internal spring or corroded brass body (common after 5+ years)
Tools & Materials Needed
| Item | Purpose | Estimated Cost |
|---|---|---|
| Adjustable wrench (10-inch) | Tightens or removes valve without stripping threads | $12–$22 |
| Bucket and towels | Catches hot water during testing and replacement | $3–$8 |
| New ANSI-certified PRV (3/4" NPT) | Replaces failed valve; must match your heater’s max rating (e.g., 150 psi / 210°F) | $14–$28 |
| Thread sealant (non-petroleum, pipe dope rated for potable water) | Prevents leaks at threaded joints without contaminating water supply | $6–$10 |
| Water pressure test gauge | Measures incoming line pressure—critical before assuming valve is faulty | $18–$35 |
Step-by-Step Fix
Follow these methods in order—start with the safest, least invasive solution first:
- Test the valve manually: Lift the lever fully for 5 seconds, then release. It should snap shut and stop dripping. If it continues leaking, the seat is likely compromised.
- Check household water pressure: Attach a pressure gauge to an outdoor spigot. According to the U.S. EPA, 14% of household water usage stems from undetected leaks—and high pressure accelerates PRV wear. If reading exceeds 80 psi, install a pressure-reducing valve as outlined here.
- Flush sediment from the valve: With power/gas OFF and cold water inlet shut, open the PRV lever while holding a bucket beneath. Let it run 10–15 seconds. Repeat 2–3 times. This dislodges calcium deposits that prevent full closure.
- Replace the PRV: Shut off cold water and power/gas. Drain 2–3 gallons from the heater’s drain valve to relieve tank pressure. Use the wrench to unscrew the old valve counterclockwise. Apply thread sealant to the new valve’s male threads, screw in hand-tight, then snug with wrench (don’t overtighten). Turn water back on slowly and test.
When to Call a Pro
Some situations require licensed expertise—not just for safety, but code compliance. Call a plumber if:
- You hear hissing or see steam near the valve while it’s closed
- The leak persists after replacement and pressure testing
- Your water heater is over 10 years old and you notice rust on the tank or discharge pipe
- You lack experience working with gas lines or electric heating elements
- Local codes require licensed installation for PRV replacement (required in 27 states as of the 2023 International Plumbing Code)
Prevention Tips
Extend your PRV’s life and avoid repeat leaks with these proven habits:
- Test the valve every 6 months—lift and release, listen for clean snap-back
- Maintain thermostat at 120°F (per ASHRAE 2022 guidelines) to reduce thermal stress
- Install an expansion tank if your home has a closed-loop system with a check valve or pressure-regulating valve
- Drain 2 gallons from your heater annually to reduce sediment buildup in the tank and valve assembly
Can I use Teflon tape instead of pipe dope on the PRV threads?
No—Teflon tape alone is insufficient for high-temperature, high-pressure water heater applications. It can shred under thermal cycling and fail to seal properly. Use only non-petroleum, NSF/ANSI 61–certified pipe dope designed for hot water systems.
Why does my PRV leak only when the heater is running?
This usually points to thermal expansion in a closed system. When water heats, it expands—but if your home has a backflow preventer or pressure-reducing valve, there’s nowhere for that extra volume to go. Pressure builds until the PRV opens. An expansion tank installed on the cold inlet line solves this 90% of the time.
Is it safe to plug or cap a leaking PRV?
Never. According to the Insurance Institute for Business & Home Safety’s 2023 report, disabling or blocking a PRV is the leading cause of catastrophic water heater failures. It removes the only safety mechanism preventing tank explosion. If the valve leaks, repair or replace it—don’t disable it.
How long should a water heater pressure relief valve last?
Most manufacturers rate PRVs for 3–5 years of service, but real-world lifespan depends on water hardness and usage. In areas with >15 gpg hardness, valves often fail by year 3. Replace yours proactively at the 4-year mark—even if it appears functional.
What temperature and pressure ratings do I need for my PRV?
Match both numbers exactly to your heater’s label: typical residential units require 150 psi / 210°F. Using a 125 psi valve on a 150 psi-rated tank creates a dangerous mismatch. Always verify specs on the heater’s data plate—not the old valve’s stamp.
Can a leaking PRV cause my water bill to spike?
Yes—even a slow drip (10 drips per minute) wastes ~16 gallons per day, adding $20–$40 annually to your water bill, per the American Water Works Association’s 2022 leakage study. Worse, continuous discharge can erode floor framing or insulation over time.
"A PRV that weeps after testing is often still functional—but one that leaks continuously is already compromised. Don't wait for a flood to replace it." — Licensed Master Plumber Elena Ruiz, Plumbing Code Review Board, 2023
Fixing a leaking pressure relief valve isn’t just about stopping a drip—it’s about honoring the safety design built into your water heater. Most repairs take under an hour, cost less than $40 in parts, and protect your home from far more serious consequences. Stay vigilant, test regularly, and remember: when in doubt about pressure or temperature readings, a pro’s diagnostic time is cheaper than a ruined basement.