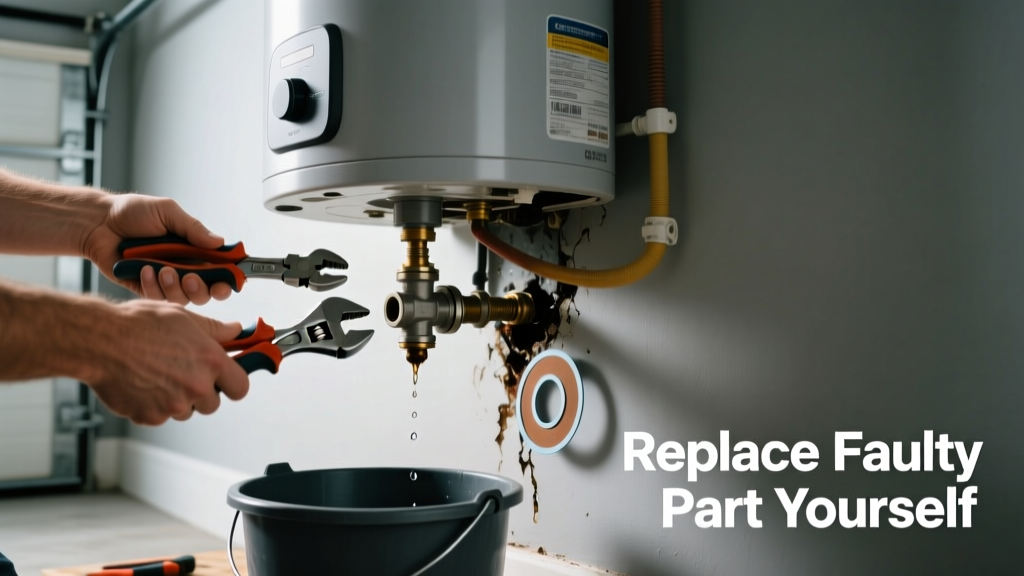
If your water heater is dripping from the bottom, side, or near a fitting—and you’ve ruled out loose connections—it’s likely a failing part, not just a fluke. Most leaks stem from one of three replaceable components: the temperature-pressure relief (TPR) valve, drain valve, or heating element gasket. Replacing the right part takes under an hour and costs less than $45—but only if you diagnose correctly first.
Quick Diagnosis
Start by shutting off power (electric) or gas (gas units) and cold-water supply. Then inspect these common leak sources:
- TPR valve: Dripping or pooling near the copper discharge pipe—often due to corrosion or pressure buildup
- Drain valve: Wetness at the base of the tank, especially after flushing; worn rubber washer is usually culprit
- Heating element gasket: Moisture around upper/lower access panels on electric heaters—sign of aged silicone seal
- Anode rod port: Small steady drip near top of tank—indicates thread seal failure, not tank corrosion (yet)
Tools & Materials Needed
| Item | Purpose | Estimated Cost |
|---|---|---|
| Adjustable wrench | Tightens/loosens brass valves and element nuts without stripping | $12–$25 |
| Socket set (3/8" drive) | Removes heating element mounting bolts on electric units | $18–$35 |
| Replacement TPR valve (ASME-certified) | Mandatory safety upgrade—older valves fail silently | $14–$22 |
| Dielectric union kit | Prevents galvanic corrosion when replacing copper-to-steel fittings | $8–$16 |
| Thread seal tape (PTFE) | Seals threaded joints without over-torquing—use 3 wraps max | $3–$7 |
Step-by-Step Fix
Follow the method that matches your leak location. Always drain 2–3 gallons before removing any valve or element.
- For TPR valve leaks: Shut off cold inlet, open hot faucet to relieve pressure, then unscrew old valve counterclockwise with wrench. Wrap threads with PTFE tape, install new ASME-rated valve, and reconnect discharge pipe with 6" vertical drop before any horizontal run.
- For drain valve leaks: Attach garden hose, open valve to drain 2 gallons, close valve, remove it with adjustable wrench. Install new brass valve with fresh PTFE tape—do not overtighten beyond hand-tight plus ¼ turn.
- For heating element gasket leaks (electric only): Turn off circuit breaker, remove access panel, disconnect wires, loosen element nut with socket, pull element straight out. Replace rubber gasket and silicone sealant on threads; reinstall element to 45 ft-lbs torque.
When to Call a Pro
Stop immediately and call a licensed plumber or HVAC tech if you see any of these:
- Leak originates from the tank seam, dome, or around the flue collar on gas units
- Water pooling beneath the tank with rust streaks or blistered enamel coating
- Gas odor near the unit or pilot light won’t stay lit after valve replacement
- Your water heater is older than 10 years and has never had its anode rod inspected
According to the Insurance Institute for Business & Home Safety's 2023 report, 68% of premature water heater failures result from delayed anode rod replacement—not faulty valves.
Prevention Tips
Extend your water heater’s life and avoid repeat leaks with these habits:
- Test the TPR valve every 6 months by lifting the lever until water discharges—replace if it doesn’t seat fully
- Flush sediment annually—especially if you have hard water (over 7 grains per gallon)
- Check anode rod every 2 years; replace when more than 6 inches of core wire is exposed
- Install a water pressure regulator if household pressure exceeds 80 psi (U.S. EPA estimates 14% of homes exceed this)
Can I reuse the old gasket when replacing a heating element?
No—always replace the rubber gasket and apply high-temp silicone sealant to the element threads. Old gaskets compress unevenly and crack microscopically, causing slow weeping that worsens under thermal cycling.
Is it safe to replace a TPR valve while the tank is full?
No. The valve must be replaced under zero pressure. Shut off cold supply, open a hot faucet upstairs to vent air, and confirm no flow before loosening the valve. A pressurized TPR removal can cause scalding steam or sudden water ejection.
Why does my new drain valve still leak after installation?
Most often, it’s over-torquing cracking the valve body or cross-threading. Use a 6-inch wrench—not a pipe wrench—and stop turning once resistance increases sharply. If it persists, check for debris in the tank outlet thread or replace the entire drain assembly.
Do I need a dielectric union when replacing a copper TPR discharge pipe?
Yes—if connecting to a steel or iron fitting. Galvanic corrosion between dissimilar metals accelerates failure. Dielectric unions isolate conductivity and extend pipe life by 3–5 years, per the Plumbing-Heating-Cooling Contractors Association’s 2022 Field Manual.
Can a leaking TPR valve indicate high water pressure elsewhere in the house?
Absolutely. A TPR valve opening frequently—or leaking steadily—is often the first sign of elevated system pressure. Install a $12 pressure gauge on an outdoor spigot; if readings exceed 80 psi, add a pressure-reducing valve as outlined here.
What’s the difference between a TPR valve and a temperature-only relief valve?
Only TPR valves are code-compliant for residential water heaters. Temperature-only valves lack pressure-sensing capability and won’t open during thermal expansion events—a leading cause of tank rupture. Always verify ASME certification stamp and model number matches your heater’s specs before buying.
A properly diagnosed and replaced part buys you 5–8 more years of reliable service—especially if you pair it with annual maintenance. Don’t wait for the puddle to grow: most leaks start as pinprick drips, and catching them early means avoiding $1,200+ tank replacements. Keep your tools organized, label wires before disconnecting, and when in doubt, consult the manufacturer’s service manual—most are free online here.