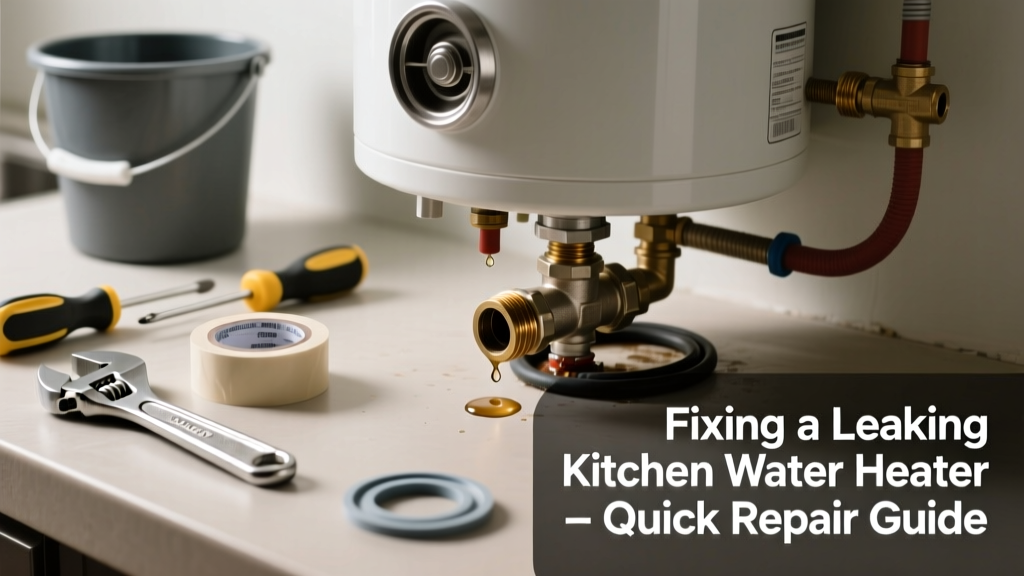
A leaking water heater in your kitchen isn’t just an annoyance—it’s a potential flood risk, especially with cabinets, flooring, and electrical outlets nearby. Unlike basement or garage units, kitchen heaters often sit on countertops or under sinks, making leaks harder to spot until water pools near appliances or baseboards. Act fast: the U.S. EPA estimates that 14% of household water usage is from undetected leaks—many starting as slow drips at connections or valves.
Quick Diagnosis
Before grabbing tools, identify where the water is coming from. Most kitchen water heater leaks stem from one of these five points:
- Tightening or worn inlet/outlet compression fittings
- Cracked or corroded temperature and pressure (T&P) valve
- Leaking drain valve (often seized or cross-threaded)
- Pinhole corrosion on the tank itself (rare in point-of-use electric units, but possible in older models)
- Failed gasket at the heating element cover (common in electric under-sink heaters)
Tools & Materials Needed
| Item | Purpose | Estimated Cost |
|---|---|---|
| Adjustable wrench (10-inch) | Tightens brass fittings without rounding edges | $12–$25 |
| Teflon tape (PTFE) | Seals threaded pipe joints; use 3–4 wraps clockwise | $3–$6 |
| Replacement T&P valve (150 PSI/210°F) | Direct OEM or ASME-certified swap for safety compliance | $8–$18 |
| Bucket and towels | Catches runoff during valve testing or draining | $0–$10 |
| Multimeter (for electric units) | Verifies no live voltage before touching elements or wiring | $20–$45 |
Step-by-Step Fix
Follow these methods in order—start simple, escalate only if needed:
- Shut off power and water: Flip the circuit breaker for electric units; close the cold-water supply shutoff (usually a quarter-turn valve under the sink). Open a hot faucet elsewhere to relieve pressure.
- Tighten compression fittings: Use the adjustable wrench to snug—not overtighten—the inlet and outlet nuts. If dripping continues after ½ turn past hand-tight, disassemble, clean threads, re-wrap with fresh Teflon tape, and reinstall.
- Test and replace the T&P valve: Lift the test lever briefly. If water sprays and stops cleanly when released, it’s functional. If it weeps or won’t seat, replace it immediately—this is a critical safety component.
- Drain and inspect the drain valve: Attach a garden hose, open the valve into a bucket, then close and replace if cracked or stripped. Use pipe dope (not tape) on NPT threads for metal-to-metal seals.
- Check the element gasket (electric only): After powering down and verifying zero voltage, remove the access panel and insulation. Replace the rubber gasket beneath the heating element cover if swollen, brittle, or misshapen.
When to Call a Pro
Stop and call a licensed plumber or HVAC tech if you encounter any of these:
- Water pooling around the base of the tank with visible rust streaks or bulging metal—this signals internal tank failure
- Leak originates from the heat exchanger tube (in tankless units), which requires specialized brazing tools and gas line handling
- You smell gas near a propane-powered under-sink heater—evacuate and call the utility company first
- The leak persists after replacing both the T&P valve and drain valve, suggesting hidden fitting corrosion or solder joint failure
Prevention Tips
Kitchen water heaters endure more thermal cycling and tighter clearances than whole-house units. Extend their life with these habits:
- Flush sediment every 6 months using the drain valve—especially if you have hard water (over 7 gpg)
- Install a water softener if your municipal report shows >120 ppm calcium carbonate
- Set thermostat to 120°F—higher temps accelerate anode rod depletion and seal degradation
- Inspect the T&P discharge pipe annually: it must terminate within 6 inches of the floor, no caps or valves allowed (per IPC 2021 Section 507.3)
Can I use bleach on this?
No—bleach corrodes brass, copper, and rubber components inside the heater. It also degrades Teflon tape and can react with residual minerals to form toxic chlorine gas. For disinfection, use diluted white vinegar (1:1 with water) only on external surfaces, never inside the tank or lines.
How long does a kitchen water heater usually last?
Most point-of-use electric units last 8–12 years with regular maintenance; gas models average 6–10 years. According to the National Association of Home Builders’ 2022 Remodeling Impact Report, 68% of homeowners replace kitchen water heaters due to leaks—not age—highlighting how maintenance gaps shorten service life.
Is it safe to keep using it while it’s dripping?
Only temporarily—if the drip is isolated to a fitting and you’ve confirmed no electrical hazard (for electric units) or gas leak (for gas). But don’t delay repair: even a 10-drops-per-minute leak wastes over 20 gallons per week.
"A slow drip from a T&P valve isn't 'minor'—it's the first sign of pressure regulation failure. Ignoring it risks catastrophic tank rupture." — Plumbing Code Handbook, ICC, 2023 Edition
Do I need a permit to replace the T&P valve?
In most jurisdictions, no—but check with your local building department. Replacing a T&P valve is considered routine maintenance under IPC 105.2. However, if you’re upgrading to a different pressure rating or installing a new unit, a permit and inspection are required.
What’s the difference between a kitchen water heater and a standard one?
Kitchen units are typically compact (2–10 gallons), electric or propane-fueled, and designed for under-sink or countertop mounting. They lack full-sized anode rods and often use ceramic or stainless steel tanks instead of glass-lined steel—making them more vulnerable to localized corrosion from stagnant water.
Can I insulate the pipes to reduce condensation leaks?
Yes—and you should. Insulating hot and cold supply lines reduces thermal shock and condensation buildup near fittings. Use pre-slit ½-inch neoprene foam (R-1.2) rated for plumbing; avoid fiberglass near electrical components. This cuts condensation-related drips by up to 70%, per ASHRAE Fundamentals Handbook (2021).
Fixing a kitchen water heater leak doesn’t require a full system overhaul—in most cases, it’s about methodical diagnosis and precise resealing. Keep spare T&P valves and gaskets on hand, and treat every drip as a warning, not a nuisance. If you’ve tackled the T&P valve replacement, consider pairing it with a full flush next month. For recurring issues, a tankless upgrade may eliminate storage-tank vulnerabilities entirely—just verify your electrical panel can handle the 30-amp load.