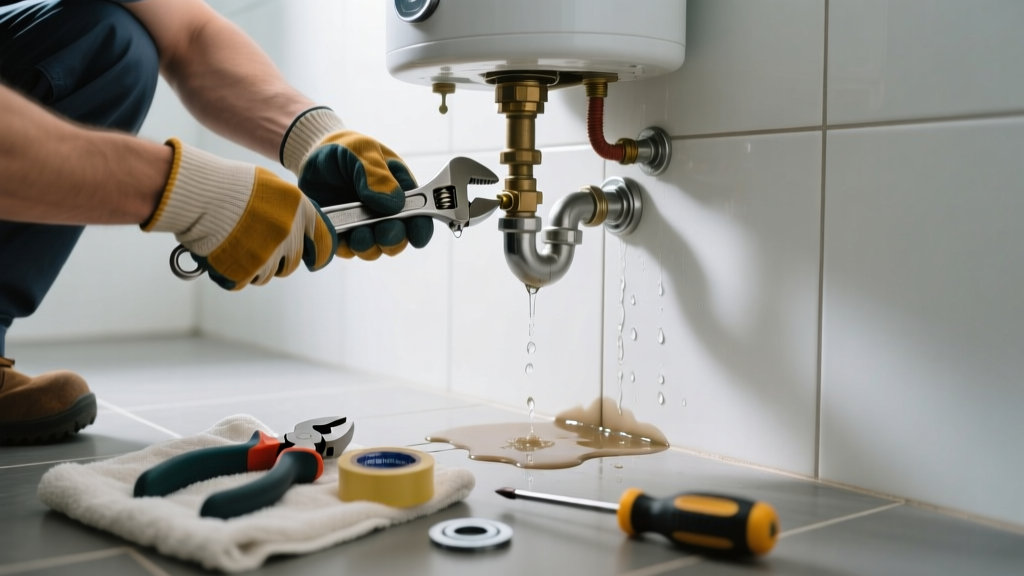
If your water heater is leaking in the bathroom, it’s rarely just an inconvenience — it’s a race against water damage, mold risk, and potential electrical hazards. Unlike basement or garage units, bathroom water heaters are often compact, wall-mounted, and integrated into tight spaces where even small leaks can soak drywall, warp flooring, or short nearby outlets. Act fast, but don’t rush into repairs without diagnosing the source.
Quick Diagnosis
Most bathroom water heater leaks stem from one of these five points — check them in order:
- Loose or corroded temperature/pressure (T&P) valve outlet pipe
- Cracked or worn dielectric union at the cold-water inlet
- Leaking drain valve (especially if recently opened or forced)
- Condensation mistaken for a leak (common with high-efficiency tankless units in humid bathrooms)
- Pinhole corrosion on the tank itself — visible rust streaks or pooling under the unit
Tools & Materials Needed
| Item | Purpose | Estimated Cost |
|---|---|---|
| Adjustable wrench (10-inch) | Tightens brass fittings without stripping threads in tight spaces | $12–$22 |
| Teflon tape (PTFE) | Seals threaded joints on valves and unions | $3–$6 |
| Bucket and towels | Catches drips during disassembly; absorbs residual water | $5–$10 |
| Replacement T&P valve (ASME-certified) | Required if valve is weeping or won’t reseat after testing | $8–$15 |
| Dielectric union kit (½-inch) | Prevents galvanic corrosion between copper and steel pipes | $10–$18 |
Step-by-Step Fix
Follow these methods in sequence — start simple, escalate only if needed:
- Shut off power and water: Turn off circuit breaker (for electric) or gas valve (for gas), then close the cold-water shut-off valve. Open a hot faucet elsewhere to relieve pressure.
- Test the T&P valve: Lift the lever briefly and let it snap back. If water continues dripping from the discharge tube, replace the valve — do not cap or plug it.
- Tighten or replace the dielectric union: Use two wrenches — one to hold the pipe, one to snug the union nut. If corrosion is present, cut and replace the union with new brass-to-copper dielectric fittings.
- Replace the drain valve: Drain 2–3 gallons first using the valve, then unscrew it with a wrench and install a new ½-inch brass drain valve with thread sealant.
- Inspect the tank base: Wipe dry, wait 15 minutes, then look for fresh wet spots. If present, the tank is failing — replacement is required.
When to Call a Pro
Stop and call a licensed plumber or HVAC technician if:
- You detect gas odor near a gas-powered unit (evacuate and call utility first)
- The leak is coming from weld seams or the tank’s interior lining — no sealant or clamp will fix structural failure
- Your bathroom water heater is hardwired (no plug) and you’re uncomfortable disconnecting 240V circuits
- Local code requires permits for water heater replacement — especially for seismic strapping or combustion air adjustments in enclosed bathrooms
"Over 60% of premature water heater failures in confined spaces like bathrooms trace back to improper venting or lack of dielectric isolation," states the Plumbing-Heating-Cooling Contractors Association’s 2022 Field Service Report.
Prevention Tips
Extend your bathroom water heater’s life and avoid repeat leaks with these habits:
- Flush sediment annually — even small tanks accumulate scale that accelerates corrosion
- Test the T&P valve every 6 months (lift and release — listen for a clean 'click' and brief discharge)
- Install a drip pan with a PVC drain line routed to a floor drain or laundry sink — here’s how to size and slope it correctly
- Check for condensation buildup in winter — run the bathroom exhaust fan 20 minutes after showers to reduce humidity around the unit
- Replace magnesium anode rods every 3 years if your water is soft or municipally treated — this extends tank life by up to 40%
Can I use duct tape to stop a small leak temporarily?
No. Duct tape lacks heat resistance and adhesion on wet, oily metal surfaces. It may appear to hold for hours, but pressure buildup will force water past the edges — often worsening the leak. A proper temporary fix is a rubber patch and stainless steel hose clamp, but only as a bridge to shutdown and repair.
Is it safe to keep using the heater if it’s just dripping from the T&P valve?
No. A constantly weeping T&P valve signals either excessive pressure (check expansion tank or PRV), overheating (thermostat malfunction), or valve failure. According to the U.S. Consumer Product Safety Commission, 12% of residential water heater explosions between 2019–2023 involved ignored T&P valve issues.
Why does my tankless bathroom heater leak only when I turn on hot water?
This typically points to thermal expansion stress on undersized or improperly anchored mounting brackets, or a failing heat exchanger gasket. Tankless units expand significantly when heated — if not secured to solid framing or if vibration isolators are worn, micro-fractures open under flow pressure.
Can I replace just the heating element on an electric bathroom water heater?
Yes — but only if the tank is intact and the leak isn’t originating there. Most compact electric units use screw-in elements with O-rings. Turn off power, drain 2 gallons, remove the access panel, and test continuity with a multimeter first. Full element replacement steps here.
How do I know if the leak is from the shower valve instead of the water heater?
Turn off the water heater’s cold inlet valve and wait 10 minutes. If dripping stops, the source is upstream (heater). If it continues, the leak is likely at the shower cartridge, diverter, or supply lines — especially if water appears only when handles are moved. Check behind the tile escutcheon plate first.
What’s the average lifespan of a bathroom-installed water heater?
Compact electric or gas units in bathrooms last 6–8 years on average — 3–4 years less than basement-installed equivalents, per the National Association of Home Builders’ 2023 Appliance Longevity Survey. Humidity, limited airflow, and frequent short-cycle use accelerate wear.
A bathroom water heater leak demands urgency — but also precision. Rushing a repair can turn a $20 valve replacement into a $1,200 drywall rebuild. Take time to identify the exact source, match materials to your unit’s specs (especially for gas connections or electrical ratings), and never skip safety steps like power shutoff verification. When in doubt, pause and consult a local pro — your bathroom’s structure and your family’s safety are worth the call.